Article Number: 000213452
Microphone Does Not Work on Dell Webcam WB2023 or Dell Pro Webcam 5023
Summary: Users of the Dell Webcam WB3023 and Dell Pro Webcam WB5023 must enable the microphone to use it.
Article Content
Symptoms
The Dell webcam’s microphone does not appear in unified communication apps (Zoom, Teams, and so on).
Affected Products:
- Dell Pro Webcam - WB5023
- Dell Webcam - WB3023
Cause
The default setting of the webcam’s microphone is set to off.
Resolution
The method to enable the microphone differs depending on whether you are using Windows or macOS. Click the appropriate operating system for more information.
- Download and install Dell Peripheral Manager (DPeM).
- From the Dell Peripheral Manager setup panel, under Audio, slide the Camera Microphone to enable microphone.
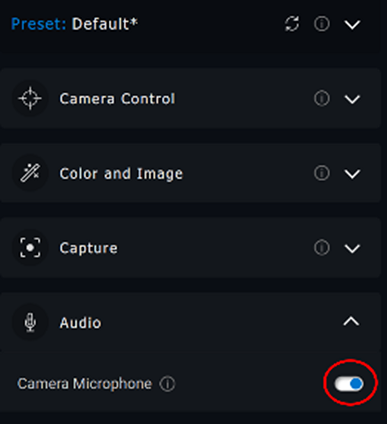
Figure 1: Enabling Camera Microphone
- If the microphone is enabled in Dell Peripheral Manager, and the microphone is still not working, enable the microphone from Windows Settings. To do this, click the Start menu, search for Sound Settings, and then open Sound Settings.
- Under Input, select Microphone (Dell Webcam WBxxxx) as your input device. Your Dell Webcam WB3023 or Dell Pro Webcam 5023 microphone should now detect audio.
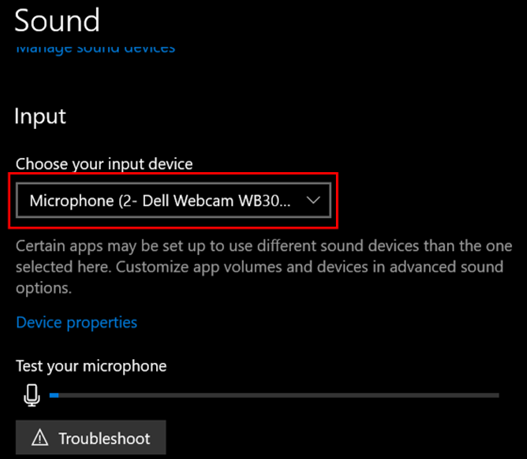
Figure 2: Selecting the input device
- Go to Dell Display and Peripheral Manager (DDPM).
- Click the Drivers & Downloads tab.
- Select Apple Mac OS under Operating System.
- Click the Download button to download Dell Display and Peripheral Manager Application.
- Connect your WB5023 or WB3023 to your Mac.
- Click the Webcam tab on the left panel.
- Click Webcam Control on the right panel.
- On the right panel, slide the Camera Microphone to enable the microphone.
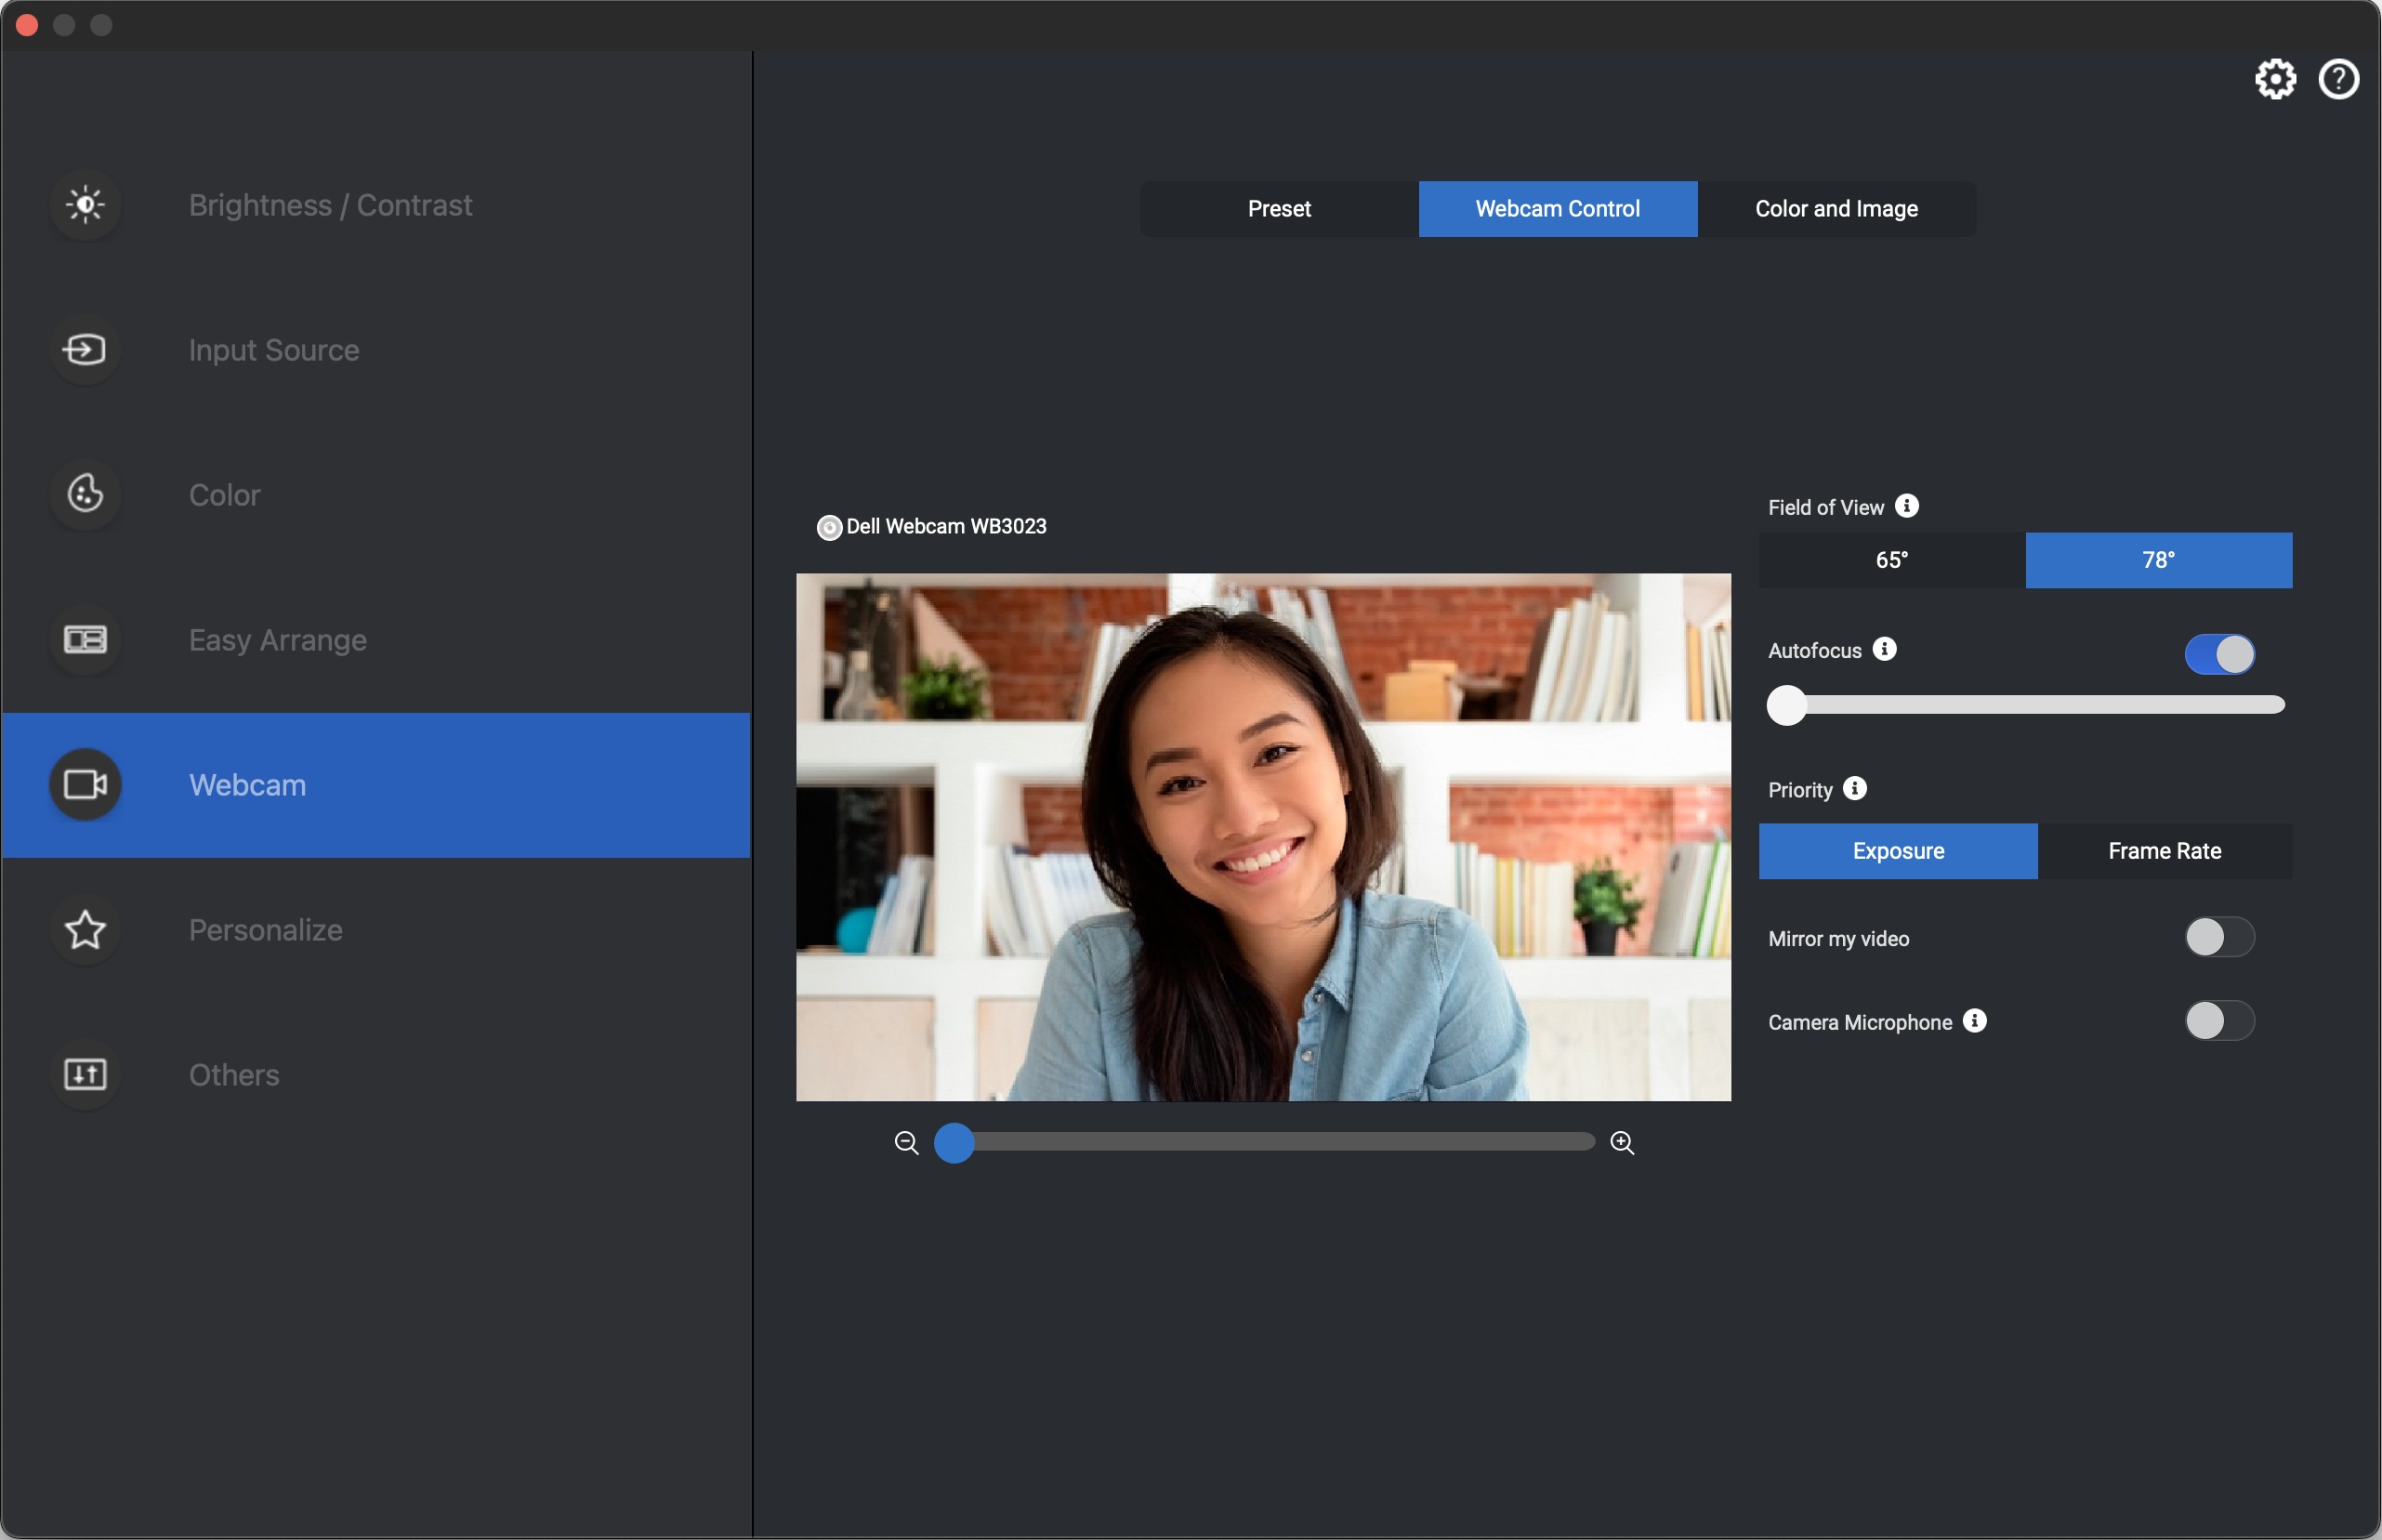
Figure 3: Camera Microphone setting
- The webcam power cycles after changing the setting.
Article Properties
Affected Product
Dell Pro Webcam WB5023, Dell Webcam WB3023
Last Published Date
23 May 2023
Version
1
Article Type
Solution