DS1000 Dock Stand BIOS and Drivers Installation Guide
Summary: Information about the BIOS and drivers for the DS1000 dock stand.
Symptoms
No symptom information is available.
Cause
No cause information is available.
Resolution
Table of Contents:
- Updating the firmware for your Dell Dock Monitor Stand (DS1000)
- Automated Driver Update using Dell Update / Dell Command | Update
- Manual Driver installation
Note: Dell recommends installing the system BIOS/drivers and firmware on your dock in the prescribed order to ensure optimal performance.
Search for your system model name under Select a Product selection, or enter the service tag of your system to locate the Drivers & Downloads page on the Dell Support Website. Select your Operating System to view all available updates for your system. Once you have completed this you should select the Browse all drivers for the xxxxxx which is located in the Other ways to find drivers section shown below (Figure 1):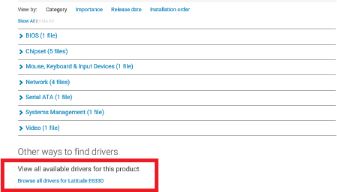
Figure 1
Updating the firmware for your Dell Dock Monitor Stand (DS1000)
Caution: Ensure that your system has the MOST CURRENT BIOS REVISION installed BEFORE Installing the Dock Firmware update. (If you are unsure, see driver update information below.)
Note: Your DS1000 dock MUST BE CONNECTED to your computer to update firmware on your docking station.
DS1000 dock setup requirement: Connect the AC adapter to your DS1000 dock first and then attach the Type-C cable to your system.
Note: Do not disconnect the dock from your system or remove the AC power from your dock during the firmware update procedure.
- Download the Dell Dock Monitor Stand (DS1000) Firmware Update Utility under the "Monitor Accessories" section to your local drive and run the .exe file as administrator.
- Click the OK to complete the component update on Windows OS and the system will reboot into a preboot environment to update the rest firmware components. (See Figures 2-7)
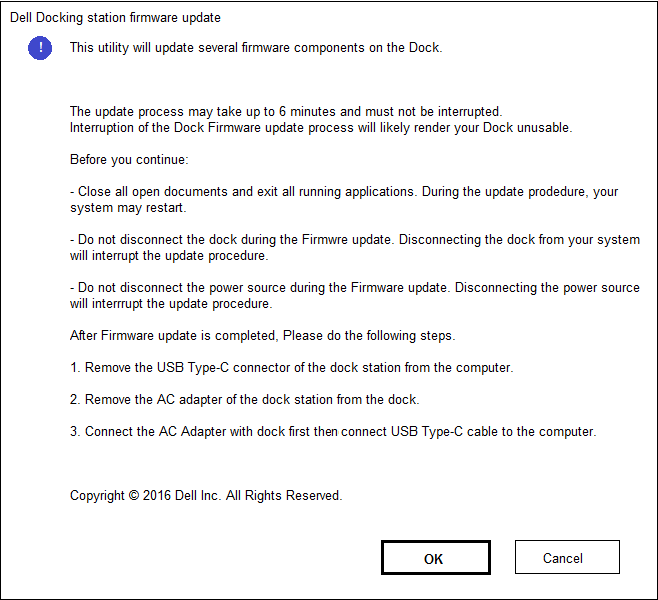
Figure 2. - Dock Firmware update setup screen.
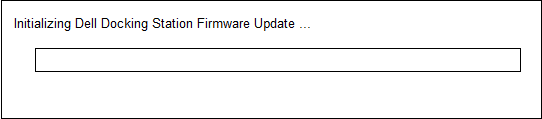
Figure 3. - Dock Firmware initialization

Figure 4. - Dock Firmware update in progress.
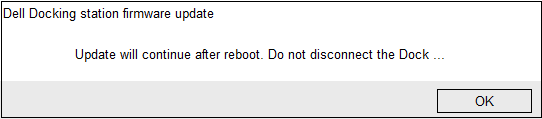
Figure 5. - Dock Firmware system reboot notification
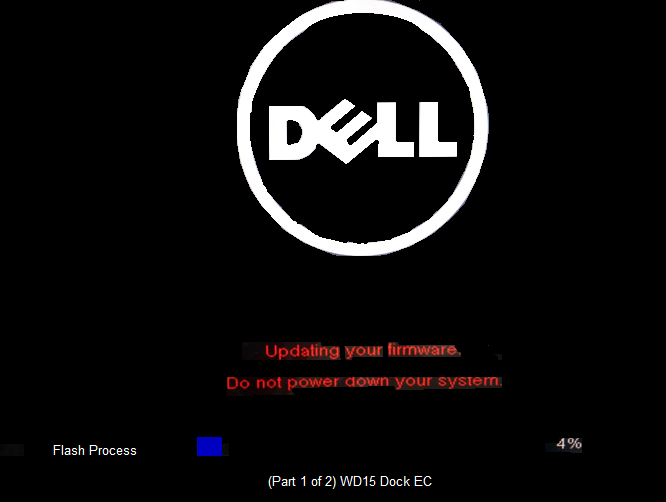
Figure 6. - Dock Firmware progress after first reboot
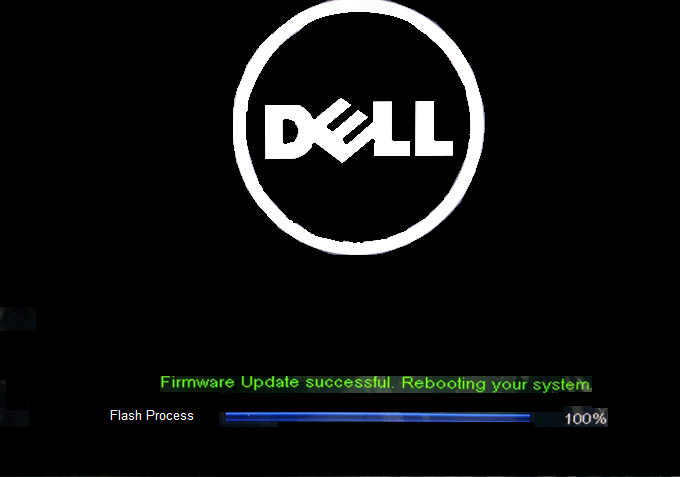
Figure 7. - Dock Firmware update had completed. - After all the firmware components are updated, your system will reboot to Windows OS.
- Disconnect your DS1000 dock from the system and remove the power cable from the dock.
- Connect the power cable back to your DS1000 dock and then attach the Type-C cable to your system.
- Now you can start to use the DS1000 dock on your system.
Automated Driver Update using Dell Update/Dell Command | Update
Dell highly recommends the following applications to automate the installation of BIOS, firmware, driver, and critical updates specific to your system and docking station. These applications are available to download on the Dell Support Website Driver & Downloads page. Pick your system type from the list or enter the service tag of your system to get the right version for your computer.
- The Dell Update application is supported on XPS laptops and Dell Venue systems.
-
Note: A DS1000 dock connection to your computer is required in order for Dell Update to start software updates on your system.
-
- The Dell Command I Update application is supported on Precision, XPS, and Latitude laptops.
Manual Driver installation
Alternatively, Dell recommends installing the following BIOS, firmware, and drivers step by step in the prescribed order to ensure optimal performance.
Note: A DS1000 dock connection to your computer is not required to update BIOS and drivers on your system.
Search for your system model name under Select a Product selection, or enter the service tag of your system to locate the Drivers & Downloads page on the Dell Support Website. Change the Operating System to view all available updates for your system.
- Flash the latest Basic Input/Output System (BIOS) available for the system. This is posted under the "BIOS" section.
- Restart the system.
- Install the Intel Thunderbolt Controller Driver available for the system. This is posted under the "Chipset" section.
Note: Installation of this applies to computers that are equipped with a Thunderbolt 3 (Type-C) port. (Optional on most Dell Portables.) If your system does not have a Thunderbolt 3 Controller, skip this driver installation as it will not apply to your system.
- Install the Intel Thunderbolt 3 Firmware Update available for the system. This is posted under the "Chipset" section.
Note: Installation of this applies to computers that are equipped with a Thunderbolt 3 (Type-C) port. (Optional on most Dell Portables.) If your system does not have a Thunderbolt 3 Controller, skip this driver installation as it will not apply to your system.
- Install the Intel HD Graphics Driver available for the system. This is posted under the "Video" section.
- Install the RealTek USB GBE Ethernet Controller Driver available for the system. This is posted under the "Docks & Stands" section.
- Install the Realtek USB Audio Driver for Dell Wireless Dock, Dell Thunderbolt Dock, Dell Docking Monitor Stand and Dell Dock. Available for the system. This is posted under the "Docks & Stands" section.
- Restart the system.
- After the software update process completes, connect the power cable to the DS1000 dock first and then attach the Type-C cable to the computer before using the docking station.
Affected Products
Dell Dock with Monitor Stand DS1000, Latitude 5175 2-in-1, Latitude 5179 2-in-1, Latitude 7275, Latitude E5270, XPS 13 9350, XPS 15 9550Article Properties
Article Number: 000144031
Article Type: Solution
Last Modified: 25 Oct 2023
Version: 4
Find answers to your questions from other Dell users
Support Services
Check if your device is covered by Support Services.
Article Properties
Article Number: 000144031
Article Type: Solution
Last Modified: 25 Oct 2023
Version: 4
Find answers to your questions from other Dell users
Support Services
Check if your device is covered by Support Services.