Article Number: 000126477
Chromebook 3100, 3100 2-in-1, and 3400 RMA Shim Process
Summary: Steps for using the Chrome RMA Shim tool when a motherboard is replaced on the Chromebook 3100, 3100 2-in-1, and 3400 laptops.
Article Content
Symptoms
No symptom information.
Cause
No cause information.
Resolution
Chromebook RMA Shim
The Dell Chromebook 3100, 3100 2-in-1, and 3400 uses a unique service tool that is known as an RMA Shim.
If a System board replacement happens, it is important that the RMA Shim tool is used to write the Service Tag and reload the Chrome OS.
RMA Shim USB Key
The RMA Shim USB Key is dispatched or bundled together with a replacement system board.
Note: For system board replacements, skip the Preparing System for RMA Shim and proceed directly to Installing RMA Shim.
Preparing the RMA Shim (Only required if the system board is not replaced)
- Disconnect the battery to Disable Write-Protect (WP) (Figure 1).
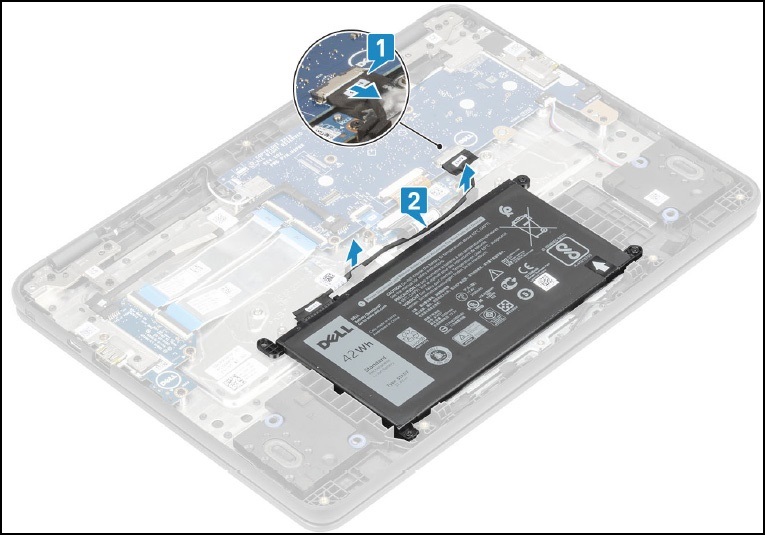
Figure 1
Installing the RMA Shim
- Remove the base cover and note the SKU information about the label inside the base cover. This SKU information is required later (Figure 2 & 3).
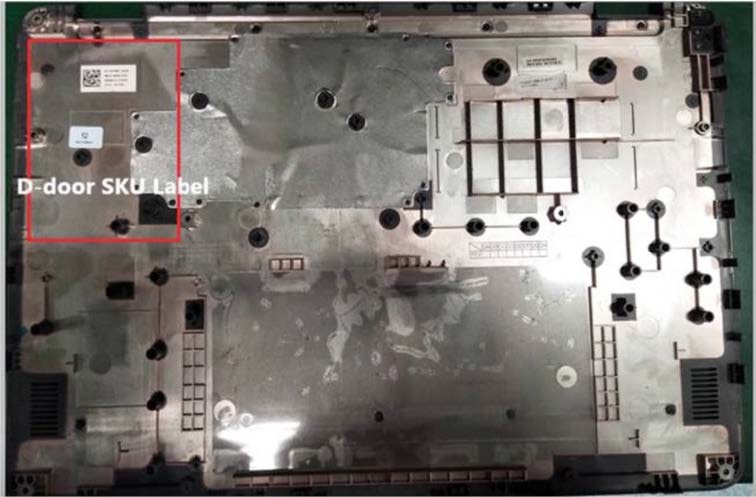
Figure 2
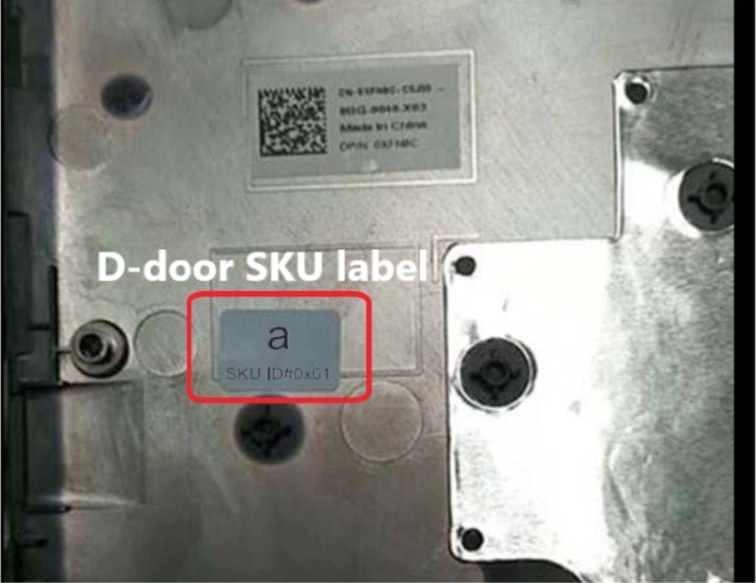
Figure 3
Note: If your access panel does not have a label, the label has been defaced, or removed? You can follow these steps to identify what it is:
- Go to the Dell Support Site.
- Enter your Service Tag.
- Click on View Product specs.
- The label is listed along with the label letter. (example. LBL, SKU ID 0X01, X, computer model.)
- Insert the RMA Shim USB Key into a USB port. Connect AC power and press and hold Esc + Refresh + Power (hold the buttons down for approximately ~2 seconds). (Go to Step 6 if the system board was replaced.)
- Press Ctrl + D when the following screen appears (Figure 4).
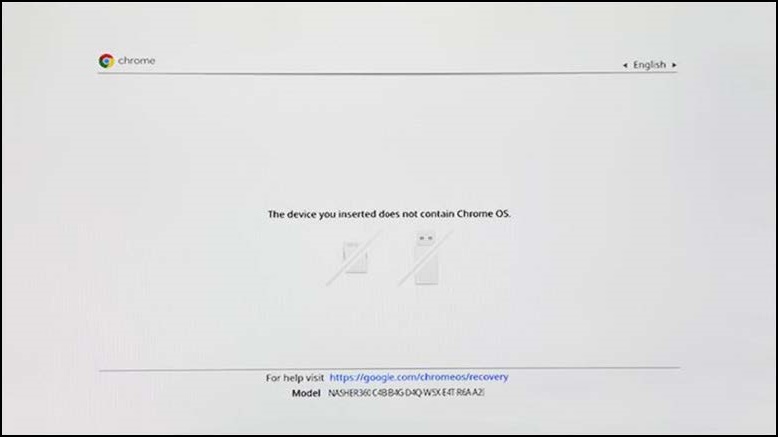
Figure 4
- Press Enter to turn the OS verification off (Figure 5).
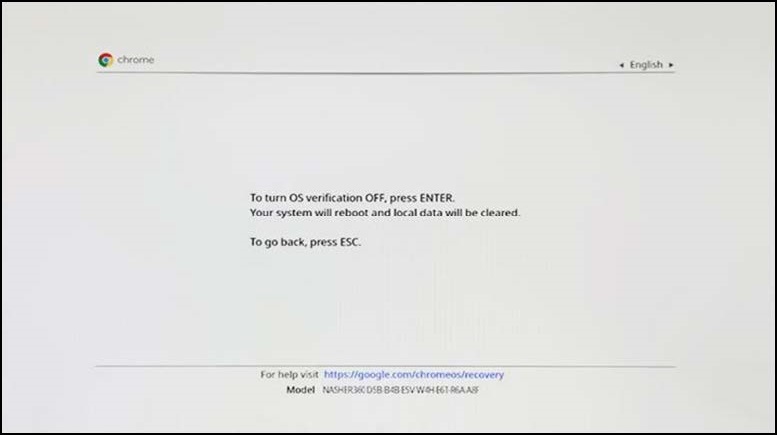
Figure 5
- At this screen, press and hold Esc + Refresh + Power (hold the buttons down for approximately ~2 seconds). Within 30 seconds and before the two beeps to boot from RMA Shim USB drive (Figure 6).

Figure 6
- Press I + Enter to start installing the RMA Shim file (Figure 7).
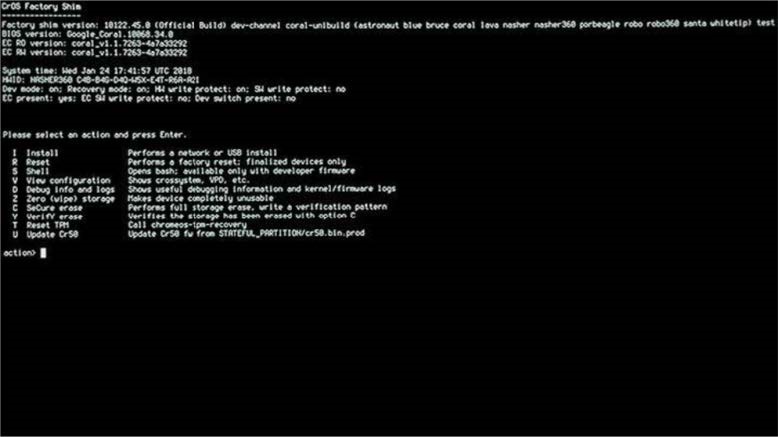
Figure 7
Running the RMA Shim
- Remove RMA Shim USB Key and connect battery if it is disconnected.
- Press Space to begin the RMA shim process (Figure 8).
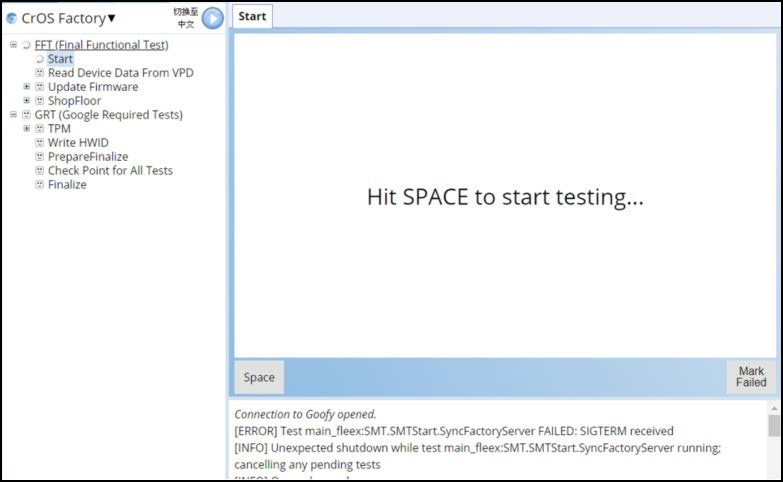
Figure 8
- Enter the Service Tag from the label on the chassis and press Enter (Figure 9).
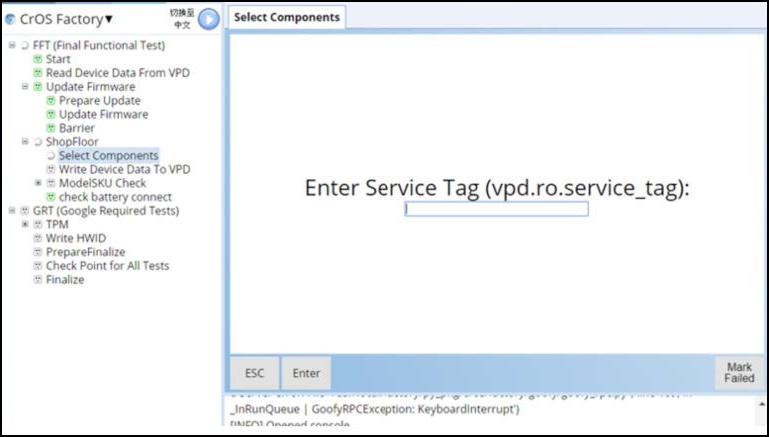
Figure 9
- See the Model Name on the bottom cover or dispatch ticket, select the correct Model Name, and press Enter (Figure 10).
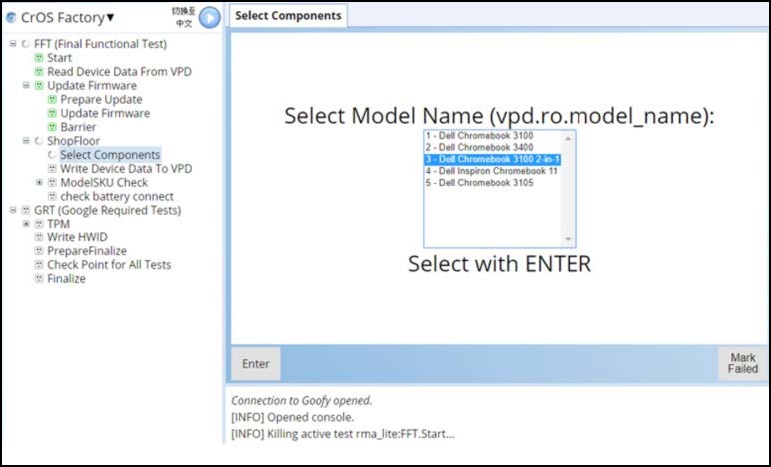
Figure 10
- Select the correct region and press Enter to continue (Figure 11).
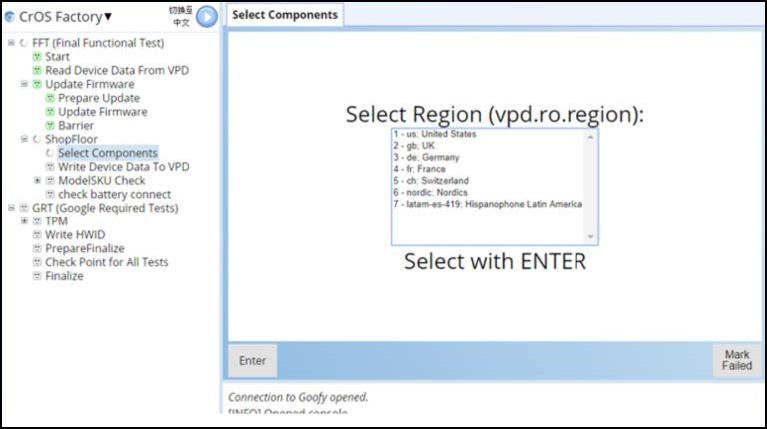
Figure 11
- Select the D-door SKU information from noted earlier and press Enter (Figure 12).

Figure 12
- At this screen, press Space to shut down the Chromebook (Figure 13).
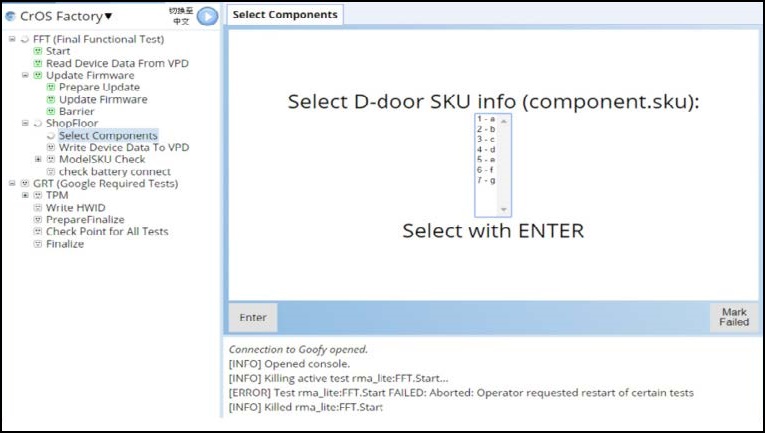
Figure 13
- Connect AC Adapter, press Power or flip open the LCD lid to turn on the system to resume the process (Figure 14).
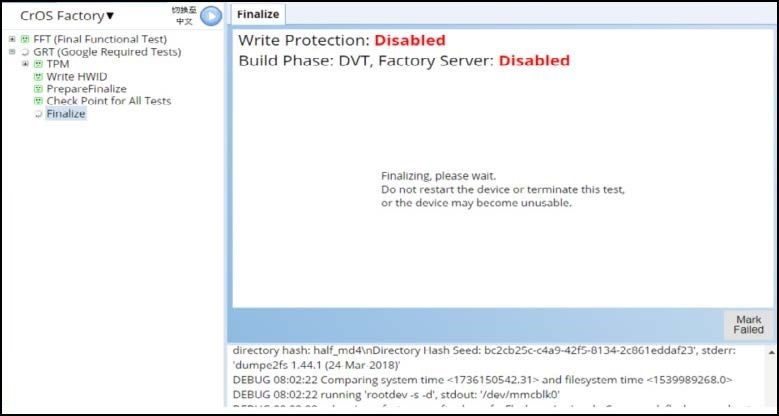
Figure 14
- Remove the AC Adapter when prompted (Figure 15).
Note: Factory wipe takes some time and there is countdown timer on the upper left-hand corner.
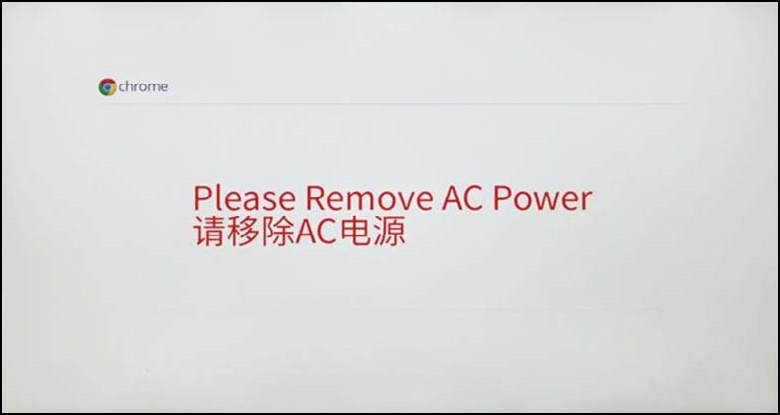
Figure 15
- Wait for the system to shut down. The process is now complete. The system is now in Ship Mode which requires AC power to turn on for the first time (Figure 16).
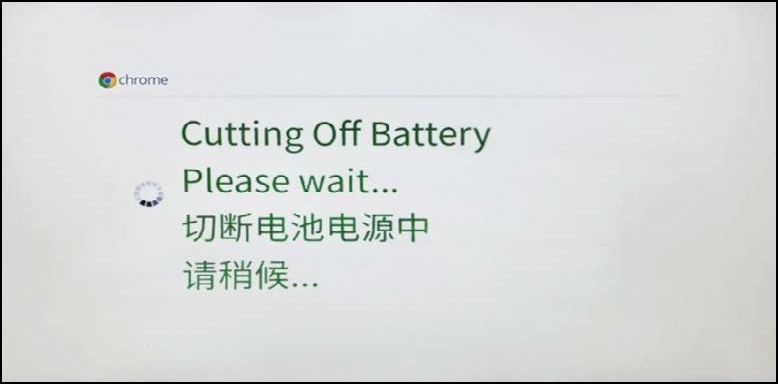
Figure 16
Article Properties
Affected Product
Chromebook, Chromebook 3100 2-in-1, ChromeBook 3100, ChromeBook 3400
Last Published Date
17 Jan 2023
Version
7
Article Type
Solution