Installing a PCIe Card in Windows: A Comprehensive Guide
概要: Learn to install a PCIe card in a Windows system. Find tips on PCIe slots, adapter options, and easy, step-by-step installation instructions
この記事は次に適用されます:
この記事は次には適用されません:
この記事は、特定の製品に関連付けられていません。
すべての製品パージョンがこの記事に記載されているわけではありません。
手順
If you want to add a PCIe card in your Dell system, follow the below steps to complete the installation.
- Remove your side cover. If you do not know how to remove it, see the Dell Support page to get your system document.
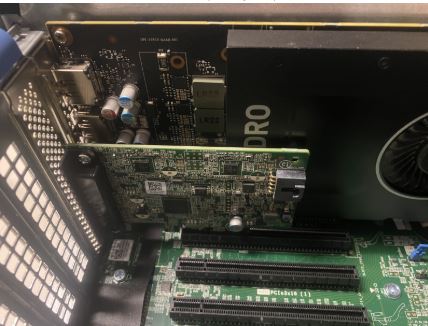
- A PCIe card is added to the PCIe Slot. (See Figure 1)

(Figure 1 - PCIe Slot)
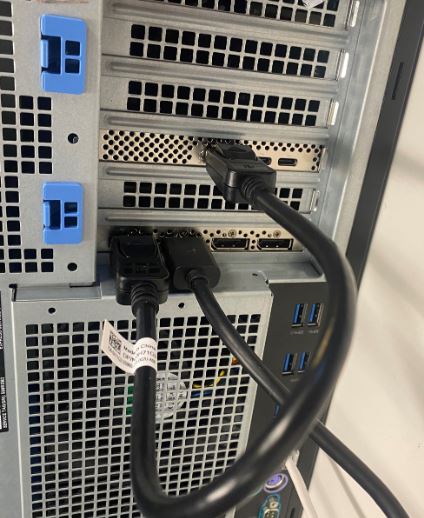
- Once the PCIe card ID is added. You need a Display Port to Display Port cable to plug in from the PCIe Card Display Port to the Graphics Card Display Port. (See Figure.2)

(Figure 2 - DP to DP Cable)
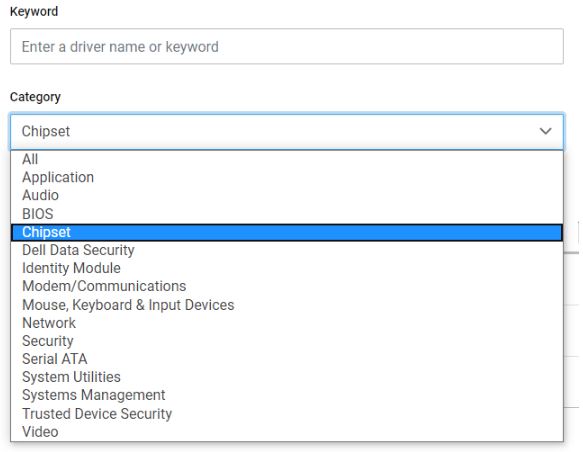
- Once the card has been installed, if it is a Thunderbolt PCIe card you must update the latest Thunderbolt Controller Driver. Go to our Drivers Site to search for the matching driver for your system. Thunderbolt Controller Driver can be found under "Chipset." (See Figure 3)

(Figure 3 - Dell Driver Category)
After completion of this driver installation and a reboot of the system, PCIe card functionality should now be capable of using the PCIe slot.
対象製品
OptiPlex, Fixed Workstations文書のプロパティ
文書番号: 000126038
文書の種類: How To
最終更新: 09 12月 2024
バージョン: 9
質問に対する他のDellユーザーからの回答を見つける
サポート サービス
お使いのデバイスがサポート サービスの対象かどうかを確認してください。