PowerEdge Server - How to Create Virtual Disk in eHBA mode on Supported Controllers
摘要: This article provides information about how to create virtual disk in eHBA mode for PowerEdge RAID Controller 10.
本文章適用於
本文章不適用於
症狀
Table of Contents
- What is eHBA Mode
- Prerequisites
- How to Switch to Enhanced HBA Controller Mode
- How to create virtual disk in eHBA mode
1. What is eHBA Mode
Enhanced HBA mode (eHBA mode) is a new operating mode available with H740P, H745, and H745P MX cards. eHBA provides the following features:
- Create virtual disks with RAID level 0, 1, or 10.
- Present Non-RAID disks to the host.
- Configure a default cache policy for virtual disks. The starting default is write-back with read ahead.
- Configure virtual disks and Non-RAID disks as valid boot devices.
- Automatically convert all unconfigured disks to Non-RAID:
On system boot
On controller reset
When unconfigured disks are hot-inserted
2. Prerequisites
- Please upgrade the PERC firmware to 50.5.0.1750 or later.
- Non-RAID disk is not supported in RAID mode, eHBA mode support both RAID and Non-RAID disk. (Supported RAID level: RAID 0, 1, or 10)
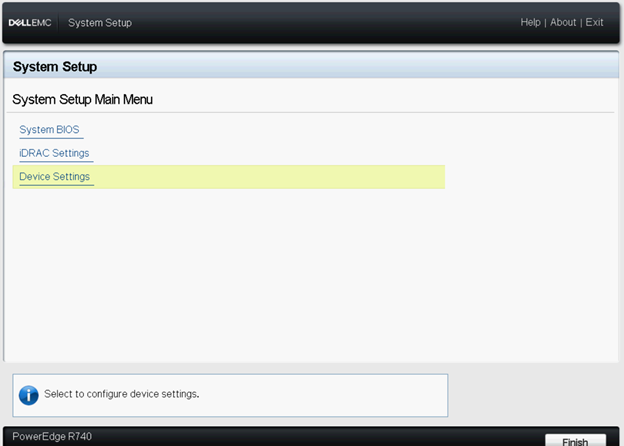
- All steps are completed in the System Setup page.
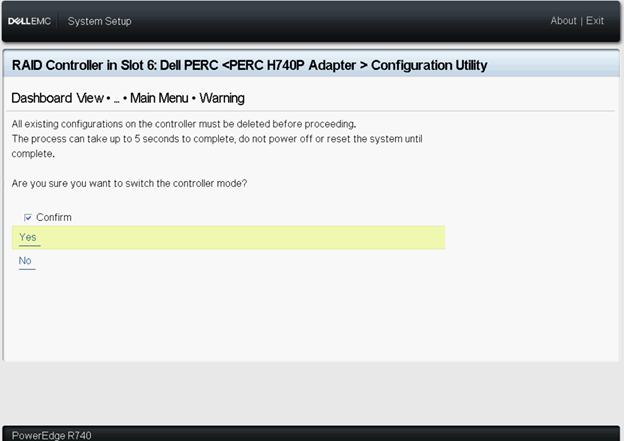
- Please clear all existing configuration on the controller before proceeding.
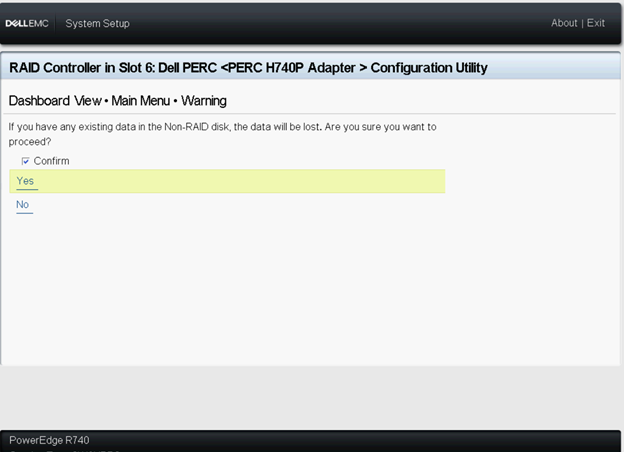
 Caution: The data will be lost if clear all existing configuration, please backup the data in advance.
See Dell EMC PowerEdge RAID Controller 10 User’s Guide for more information about PowerEdge RAID Controller 10.
原因
3.How to Switch to Enhanced HBA Controller Mode
1. Press the F2 key when booting the system to enter the System Setup (BIOS).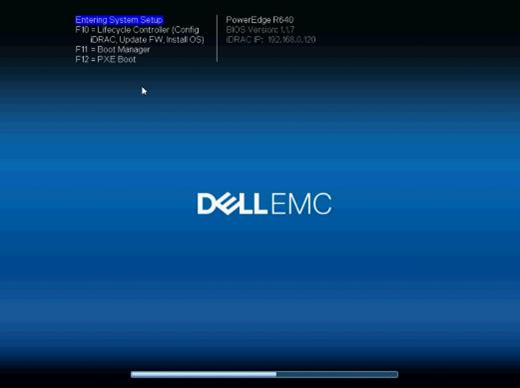
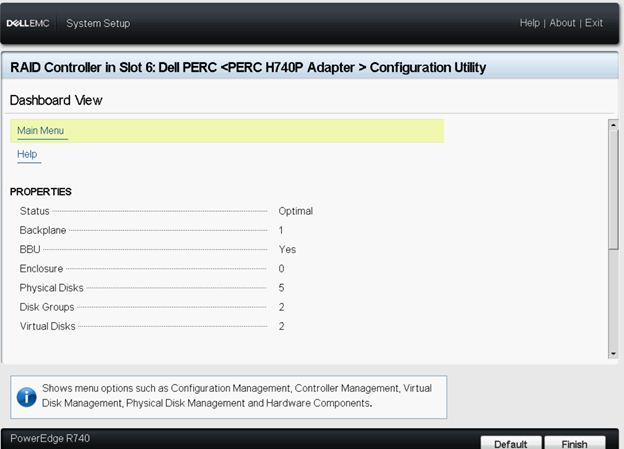

6. Select Manage Controller Mode.
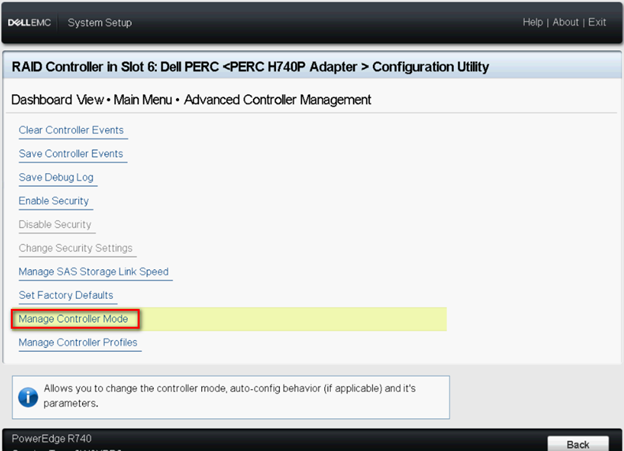
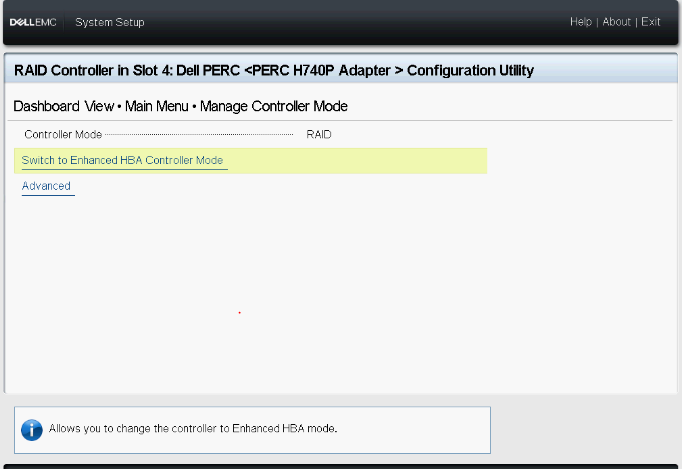
 Note: Controller Mode shows the current status of the RAID Controller.
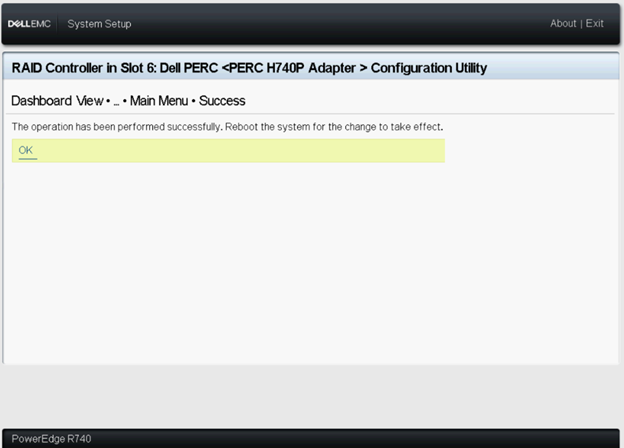
Please reboot the system for the change to take effect.
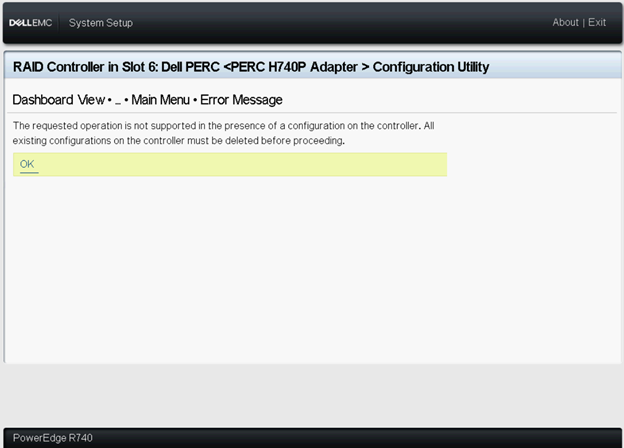
If the error message is displayed, please clear all existing configuration on the controller before proceeding.
11. Once reboot the system, the Controller Mode should be in eHBA mode.
12. All physical disks show as Non-RAID Disk.

解析度
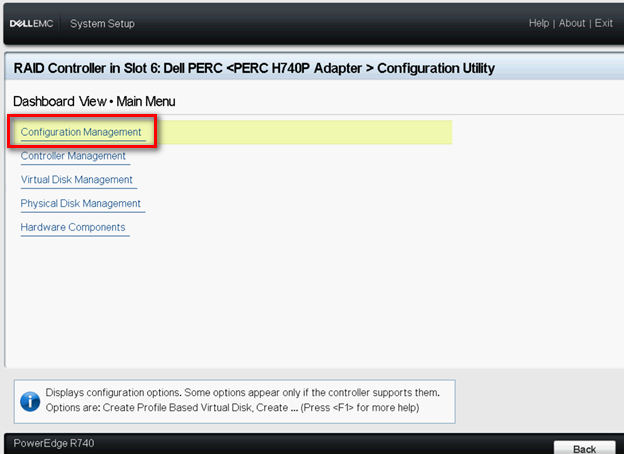
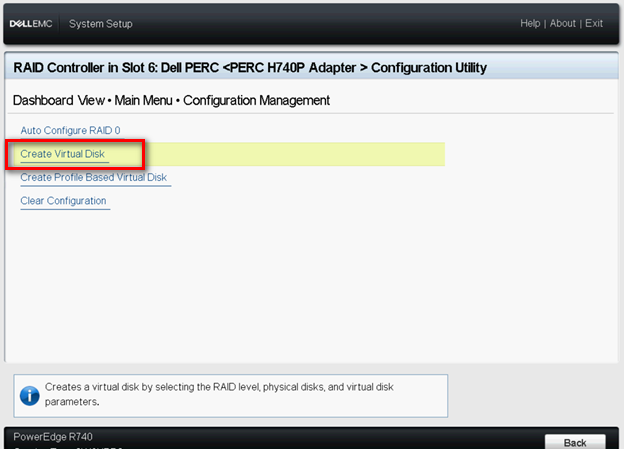
4. How to Create Virtual Disk in eHBA Mode
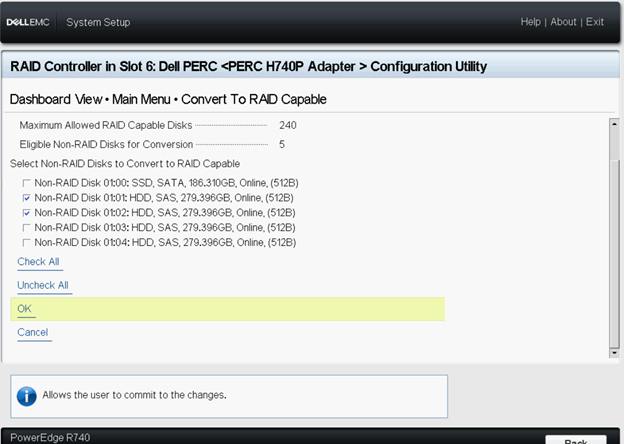
1. Choose Convert to RAID Capable.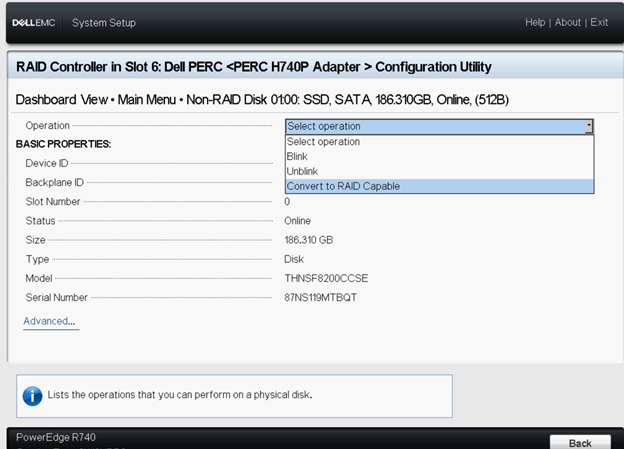
The Non-RAID disks will remain in Non-RAID mode after the virtual disk configuration is completed.
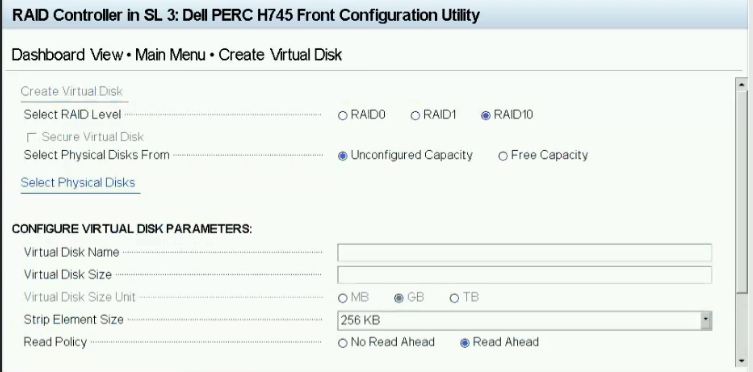
Select RAID level — allows you to choose the RAID level of your choice.
Secure Virtual Disk — If you want to create a secured virtual disk, select Secure Virtual Disk.
 Note: The Secure Virtual Disk option is enabled and selected by default, only if the security key has been configured. Only SED physical disks are listed.
Select Physical Disks From — allows you to select one of the physical disk capacities:
◾Unconfigured Capacity: creates a virtual disk on unconfigured physical disks.
◾Free Capacity: utilizes unused physical disk capacity that is already part of a virtual disk.
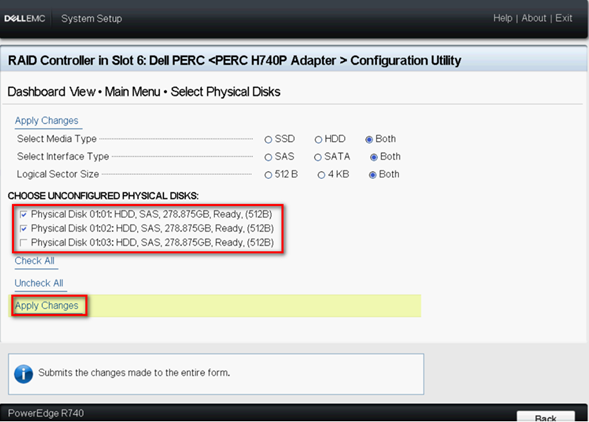
Select Physical Disks — If you want to select the physical disks from which the virtual disks are being created, click Select Physical Disks. This option is displayed if you select Unconfigured Capacity as your physical disk capacity.
Select Disk Groups — If you want to select the disk groups from which the virtual disks are being created, click Select Disk Group. This option is displayed if you select Free Capacity as your physical disk capacity.
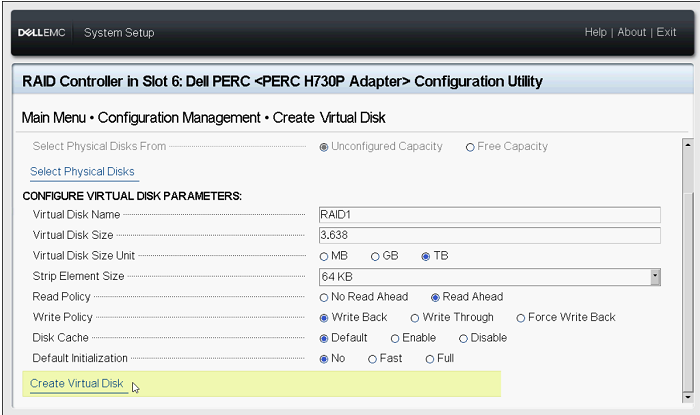
Configure Virtual Disk Parameters — allows you to set the virtual disk parameters when creating the virtual disk. For more information, see Configuring virtual disk parameters.