Article Number: 000184563
Add A Domain in Office 365
Summary: This article serves as a guide to add domain in Office 365
Article Content
Instructions
Get Started
Adding your domain is easy. To add a domain, follow these steps:
- Log in to Microsoft Online Portal.
- Select Go to setup from the landing page.
-
If you are unable to click Go to setup, go to Management > Domains > Add a Domain to start a manual setup.
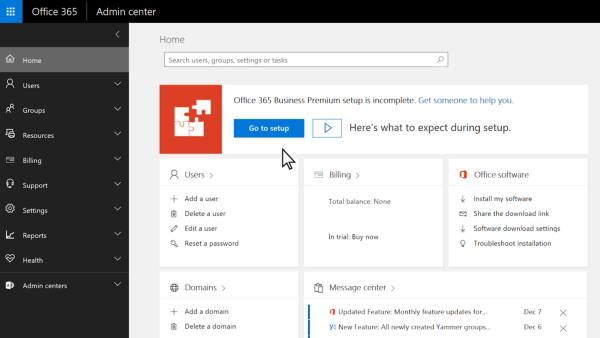
Figure.1 Office 365 Admin Center. -
Enter the vanity domain name that you own and want to use.
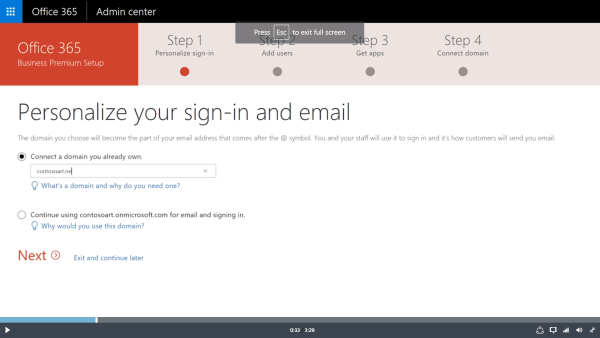
Figure.2 Office 365 Connect to Domain. - Select Next to confirm.
NOTE: If your domain's nameservers point to GoDaddy (that is if GoDaddy is your domain's DNS host), Office 365 can automatically set up the DNS records of your Office 365 services (which includes verifying your domain) for you at GoDaddy. This is the simplest option if you have a GoDaddy domain; alternatively, you can opt (in the wizard) to add the records manually yourself.
Additional Resource:

Article Properties
Affected Product
Microsoft 365 from Dell
Last Published Date
30 Jun 2021
Version
5
Article Type
How To