How to update the BIOS version of a Dell Server using EFI file (12G 13G 14G)
Summary: This article explains how to update the BIOS version of a Dell PowerEdge Server using EFI file. The update can be done directly from the Unified Extensible Firmware Interface (UEFI) interface. ...
This article applies to
This article does not apply to
This article is not tied to any specific product.
Not all product versions are identified in this article.
Instructions
This article explains how to update the BIOS version of a Dell PowerEdge Server using EFI file. The update is done from the Unified Extensible Firmware Interface (UEFI) on Dell PowerEdge Server 12 Generation onwards (screenshots may be slightly different for different generations).
Other methods to update a server are explained in the article: How-To Dell Server Tutorial to Update a PowerEdge.
Other methods to update a server are explained in the article: How-To Dell Server Tutorial to Update a PowerEdge.
Steps:
Download the Bios .efi extension file for your server from the Dell support site.
- Copy the file to a USB device.
Note: If you are doing this locally, copy the file to a USB FAT 32 device format on the root of the drive. Alternatively, create an ISO file of the .efi file and mount it in the virtual media of the iDRAC. How to use the virtual media of iDRAC is explained in Using the Virtual Media function on iDRAC6, iDRAC7, iDRAC8, and iDRAC9.
- Plug in the USB device or mount the virtual iso through IDRAC and press F11 during POST to enter BIOS Boot Manager.
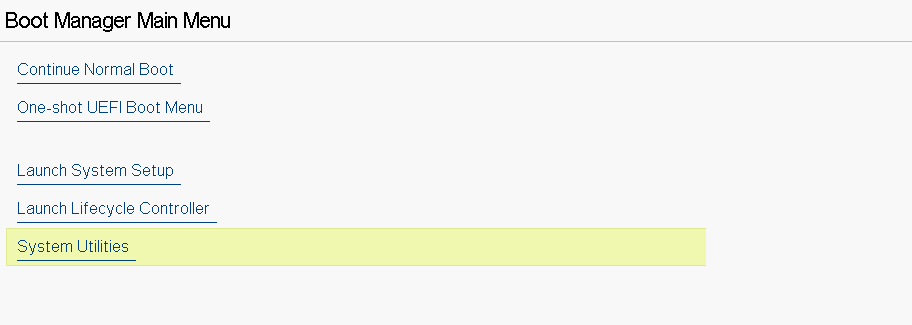
Figure 1: BIOS Manager Main Menu
- Select BIOS Update File Explorer through System Utilities and then locate the .efi file for BIOS update.
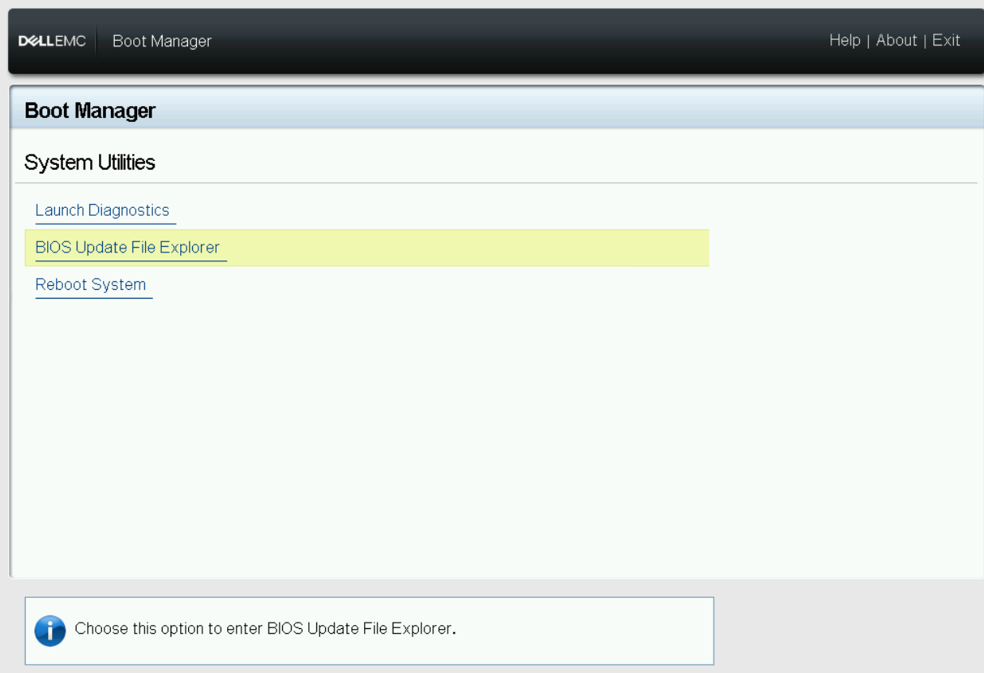
Figure 2: System Utilities Menu
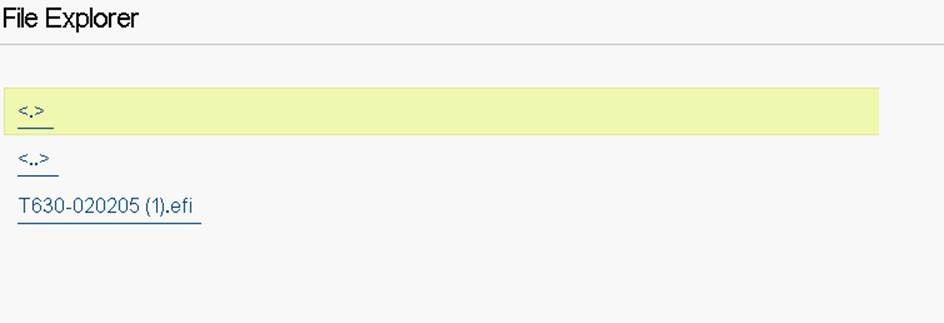
Figure 3: File Explorer
- The server reboots and the below screen is displayed. Select "Continue Bios Update" option.
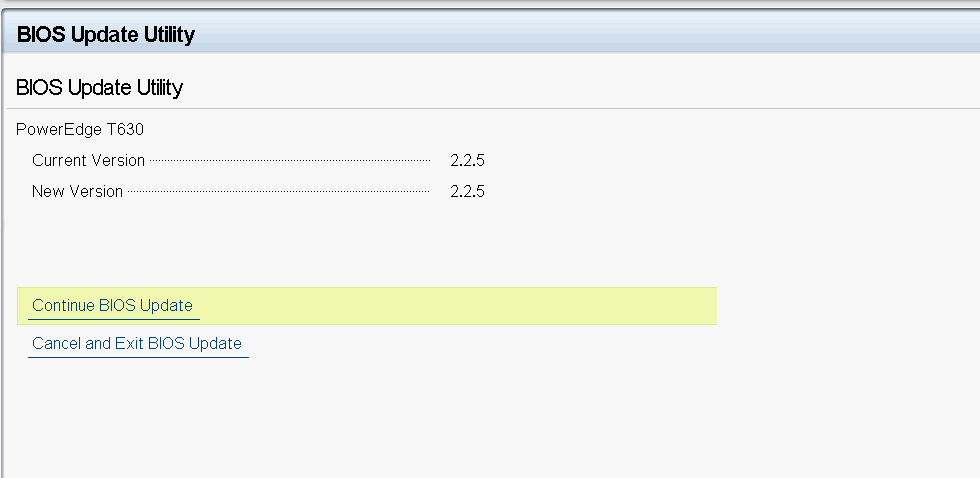
Figure 4: BIOS Update Utility
- Update of the BIOS is launched.
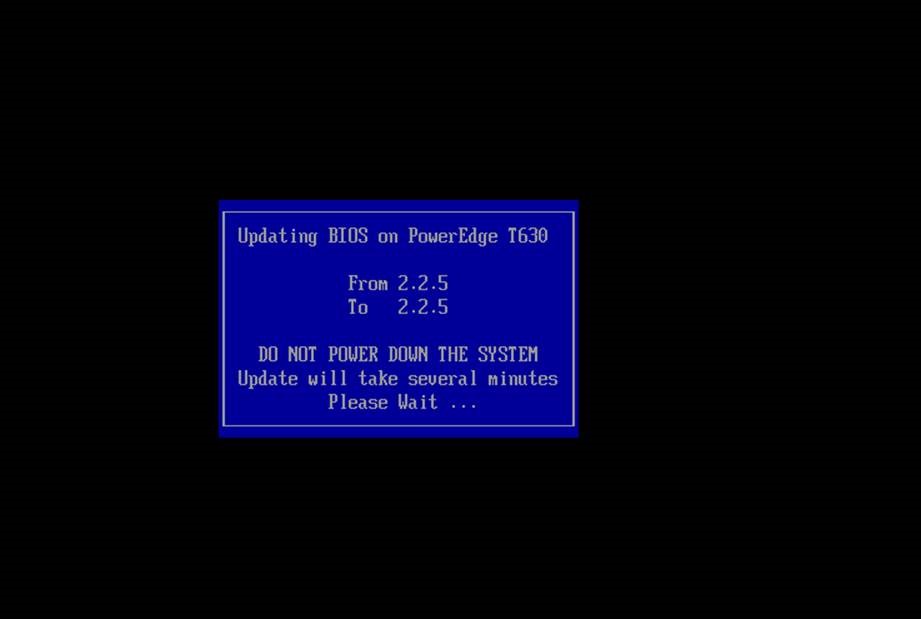
Figure 5: BIOS Update progress
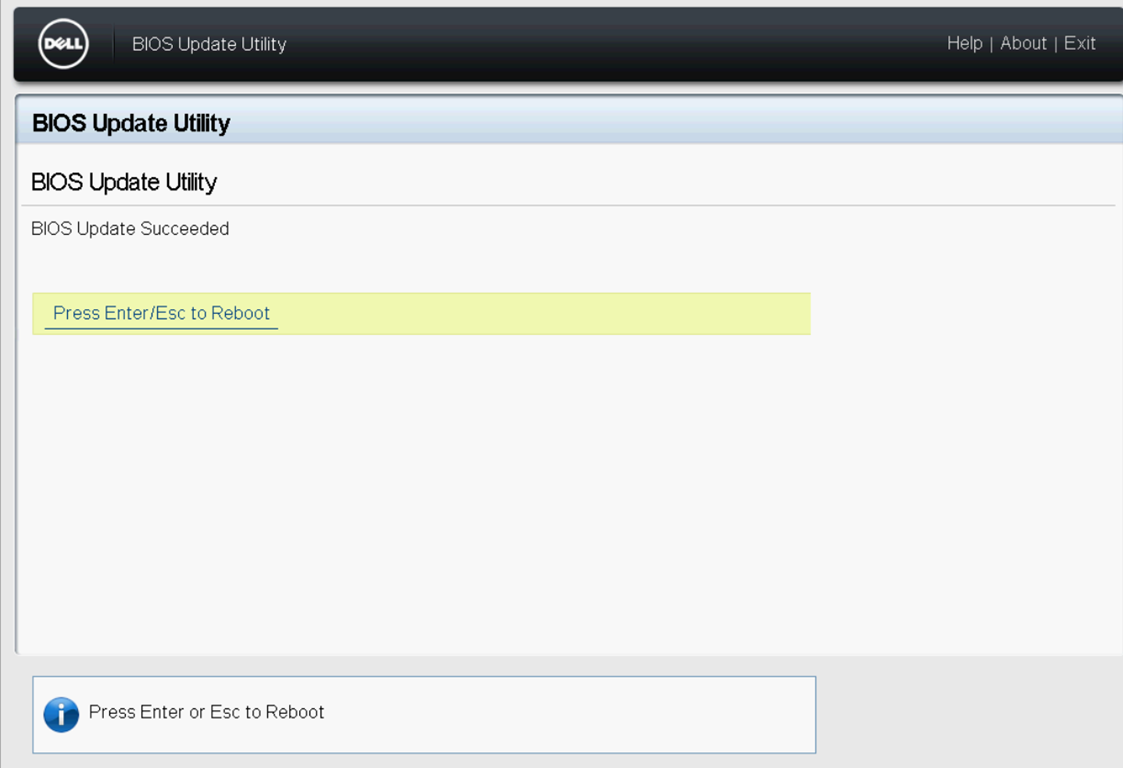
Figure 6: BIOS Update completion
The BIOS version is now updated.
Additional Information
Watch this video:
Affected Products
7920 XL Rack, Precision 7920 RackArticle Properties
Article Number: 000142454
Article Type: How To
Last Modified: 20 Aug 2024
Version: 9
Find answers to your questions from other Dell users
Support Services
Check if your device is covered by Support Services.