How to Use the Dell Migrate Tool to Migrate and Erase Data
Summary: Use the SupportAssist Dell Migrate tool to migrate and erase data from an old computer. Learn how to perform a data transfer and secure old data removal.
This article applies to
This article does not apply to
This article is not tied to any specific product.
Not all product versions are identified in this article.
Instructions
This article covers steps to perform Dell migration and erase processes using SupportAssist.
Note: Ensure that the following prerequisites are met on both old and new computers before initiating the Dell Migrate process.
- Dell Migrate helps move files and settings from your old computer.
- Applications are not migrated. Applications must be downloaded and installed separately. To ensure the best migration experience, it is recommended to install applications before running Dell Migrate.
- For data migration, the operating system that is installed on old computer must be Windows 7 or later.
- The operating system that is installed on new computer must be Windows 10 or later. Windows 10 S is unsupported.
- You must be signed in as an administrator on both the old and the new computers to perform Dell migration. Dell Migration requires advanced permissions to perform migration functions on your computer.
- Both the old and the new computers must be connected to the same local network.
- Both the old and the new computers must be connected to a power outlet throughout the data migration process.
- Ensure that no other applications are in use or open.
- Applications must be closed before migrating (Browsers, Control Panel, System Settings, and so forth)
- For data erase, the operating system that is installed on old computer must be Windows 8.1 or later.
- Dell Migrate is Available for Purchase on Inspiron, Inspiron G series, XPS, and Alienware Products.
Dell Migration and Erase Process
- Launch the Dell SupportAssist application on your new Dell computer from the start menu by searching for SupportAssist. On your new Dell computer, in the search box next to the start icon on the taskbar, enter SupportAssist. Click SupportAssist from the list of results.
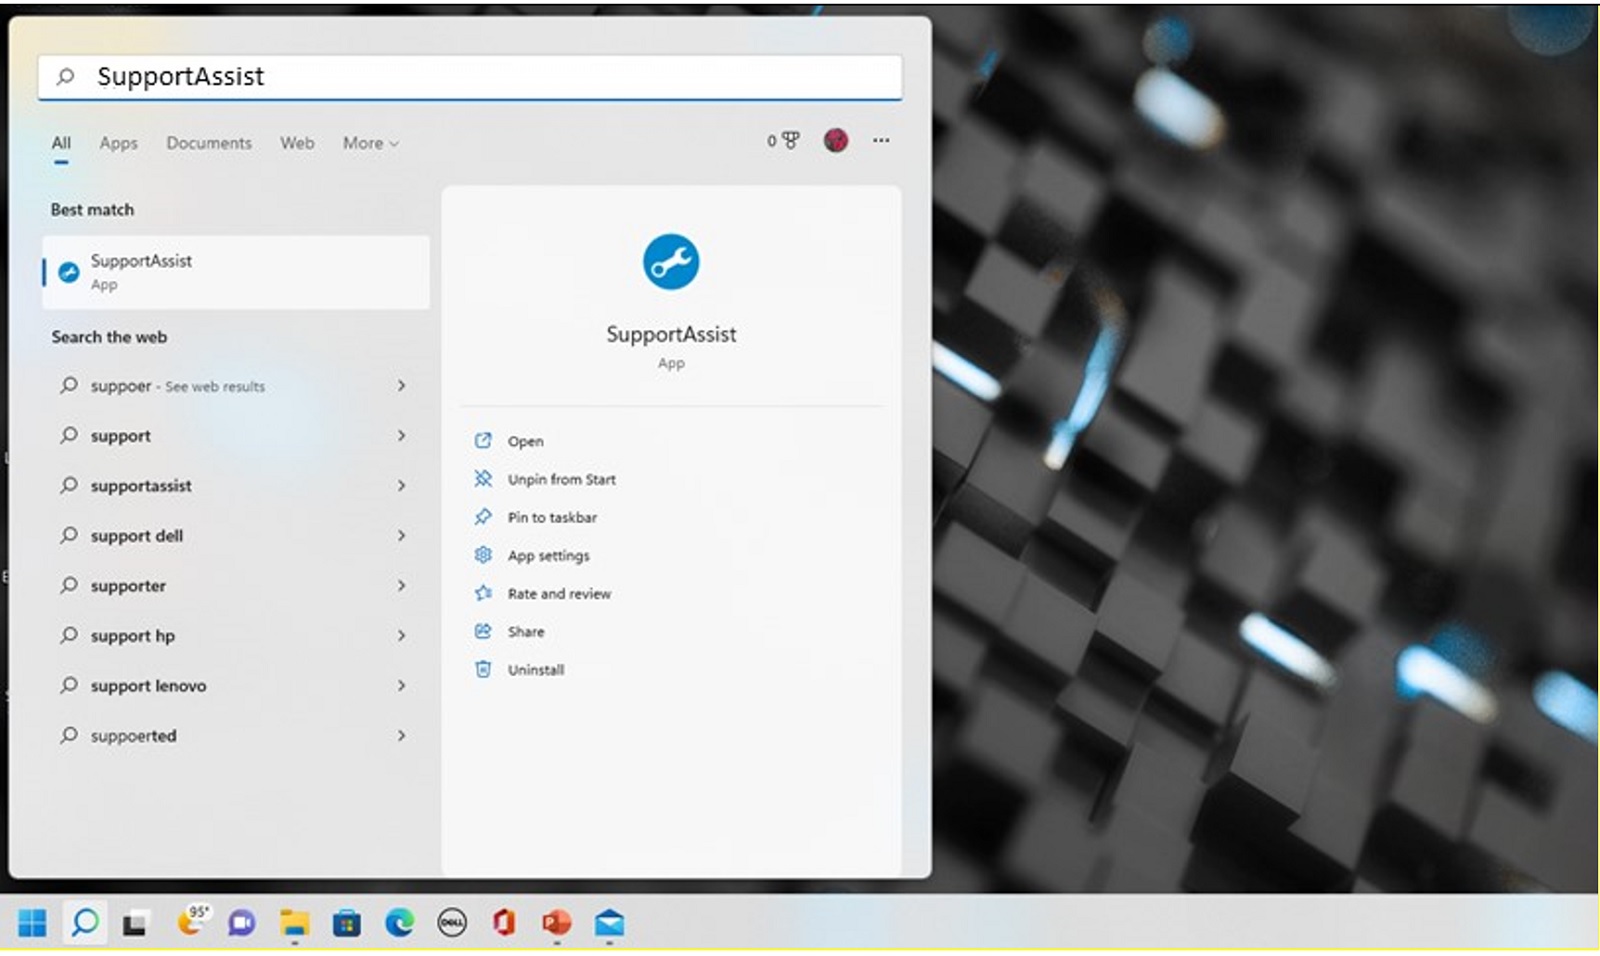 Note: If it is not installed on your computer, you can download SupportAssist and install it: Download SupportAssist
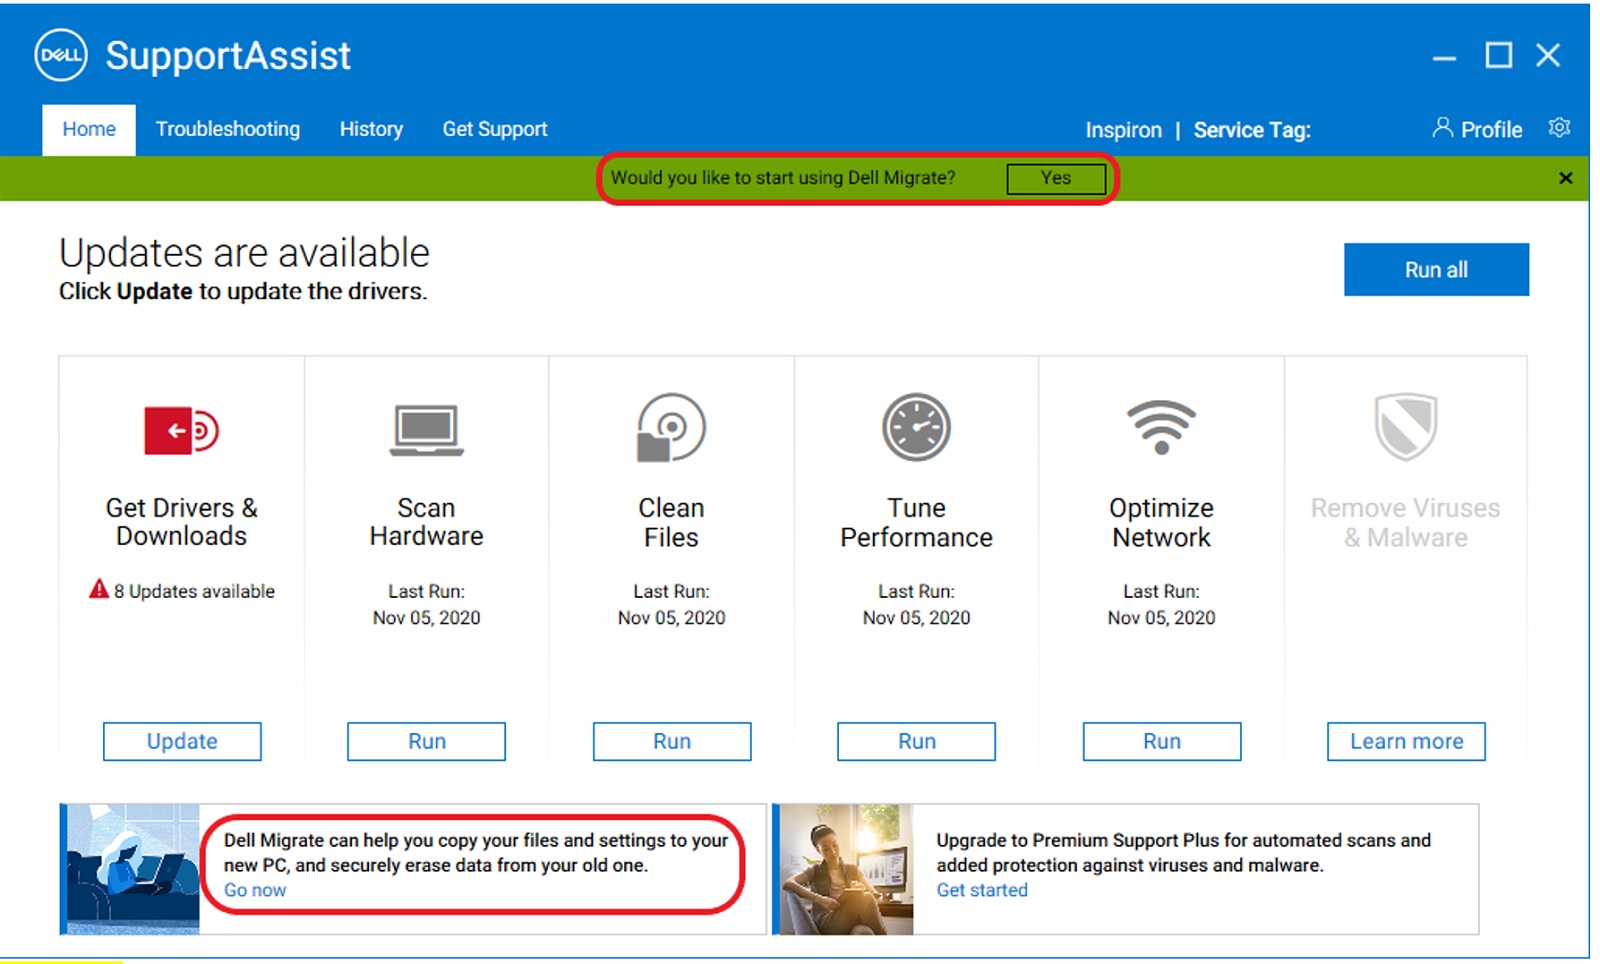
 - On the new computer, click Yes on the green banner 'Would you like to start using Dell Migrate?'. You can also click Go now at the bottom left under Dell Migrate.
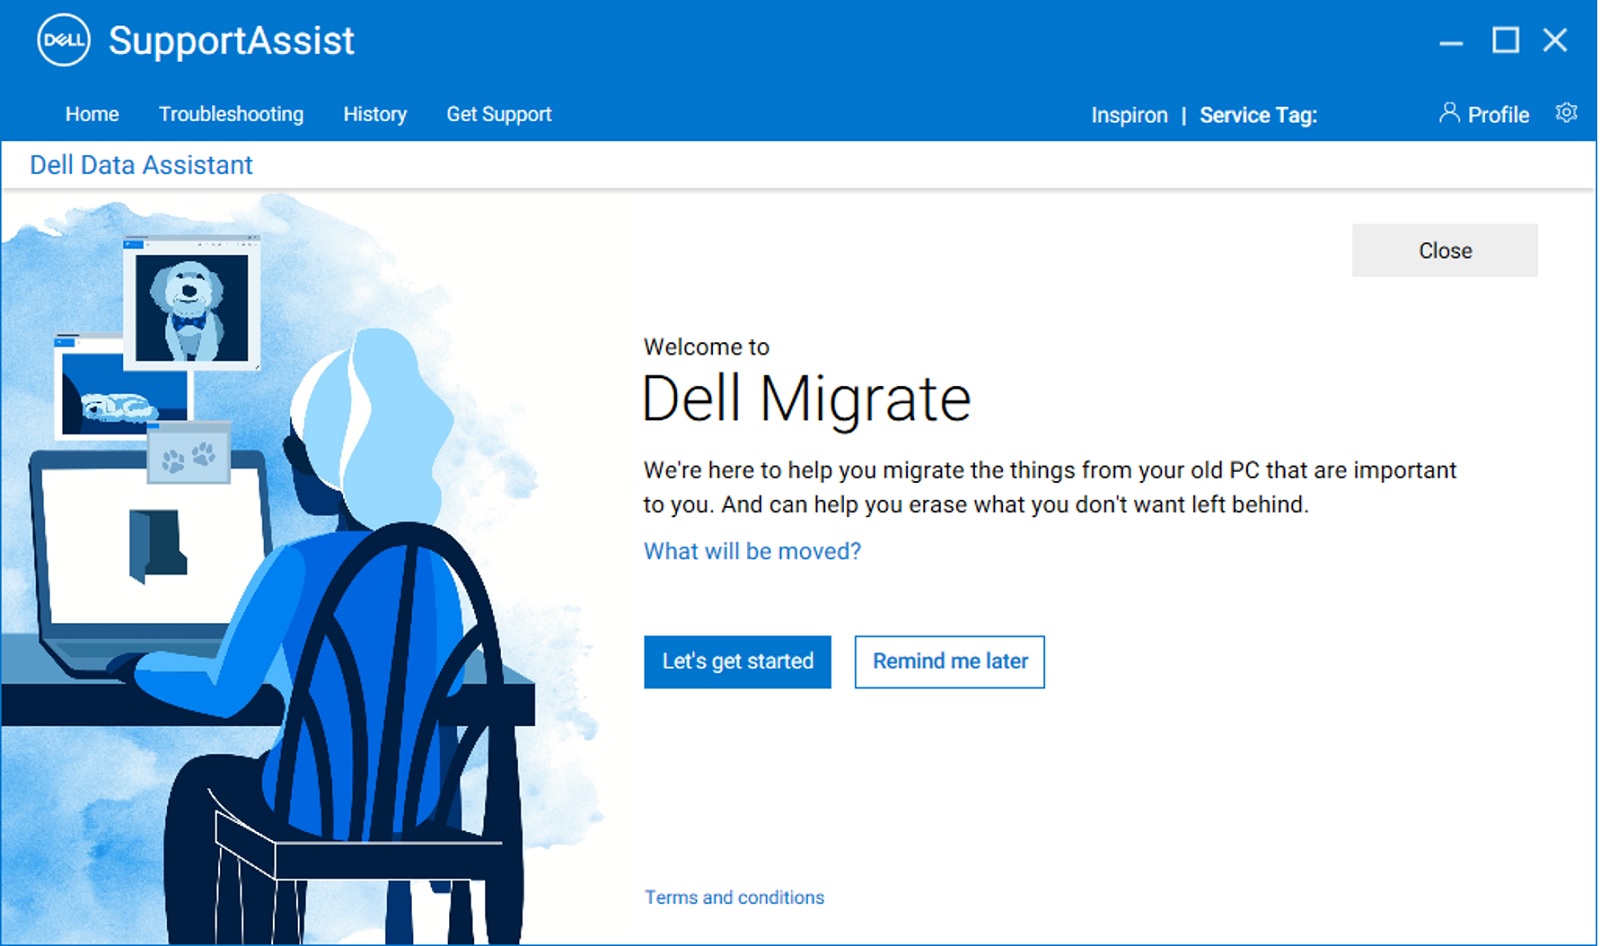
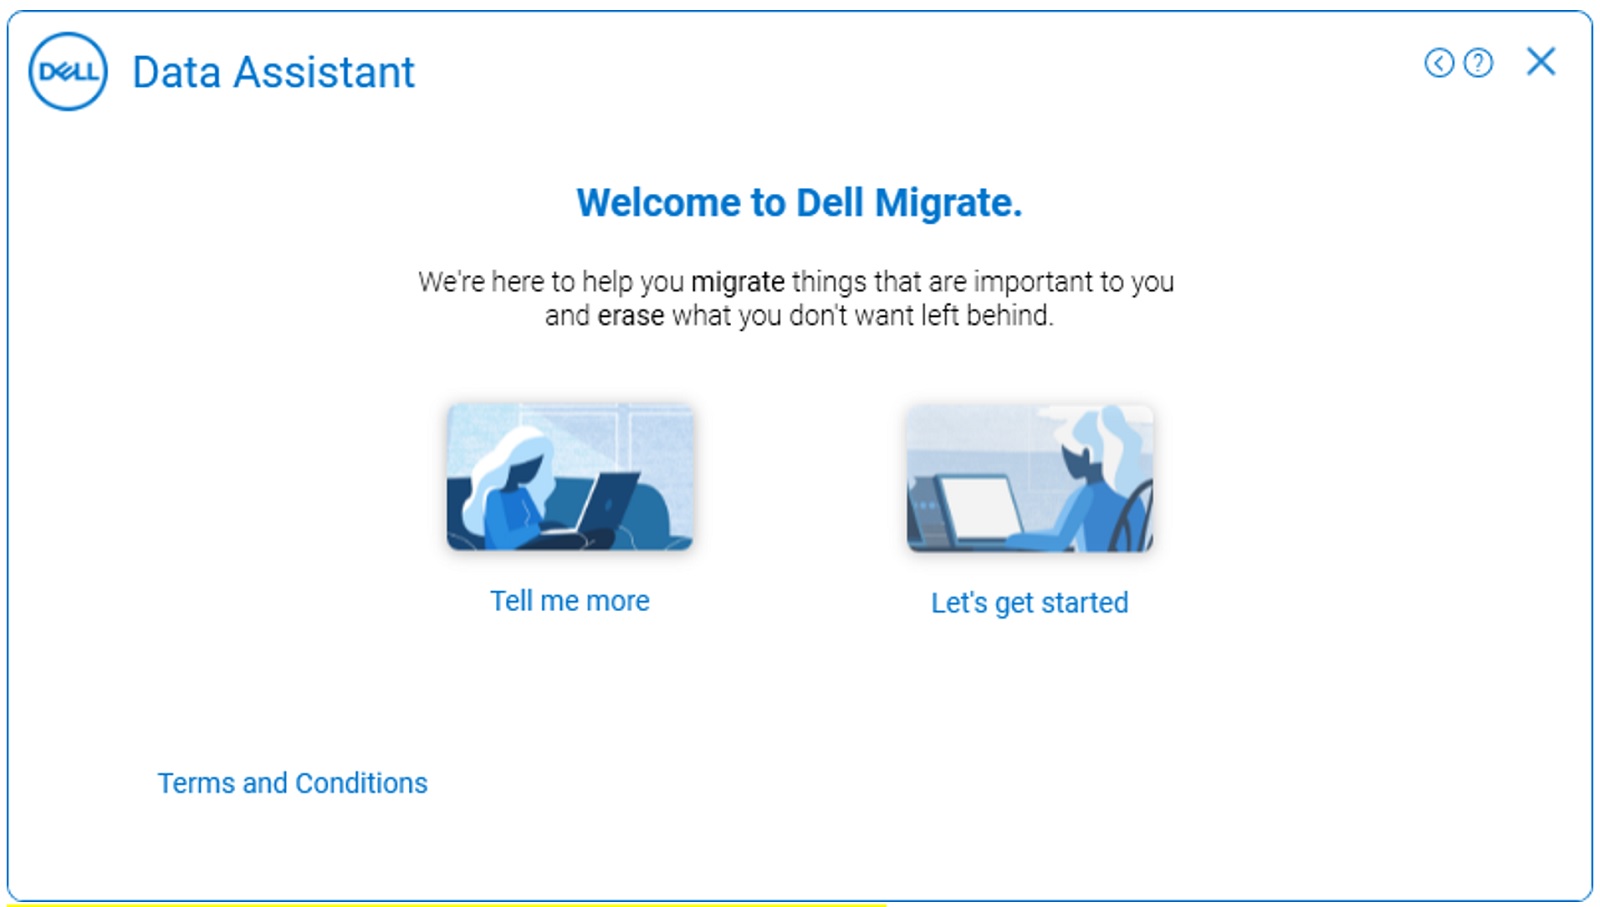
- On the next screen, you will see the welcome page for Dell Migrate. Click Let’s get started to begin connecting both computers.
Note: Click Terms and conditions to review the service contract.
- It begins to validate the pre-requisites for connecting both computers.
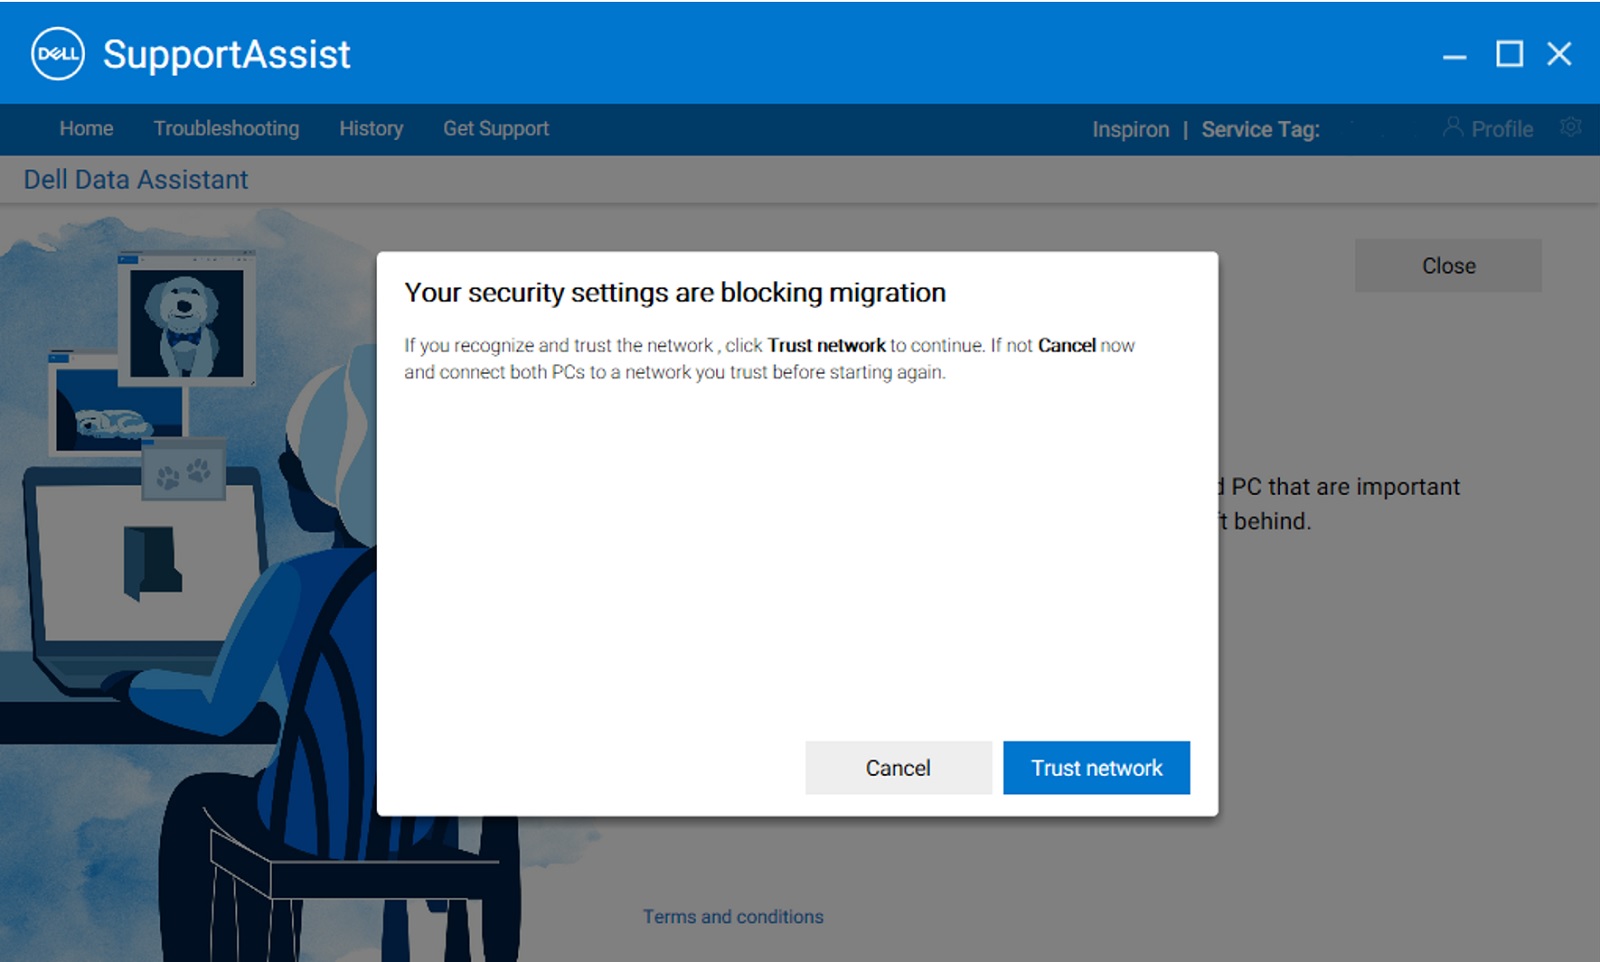
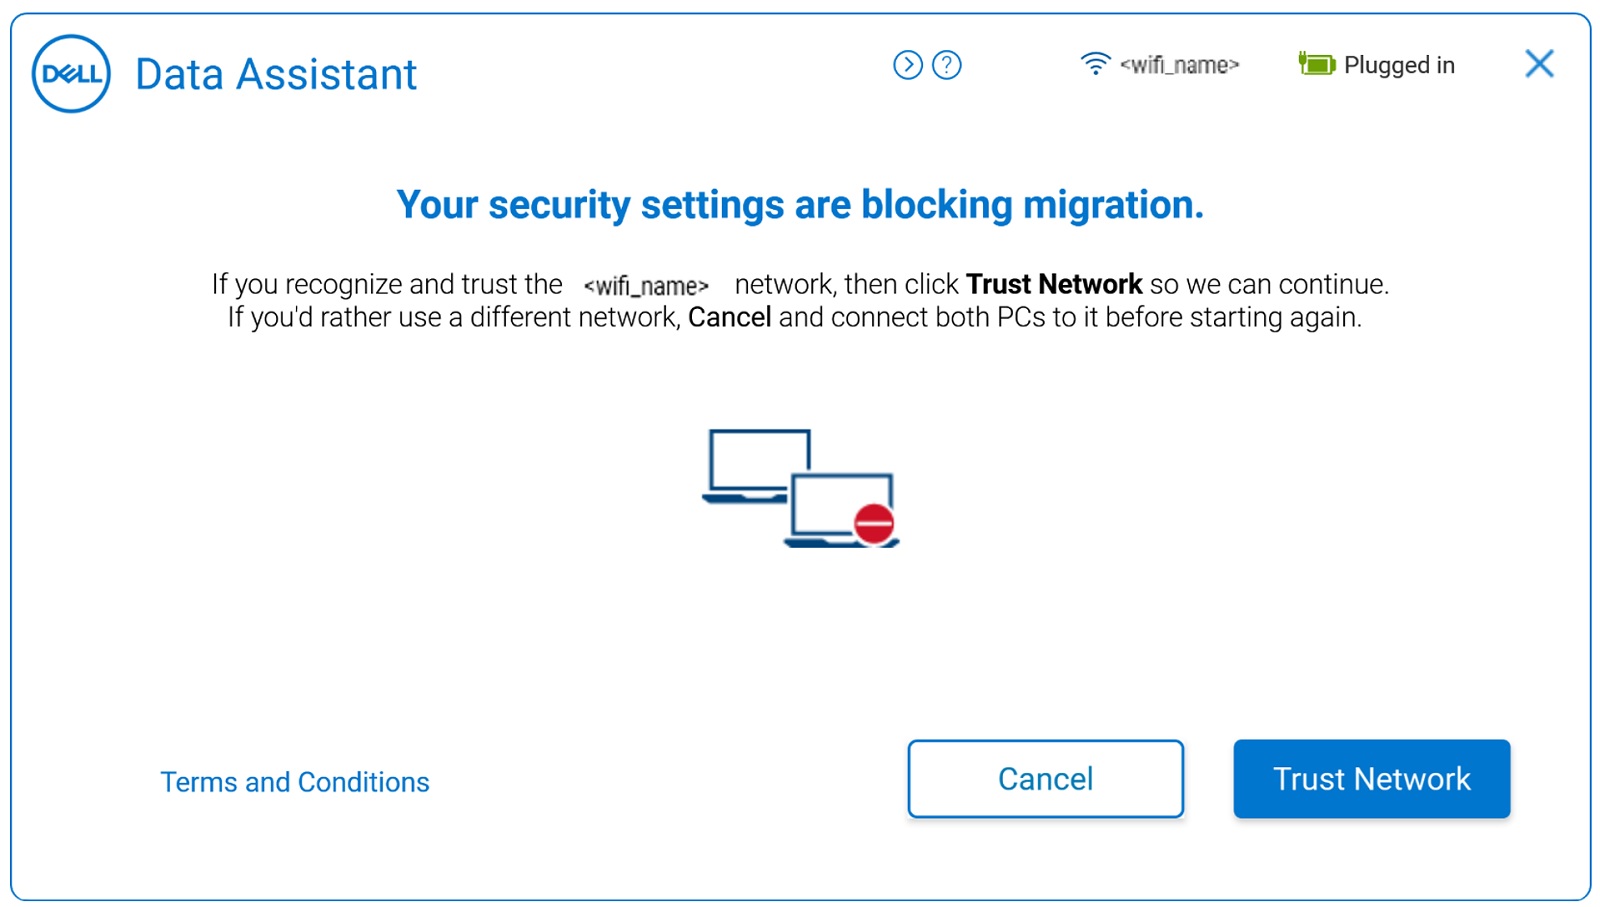
- In order to securely connect the computers, you must be on a trusted network. If you are on a network that is not classified as a trusted network on your new computer, perform one of the following steps:
- Click Trust network if you recognize and trust the network to proceed with the migration.
- Click Cancel if you do not trust the network. Reconnect to a network that you trust and restart the process.
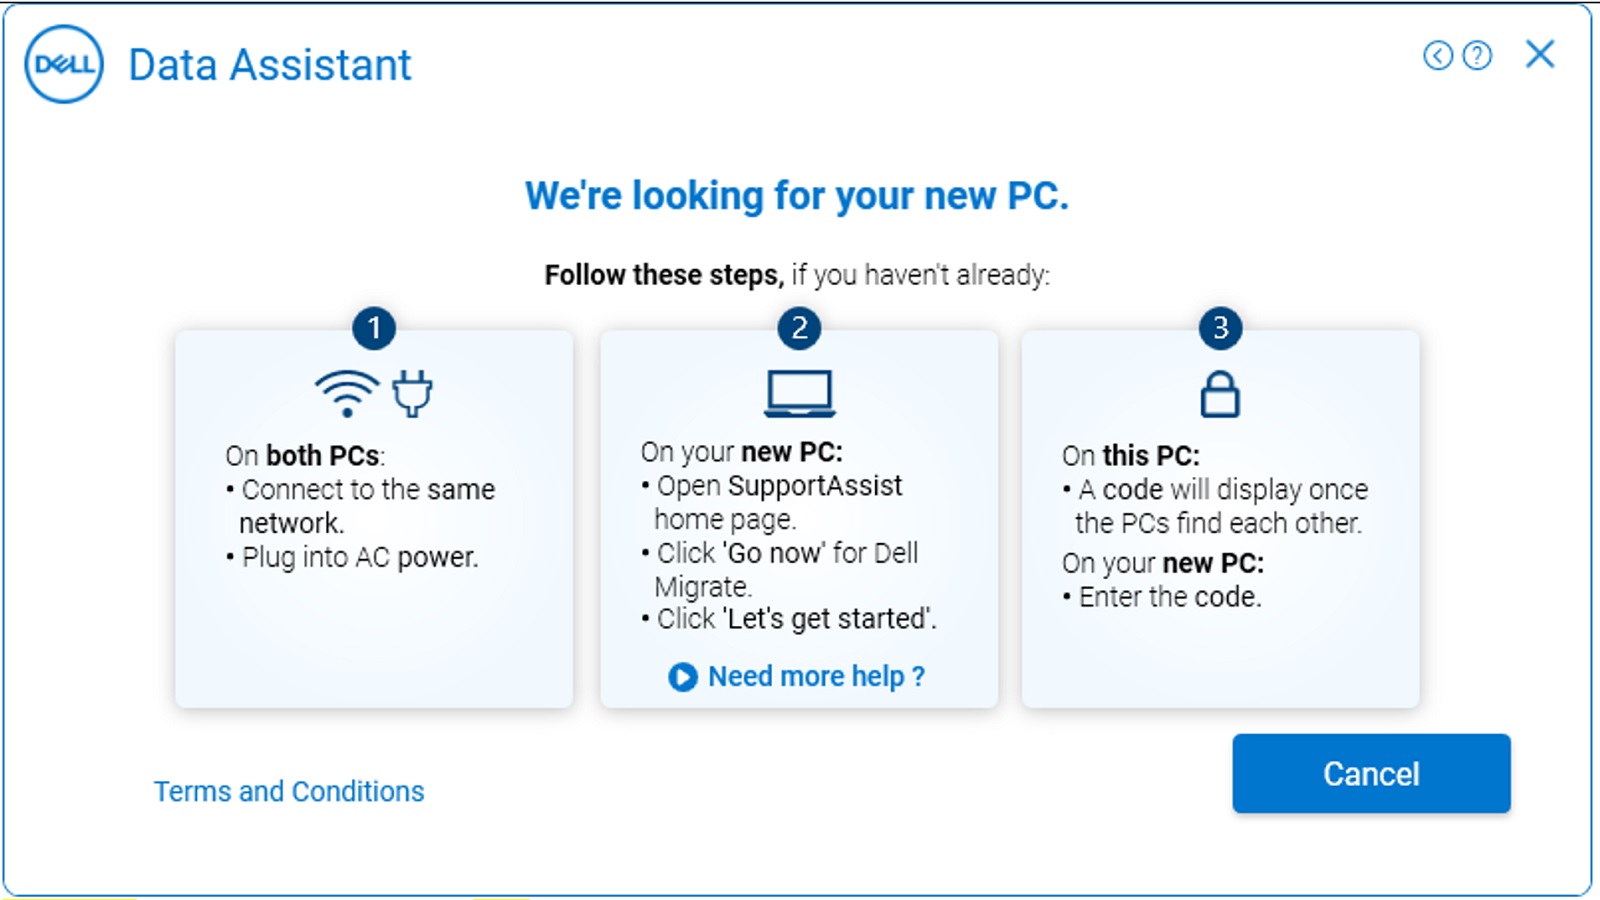
- Dell Migrate tries to connect your new computer to your old computer. It also displays instructions on how to download and install Dell Data Assistant on your old computer. Follow these instructions in sequence.
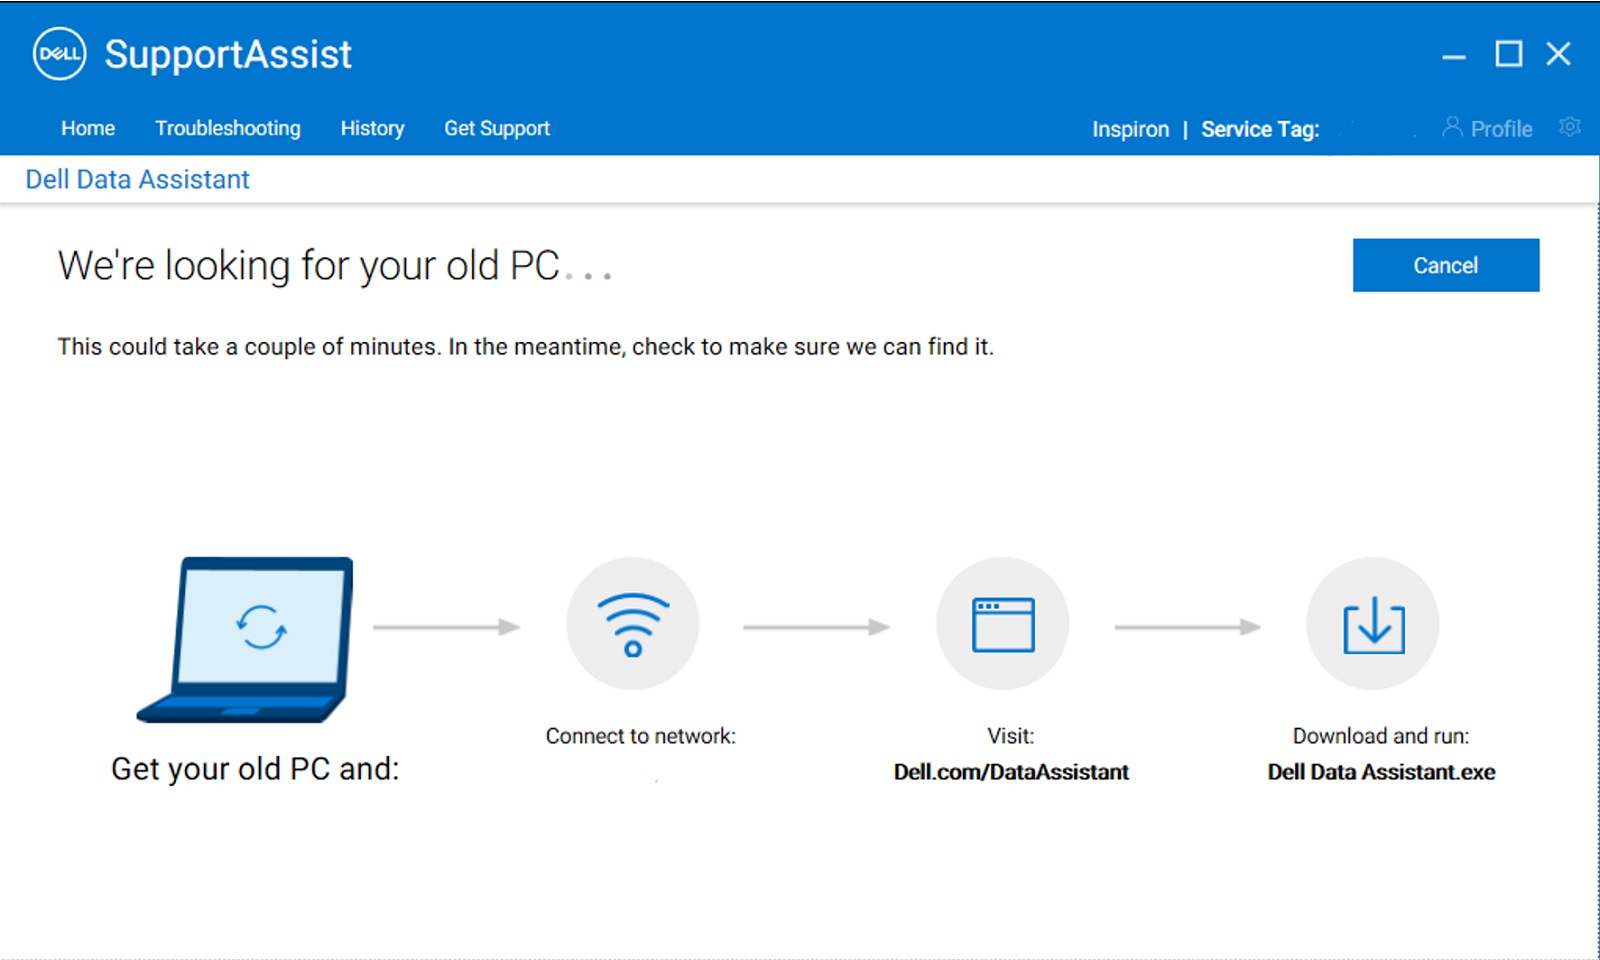
- On your old computer, open a browser and go to https://www.dell.com/en-us/lp/global-dell-migrate to download the file. Once downloaded, run Dell Data Assistant from your browser’s Downloads bar or by going to the downloaded folder on your computer.
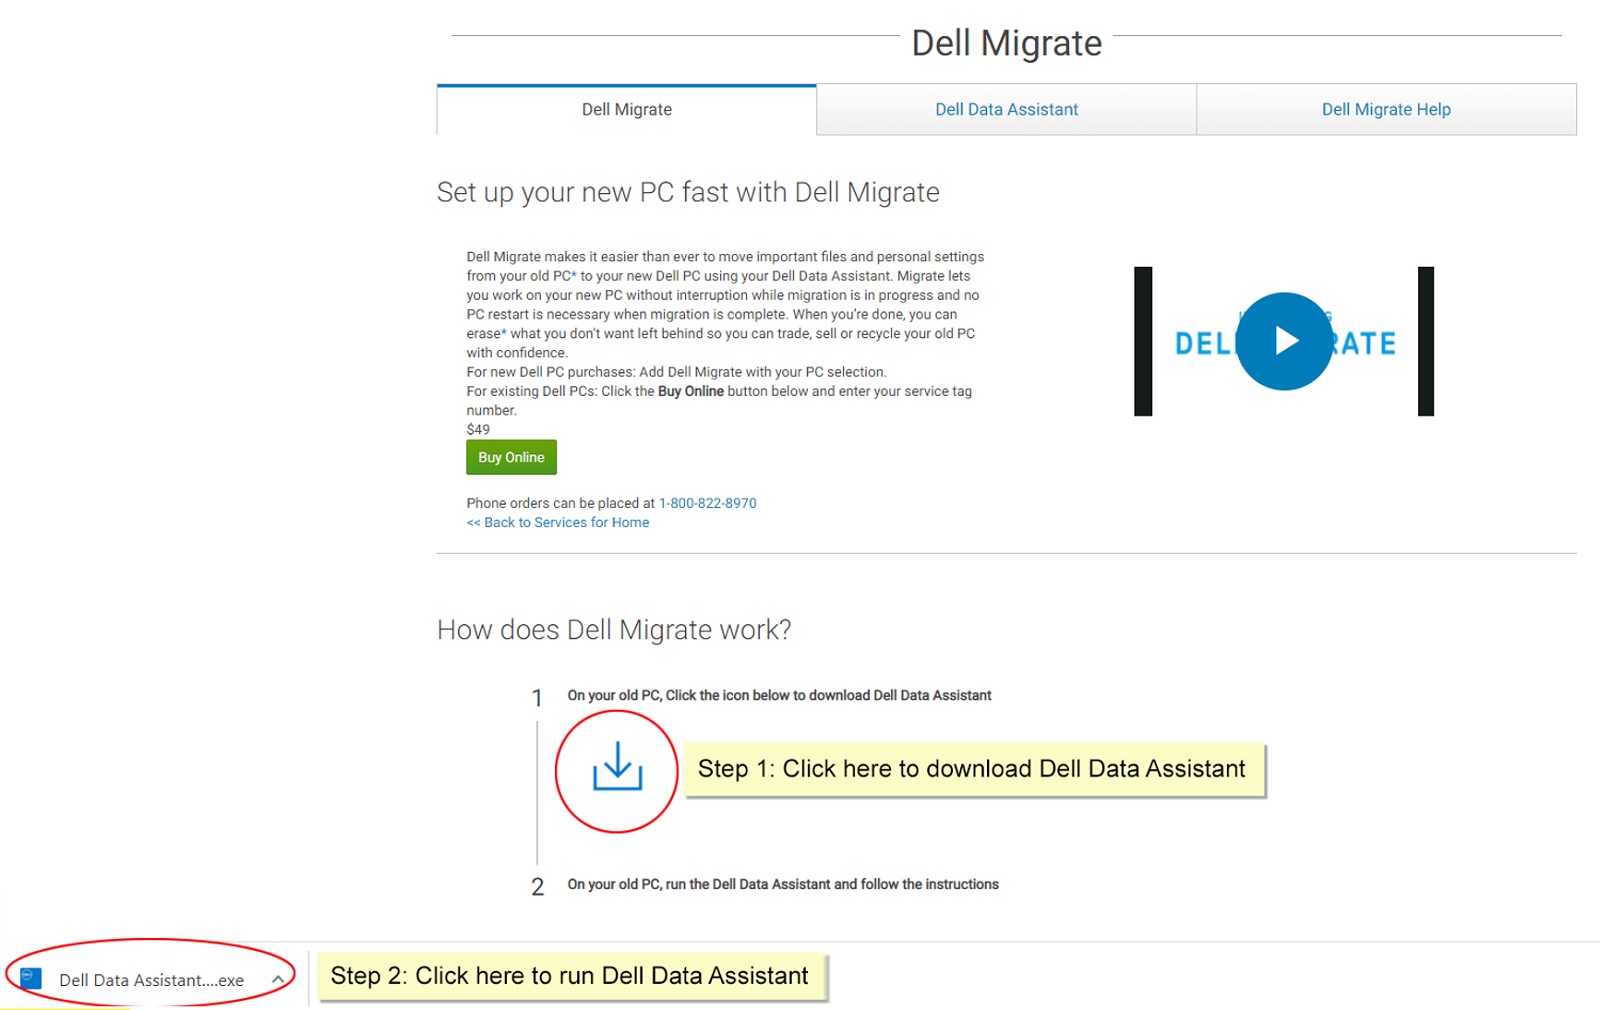
- Run Dell Data Assistant, The Dell Data Assistant runs the required prechecks on the computer and prompts you if any of the pre-requisites could not be met. For more information about the prechecks that Migrate runs, see Device discovery and prechecks.
- If your old computer is not connected to a trusted network, perform one of the following steps if you see a prompt for an untrusted network.
- Click Trust Network if you recognize and trust the network to proceed with the migration.
- Click Cancel if you do not trust the network. Reconnect to a network that you trust and restart the process.
- On the next screen, you will see the welcome page for Dell Migrate. Click Let’s get started to begin connecting the two computers.
- On the next screen, Dell Migrate tries to connect your old computer to your new computer.
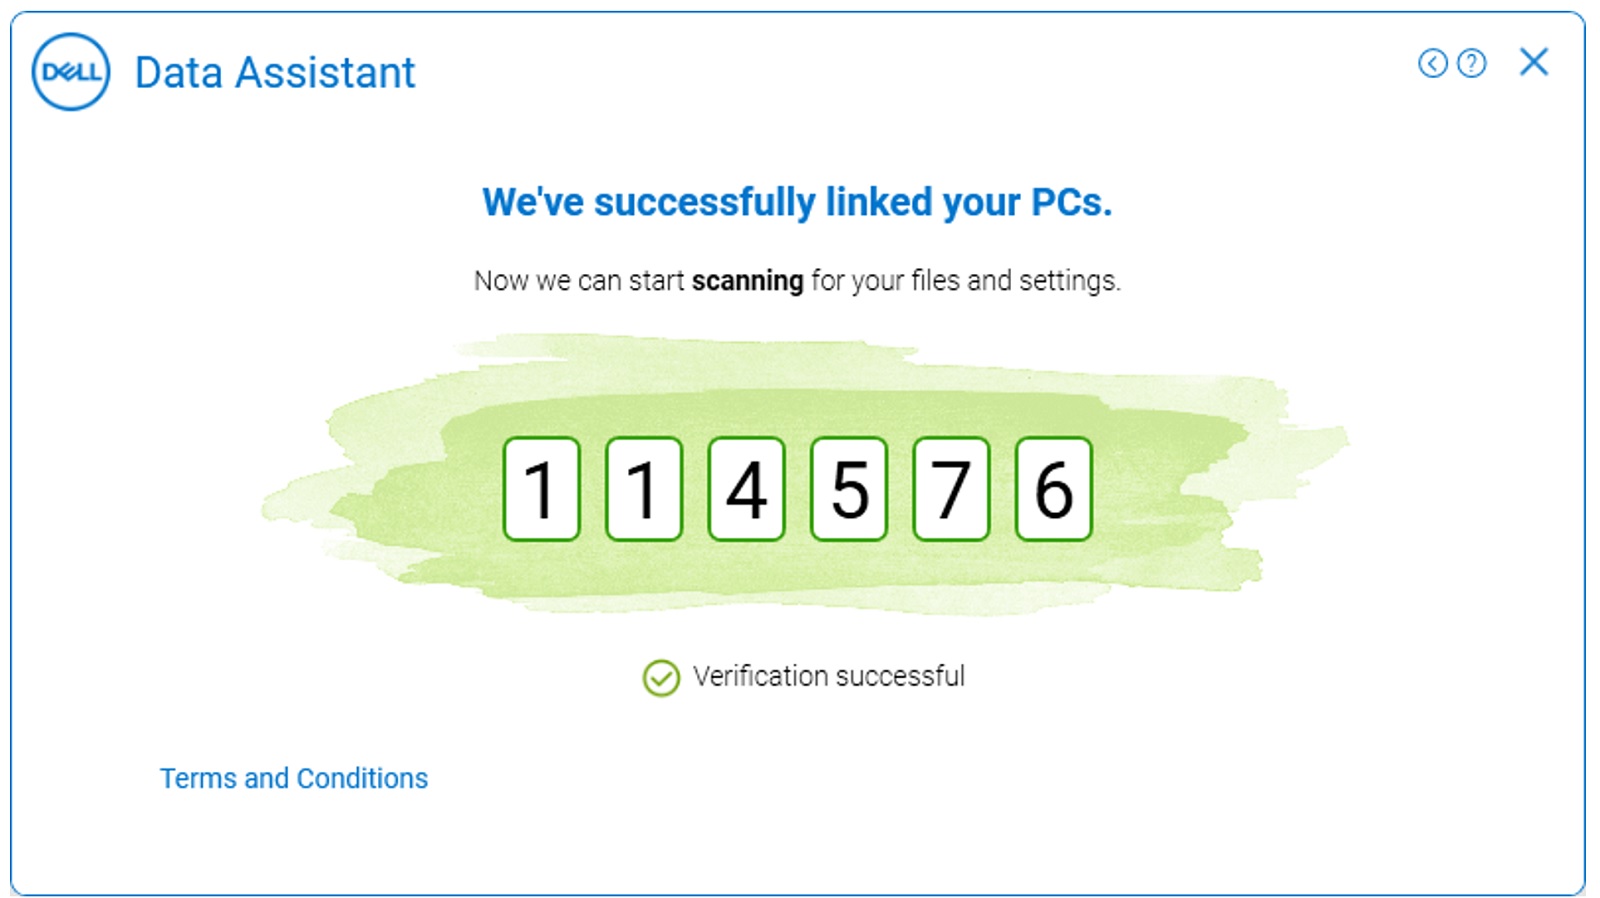
- Once the Dell Data Assistant identifies the new computer on the network, it generates a verification code. This verification code must be entered on the new computer for secure data migration as shown below.

- Enter the verification code on your new computer Once paired, a green verification code is shown on both computers.
Both the computers must remain connected to the same network throughout the migration process. Any issues while connecting the two computers leads to stopping the migration process.
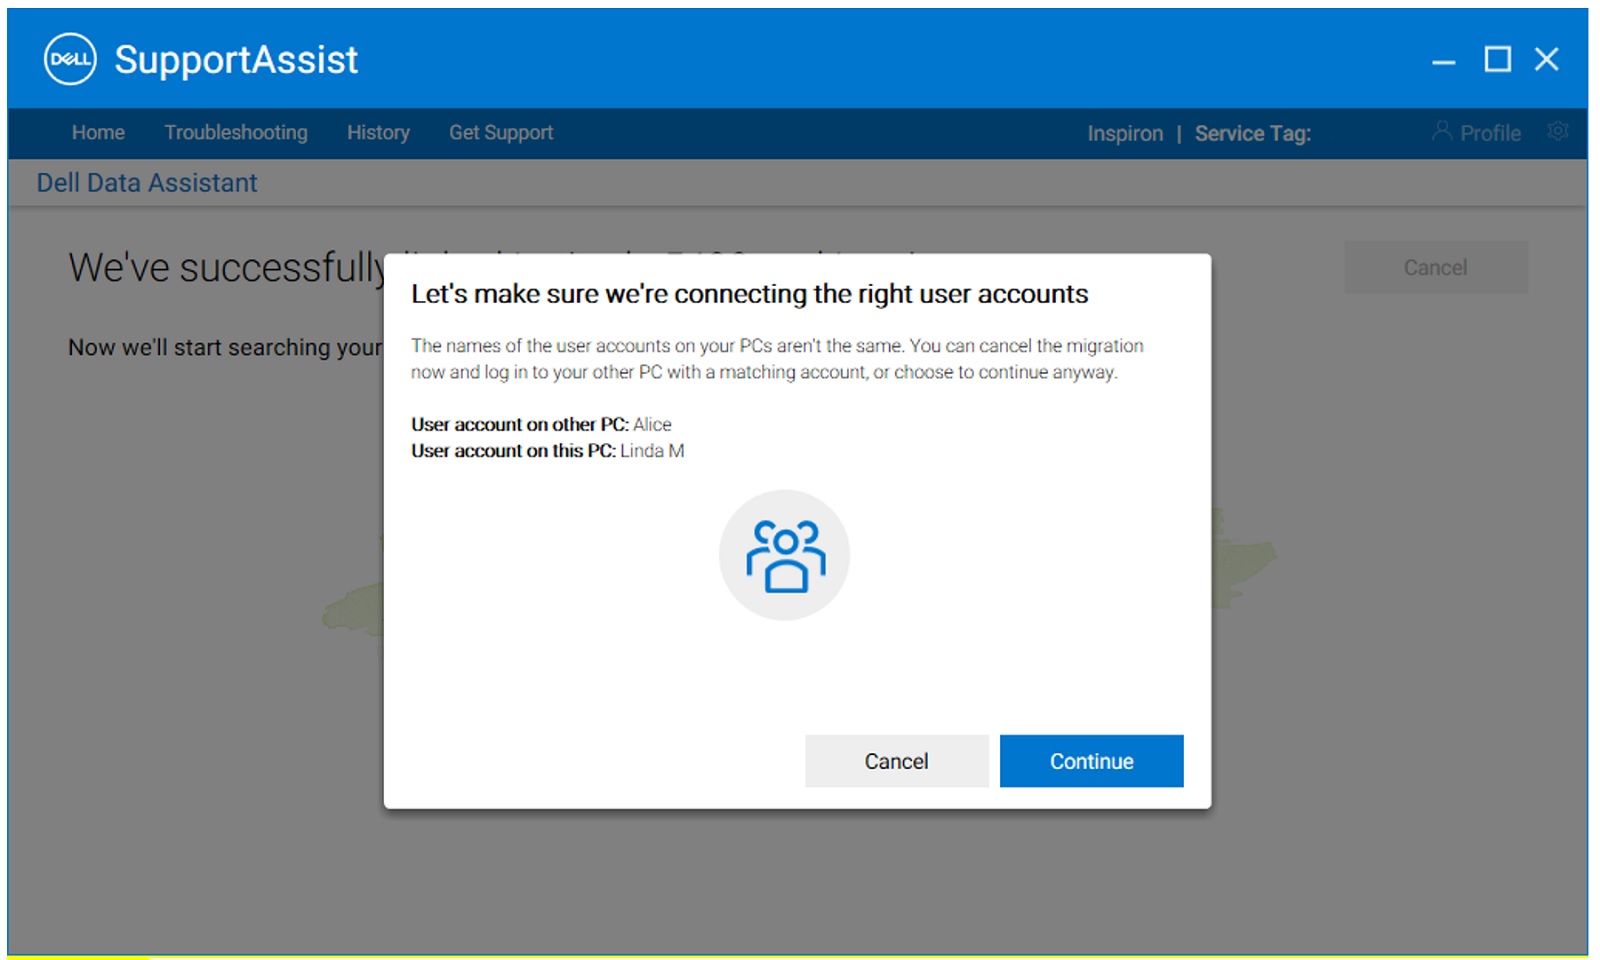
- If the Windows user profiles on the two computers do not match, a pop-up screen appears on the screen to confirm that you have used the right user profiles while starting the migration process.
You may choose to continue or log off and log in to the Windows user profile that matches on both the computers. If the user profiles are the same, it will go to the next step.
To know more about how to migrate multiple user accounts using Dell Data Assistant, see Multiple User Account Migration.
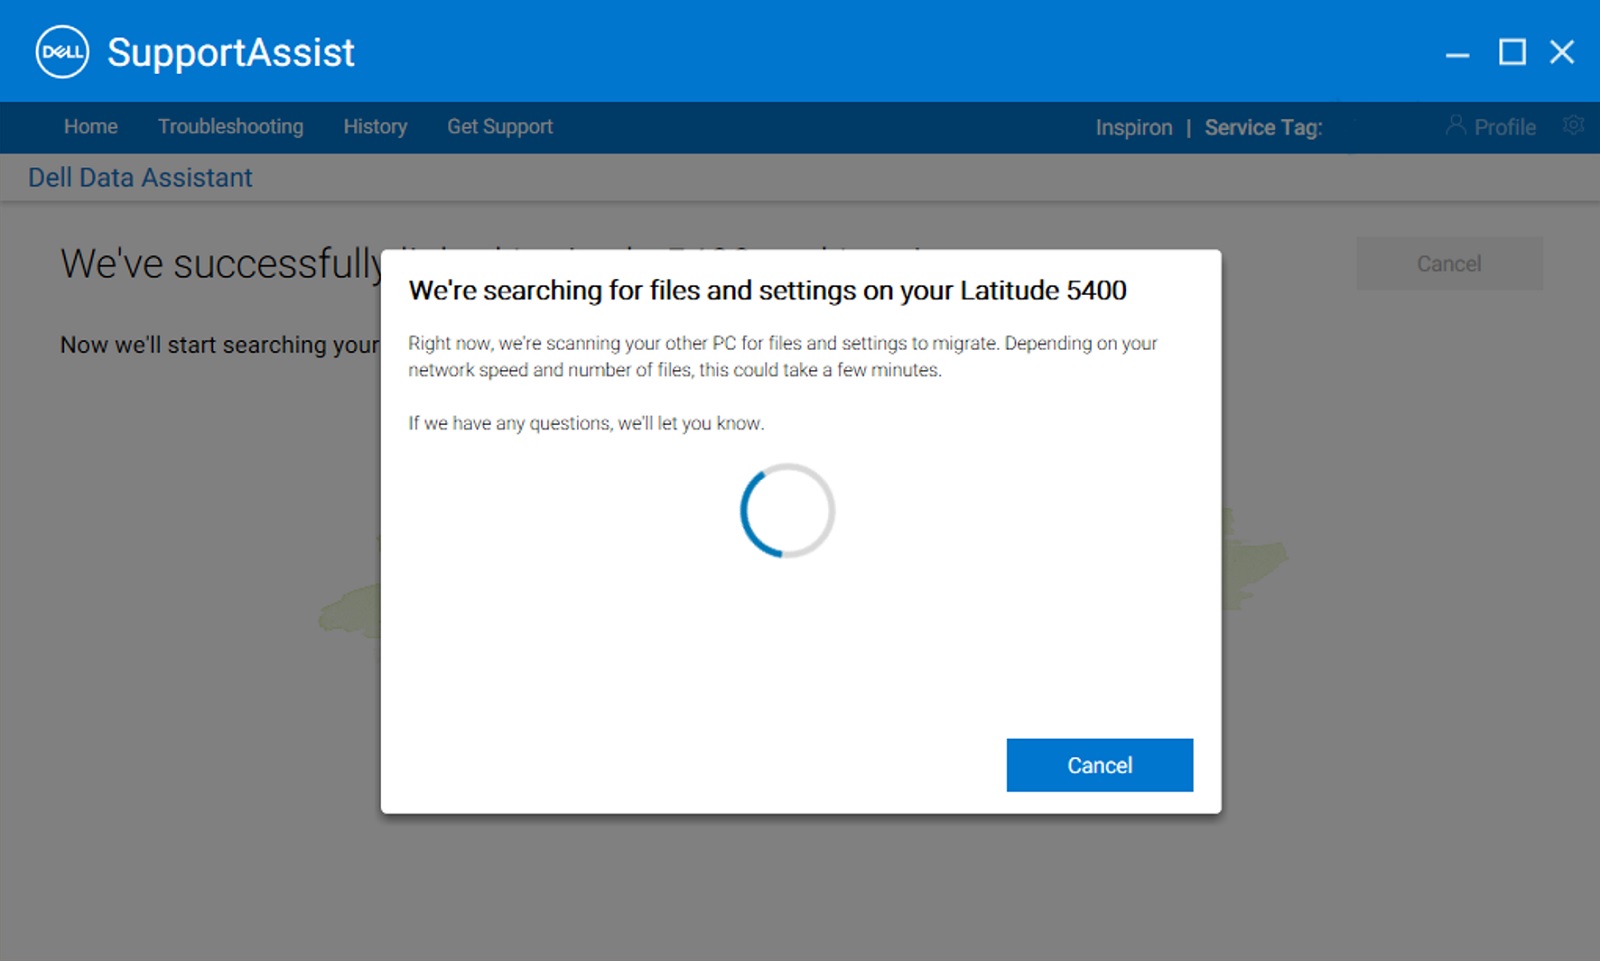
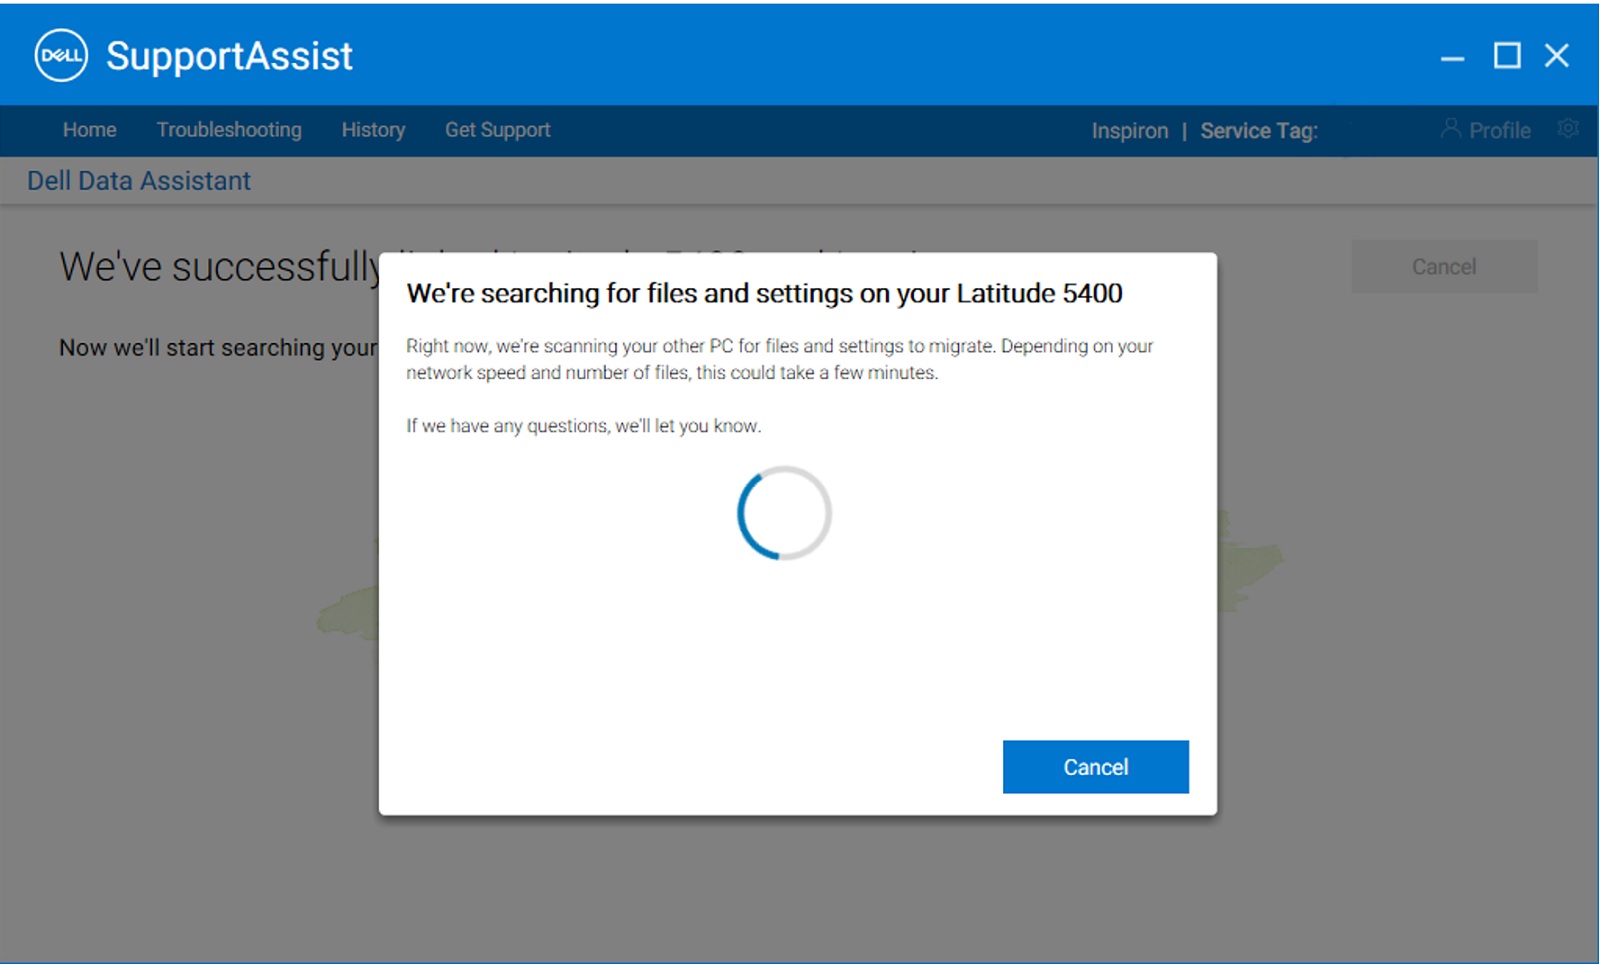
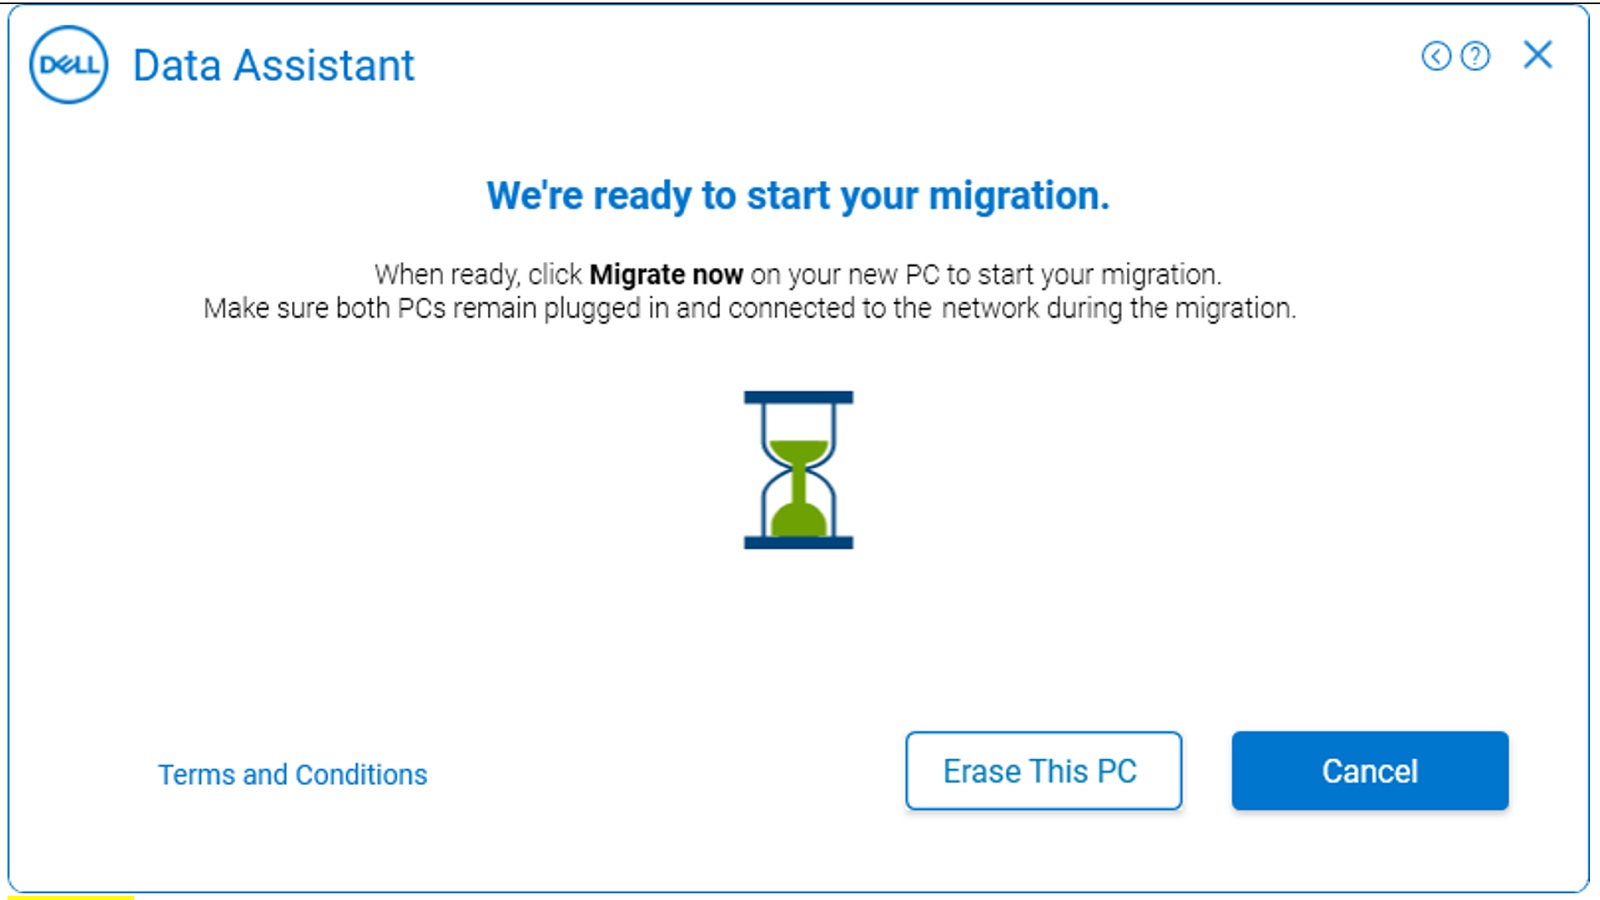
- Once both the computers are paired successfully, it starts to search on the old computer for the files, and settings to be migrated from the old computer to the new computer.
Warning: Now on the old computer you are also presented with an Erase This PC button. Only click the Erase this PC button once all your data is migrated successfully.
 Caution: Only click the Erase This PC button on OLD once all your data is migrated successfully.
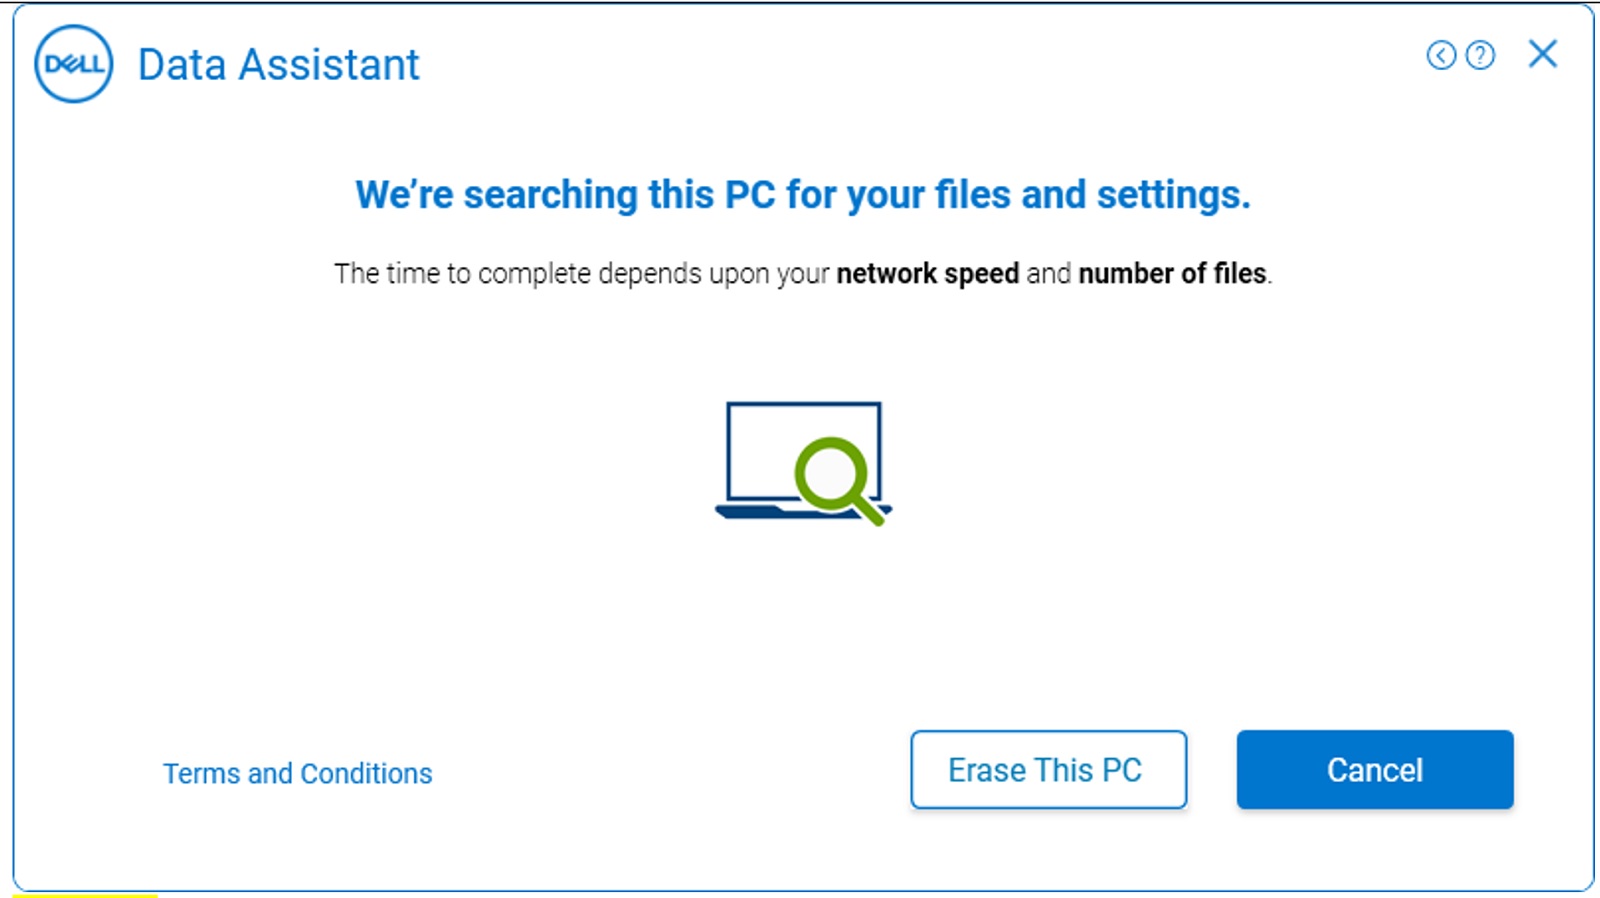
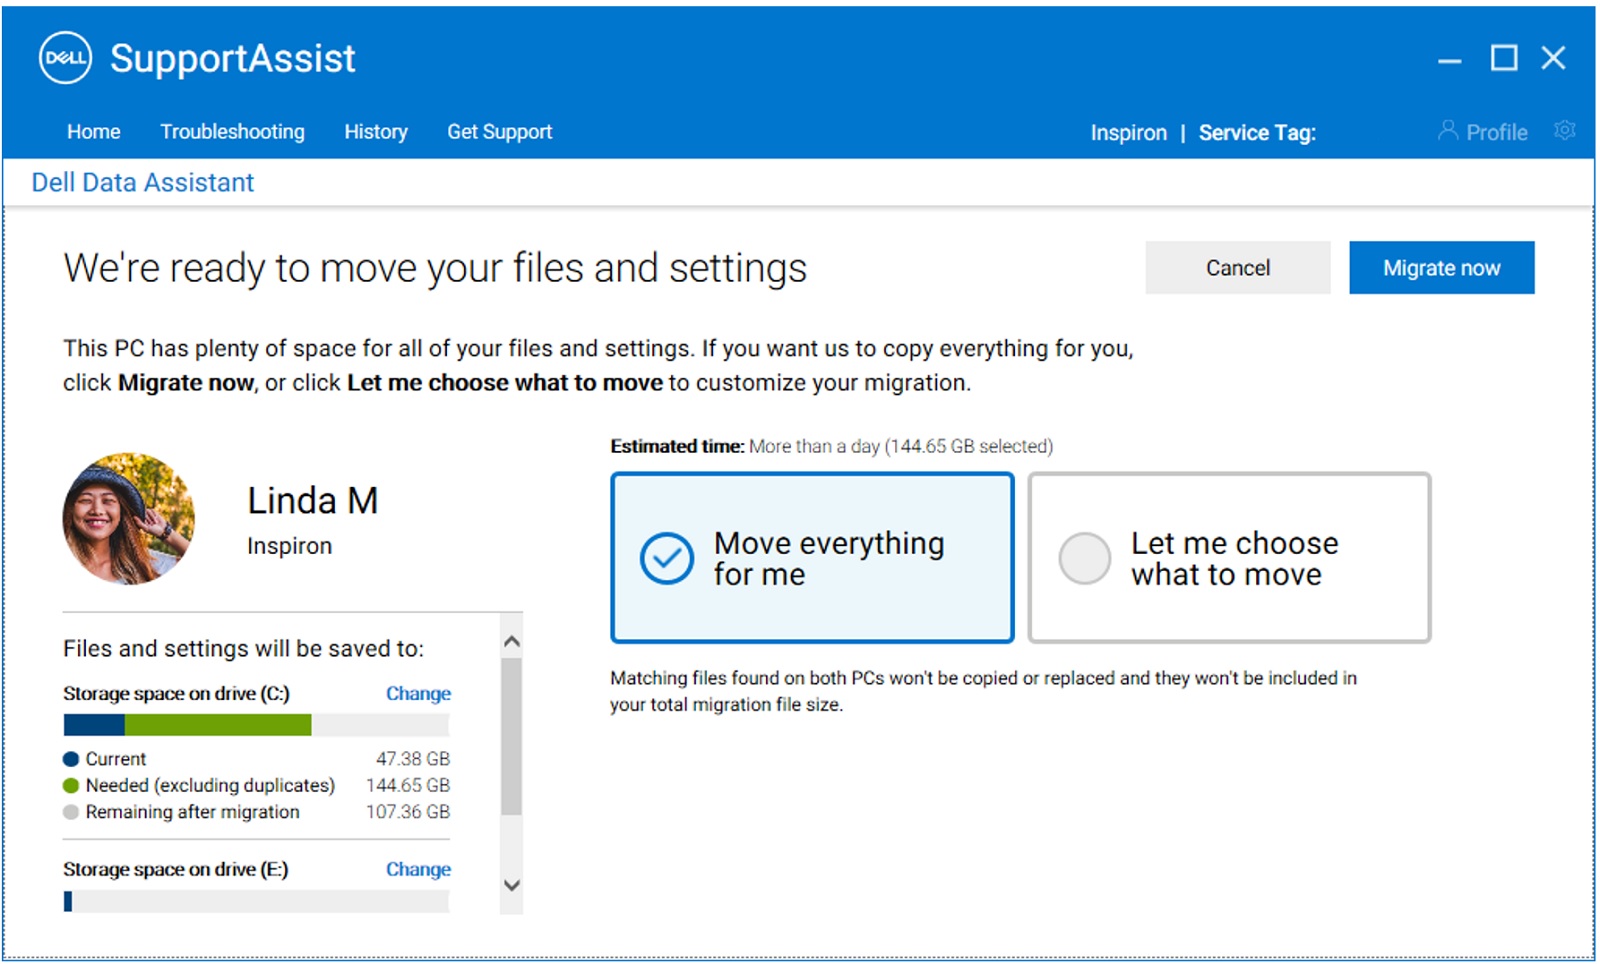
- The computers are now ready to begin with the migration and you are presented with two options;
- Click Move everything for me to move all the files and settings from the old computer to the new computer. The supported user files and settings are identified and preselected by Dell Migrate.
- Click Let me choose what to move to select the files and settings that you want to move, instead of moving everything from the old computer to the new computer.
- Once the old computer has finished scanning the files and settings to migrate, it comes up with a ready to migrate screen message. Once this message is displayed, the data transfer is ready to begin.
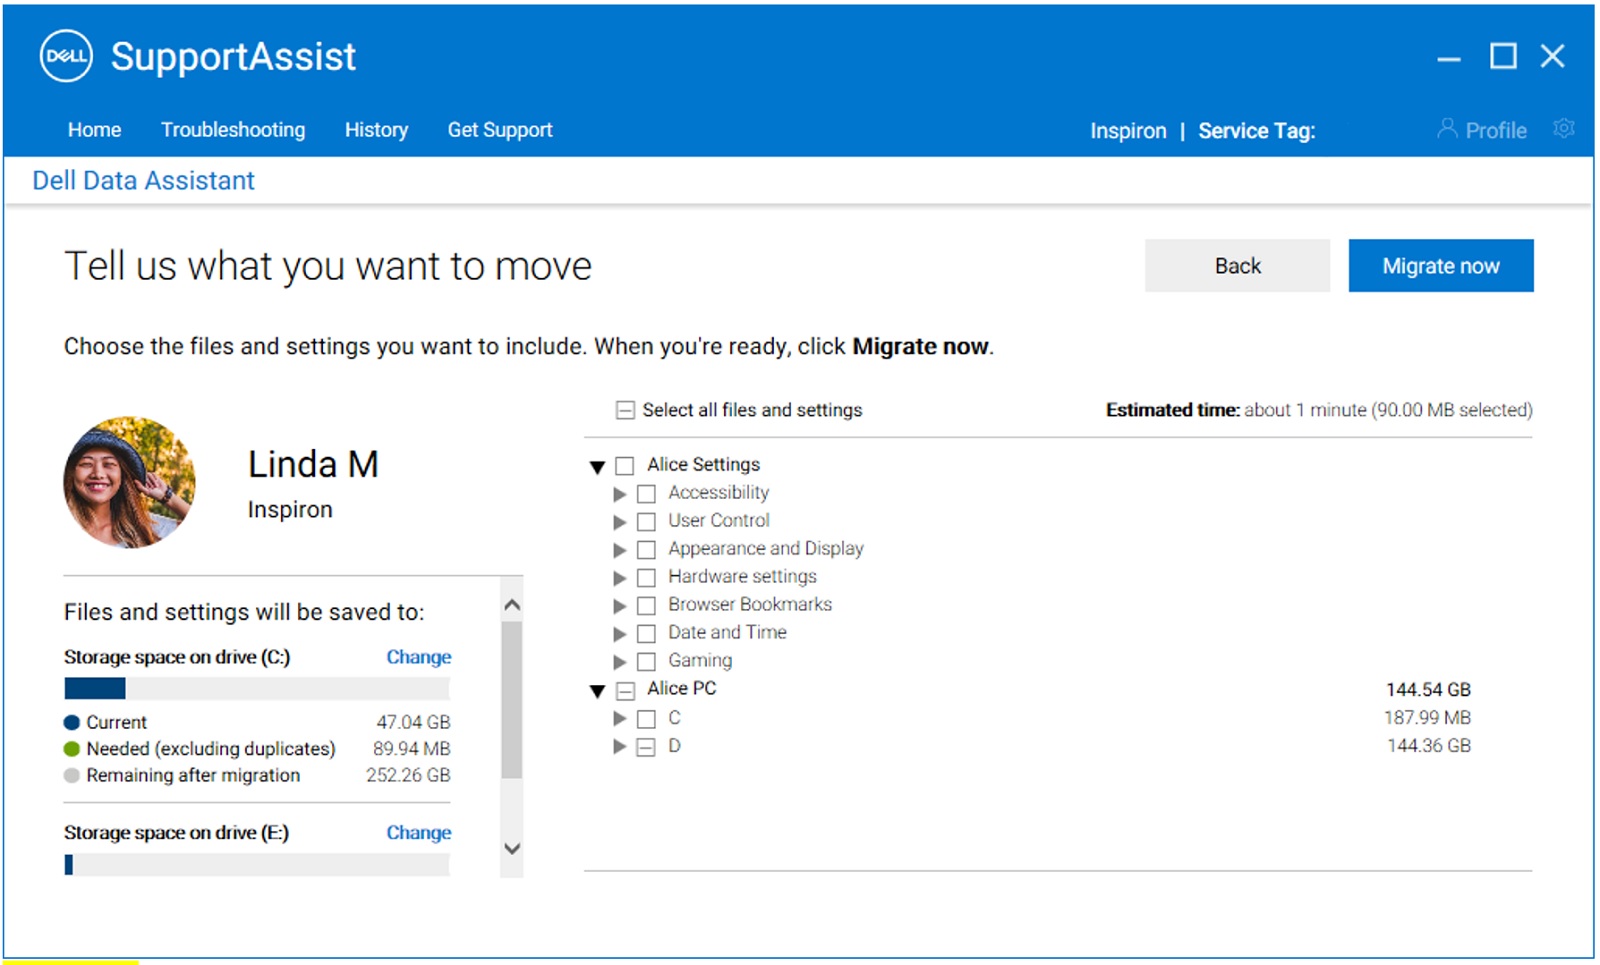
- On the new computer, you can do a custom selection of the settings and files to be migrated from your old computer to the new computer. After selection of files for migration, click Migrate Now to begin the data transfer.
If you have multiple drives on your old and/or new computer, you may change the mappings of the drives between the old and the new computer by clicking Change under Files and settings are saved to.
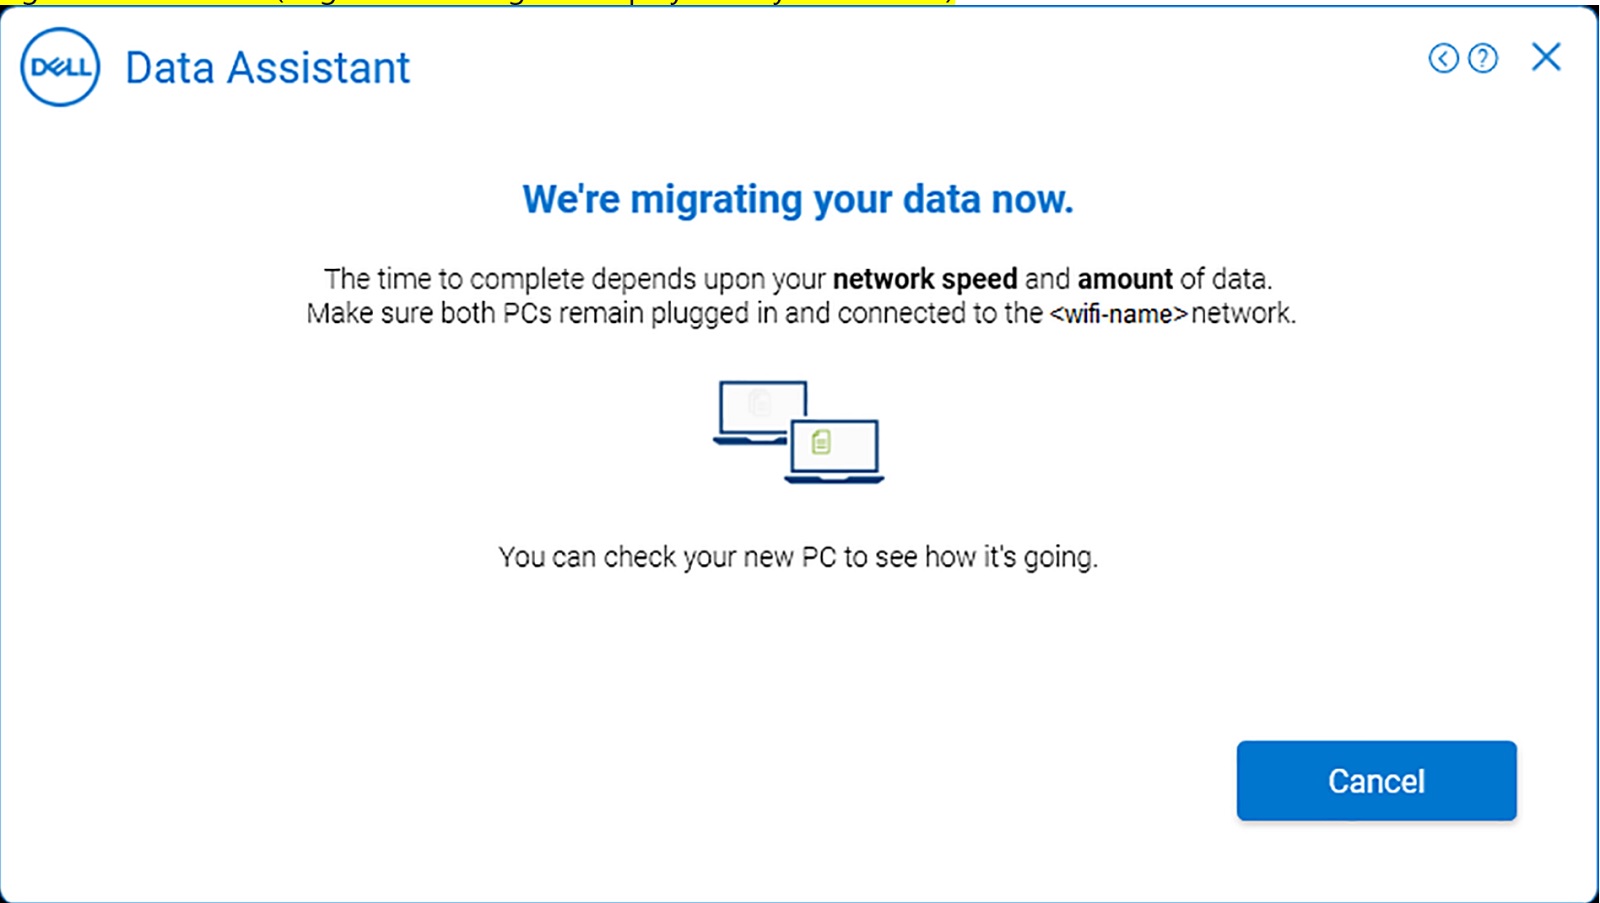
- When you click Migrate Now, the new computer displays the progress of the migration, while the old computer displays a message, "we are migrating your data now." The time that it takes to complete a migration depends on the network speed and the amount of data selected.

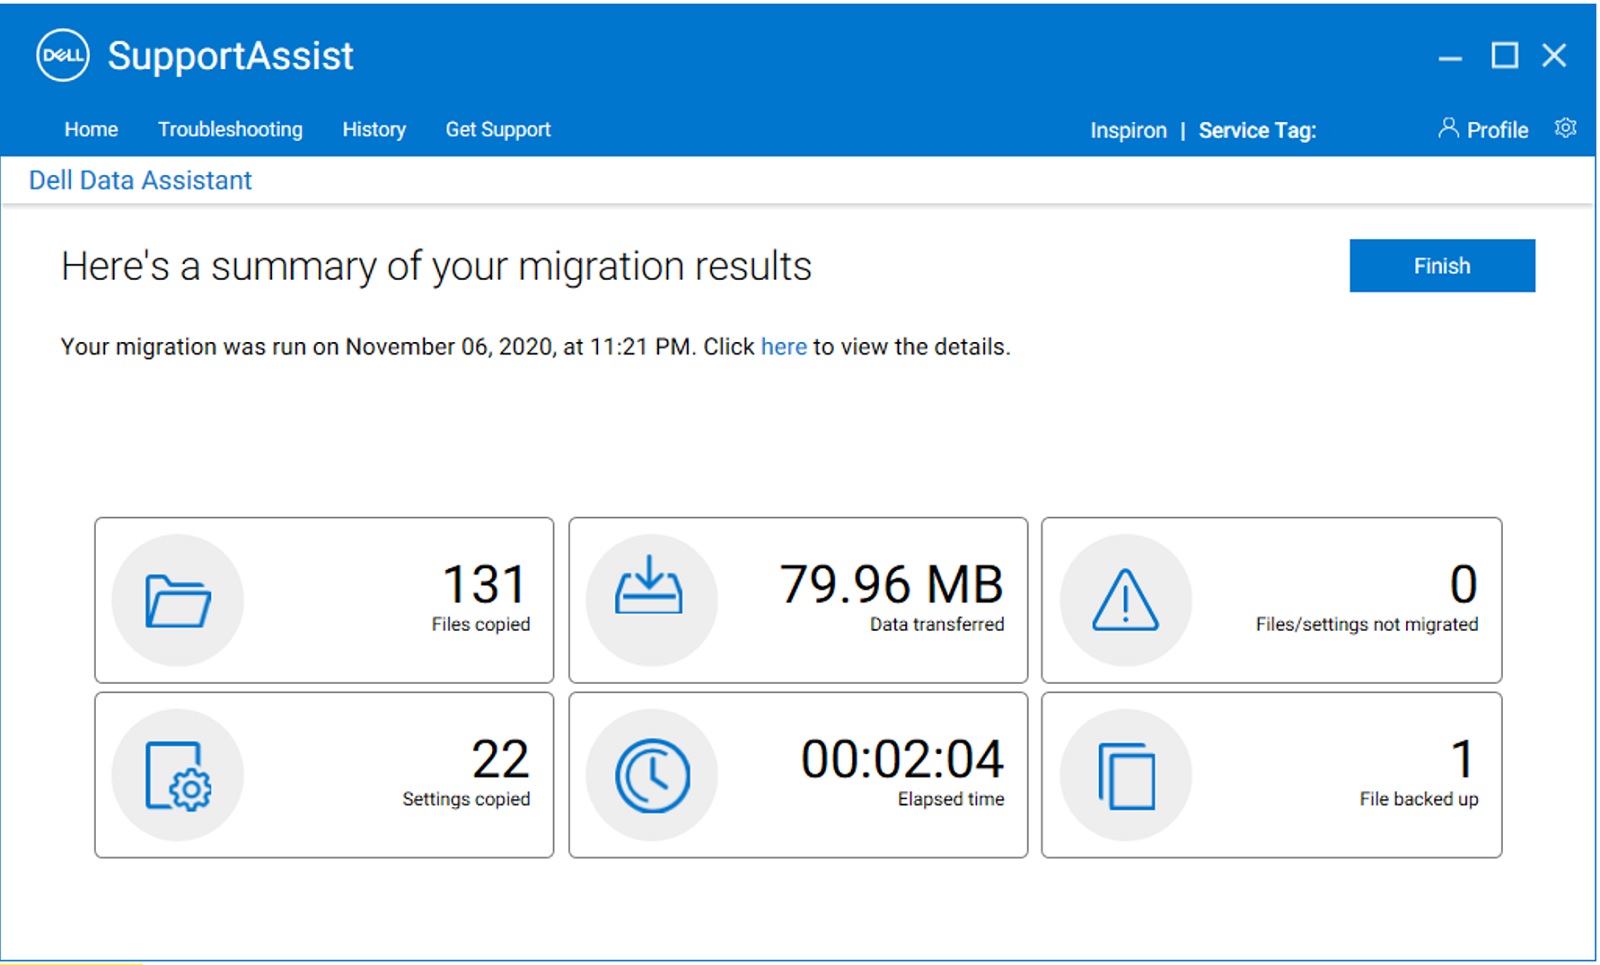
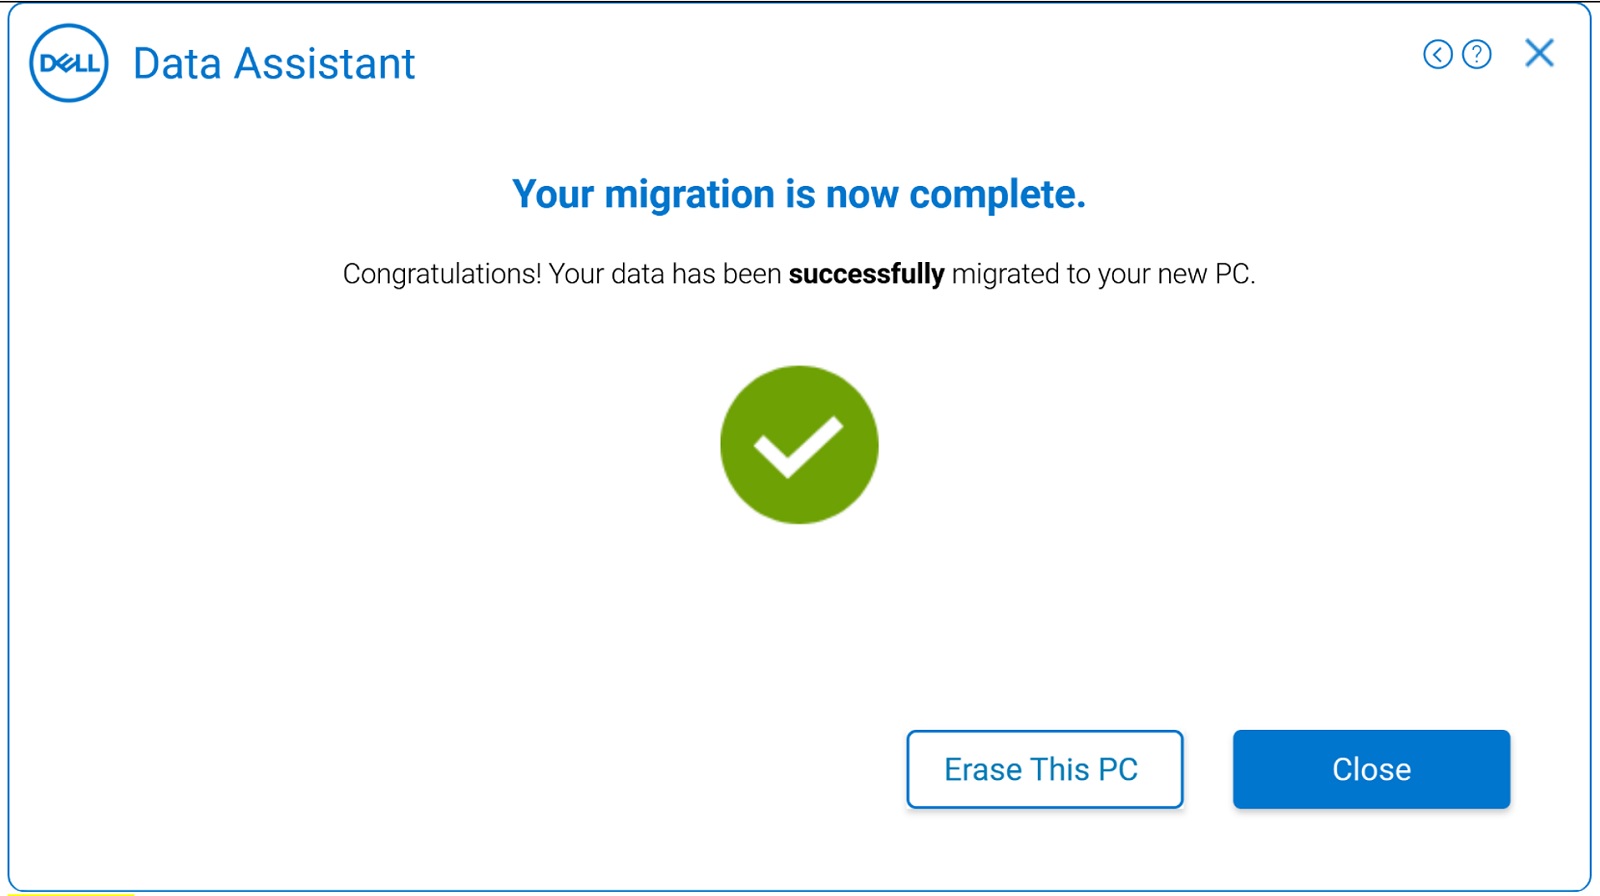
- After the migration is completed, the new computer displays the migration summary of files and settings that are migrated from the old to the new computer. Click Finish to complete the migration. The details of the entire migration can be seen by clicking the view details options on the summary screen.
Note: If any selected files or settings are not migrated, retry the migration progress by performing the steps in Troubleshooting when migration is completed with warnings.
- With this, the migration from old to new computer is now complete. You can also erase your data from the old computer after you have completed your migration. Let us discuss the erase process in the next steps.
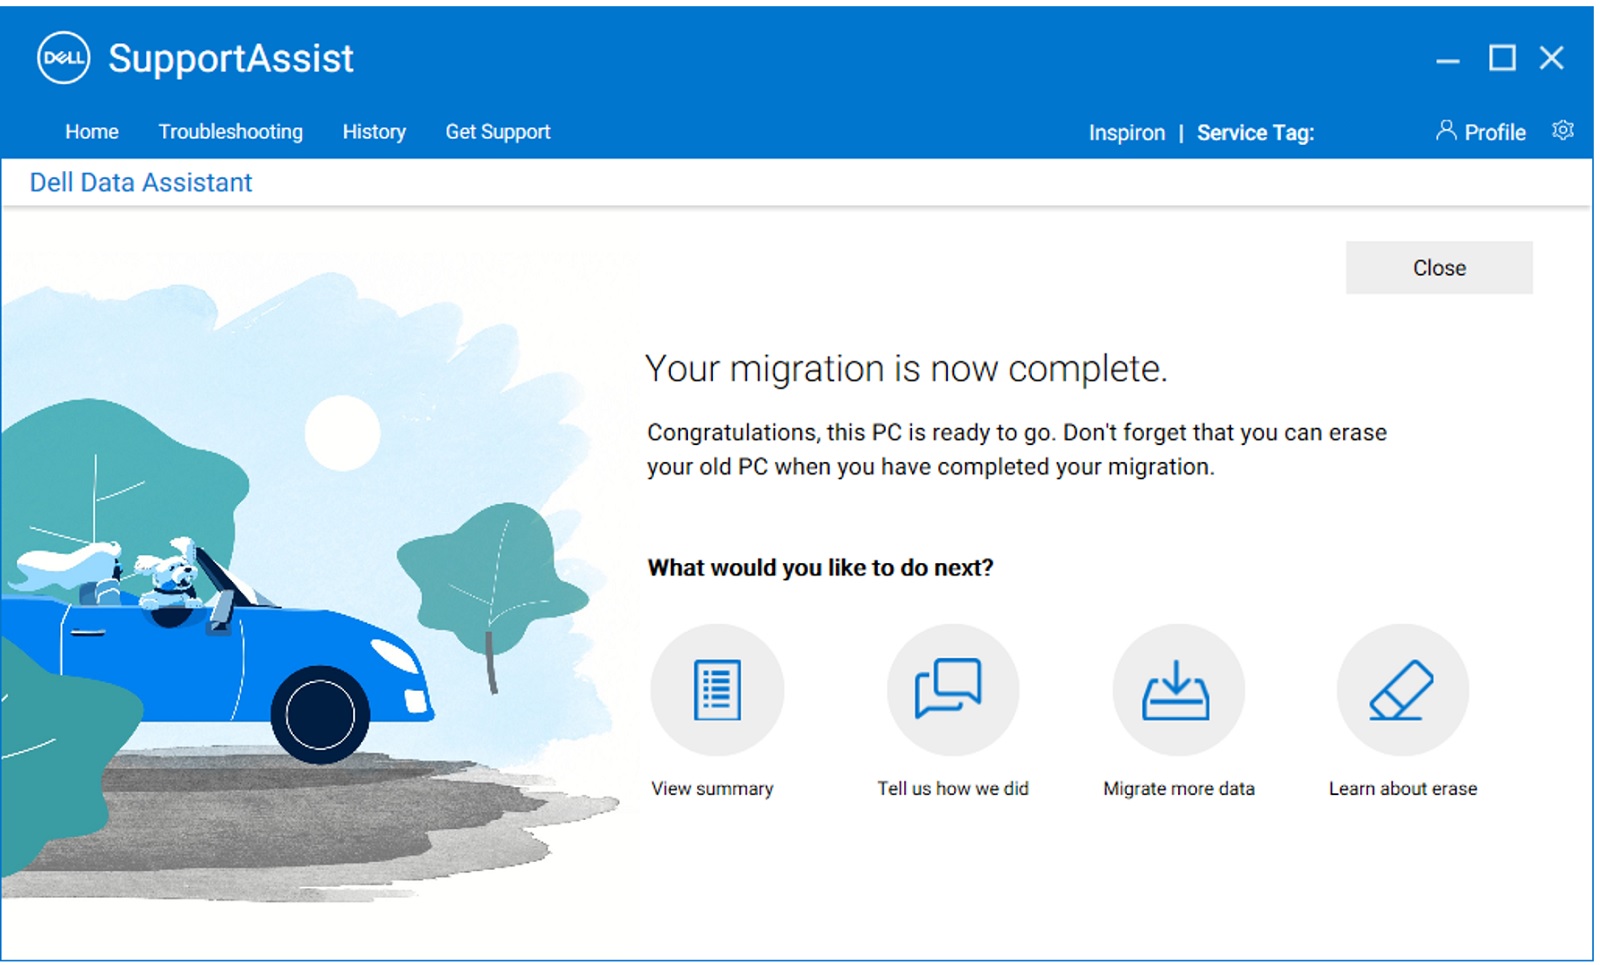
For instructions to migrate data from multiple computers, see the How to migrate data from multiple computers to your Dell computer video. - Erase This computer helps to remove the user data from the old computer after the migration is completed, while retaining the Windows installation. On the old computer, once the migration confirmation message is displayed, click Erase This PC to begin with the removal of the data from the old computer.
Note: The erase feature can be used on the old computer only once your new Dell computer and old computer have connected to each other at least one time.
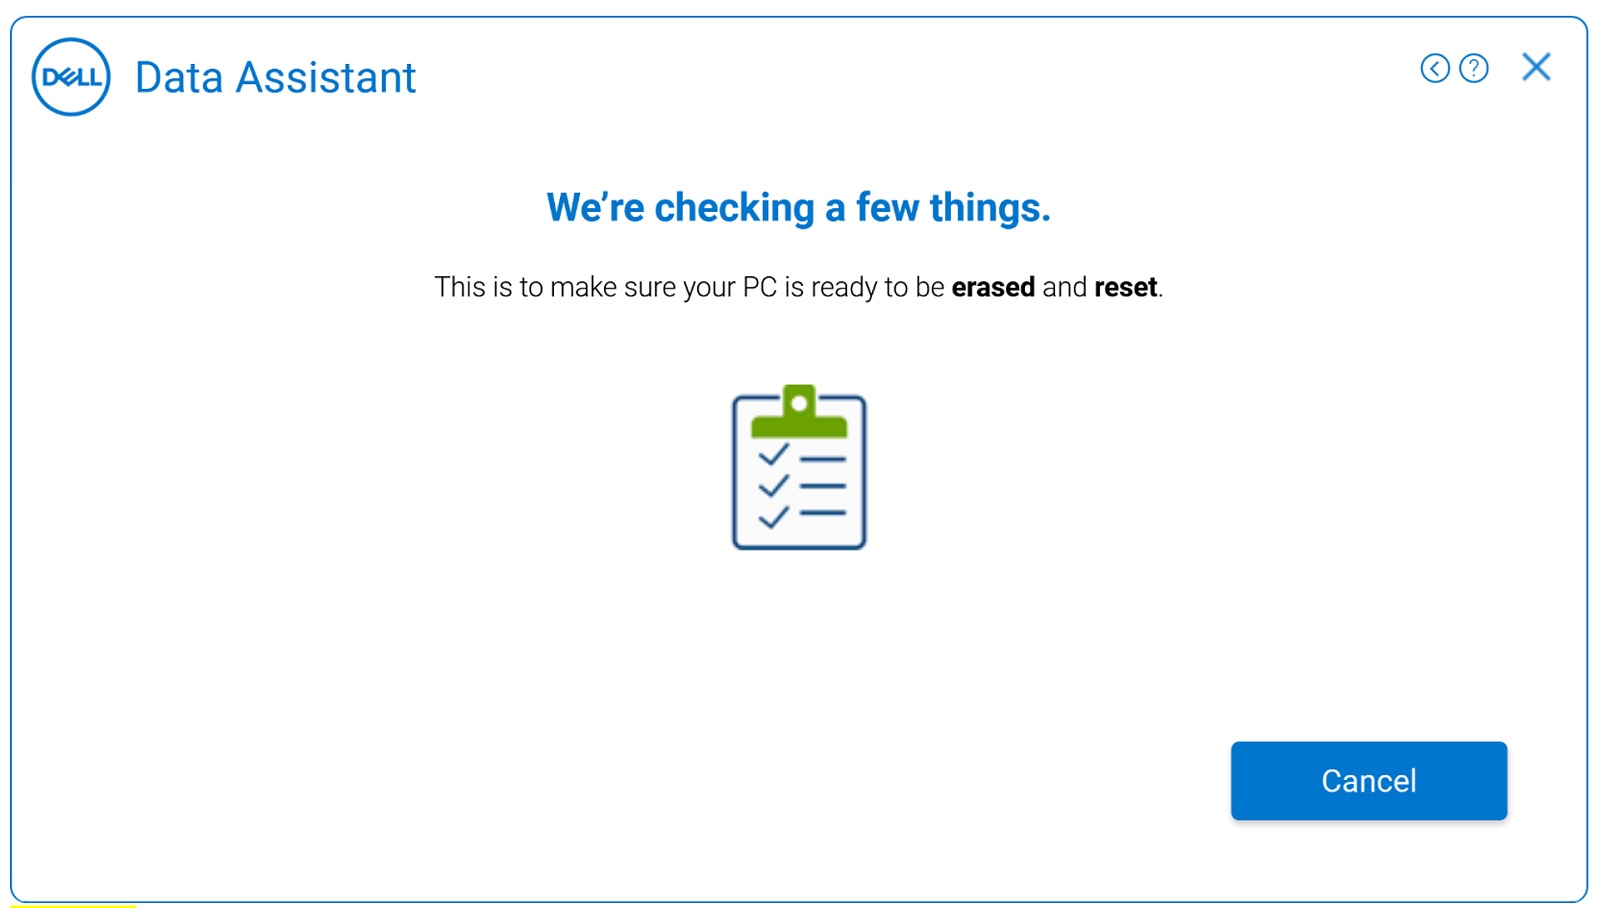
- This next step will check the pre-requisites for the computer erase to begin. For more information about the prechecks that are performed for erase, see Prechecks for erase. Also, it will also check if the latest version of Dell SupportAssist OS Recovery is installed on your old computer. If everything checks out, it will go to the next step.
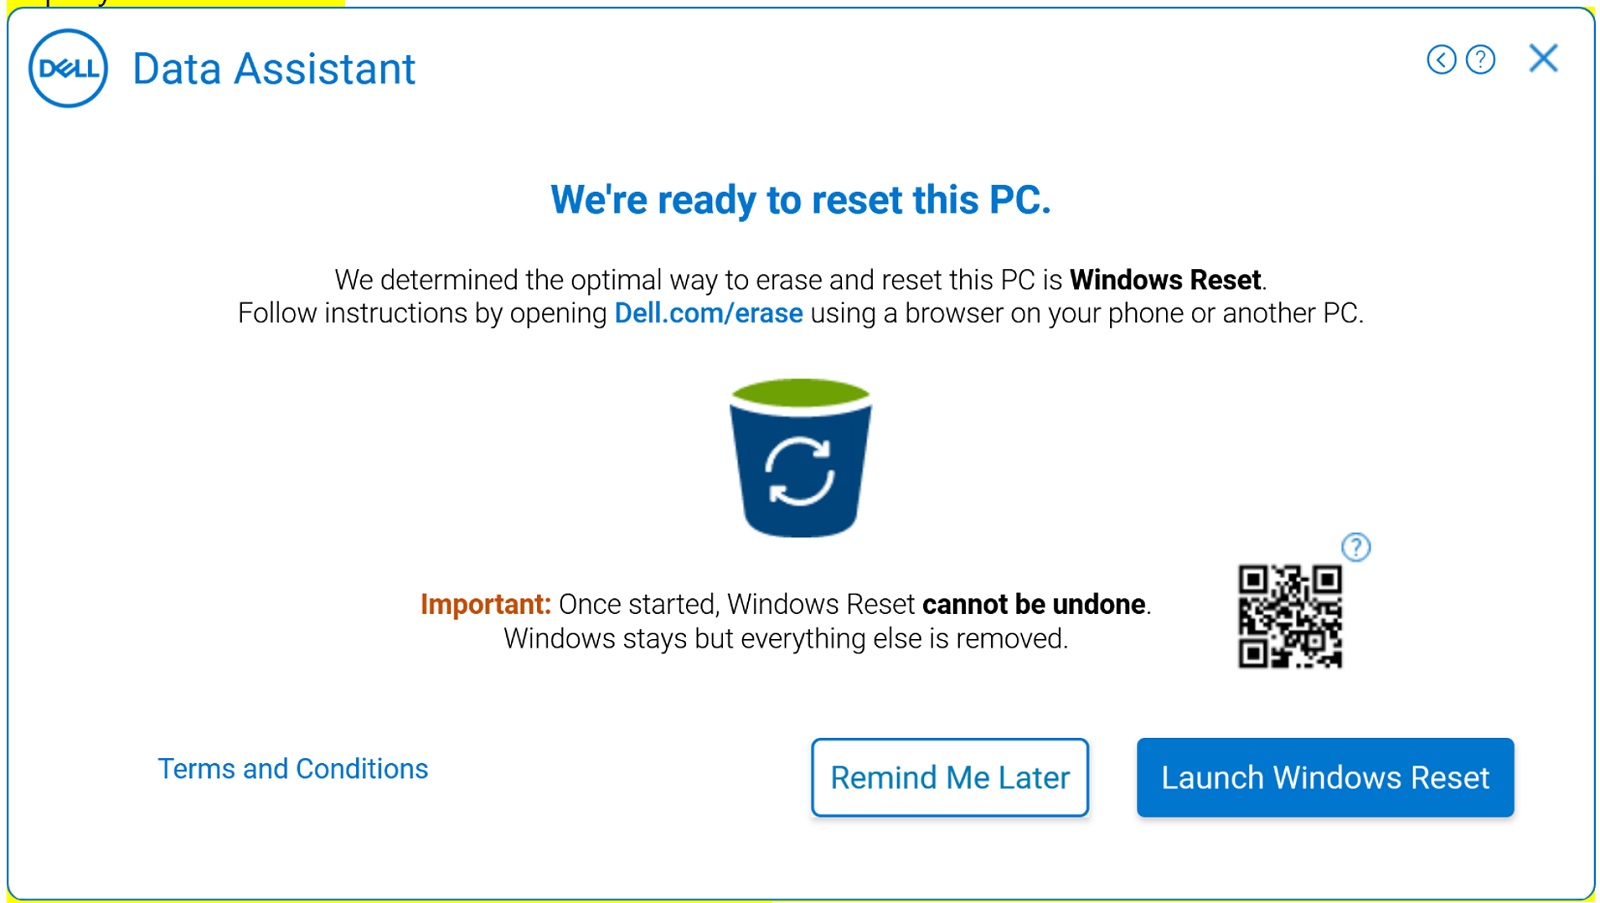
- If your old computer does not have the latest version of Dell SupportAssist OS Recovery installed, it shows you an option to use Windows Reset instead. Related video: How to erase and reset your old computer using Windows reset
Click Launch Windows Reset when the application displays the We are ready to reset this computer on the next screen as shown below. Follow the instructions on the screen for completing the erase operation on the old computer. This follows the Windows computer Resetprocedure.
Note: To remove all your personal files, select Remove everything. You can also set a reminder for Dell Migrate to remind you to erase files and settings from your old computer at your convenience.Note: Selecting Launch Windows Reset initiates the Windows computer Reset, and it provides the following two options. Based on the option we select, Windows Reset starts. This takes some time to complete depending on the number of files on the computer.- Keep my files - Removes apps and settings but keeps your personal files.
- Remove everything - Removes apps, settings, and personal files too.
See the respective links for more information about Windows reset procedure for Windows 10, and Windows 8.1 or Windows 8:
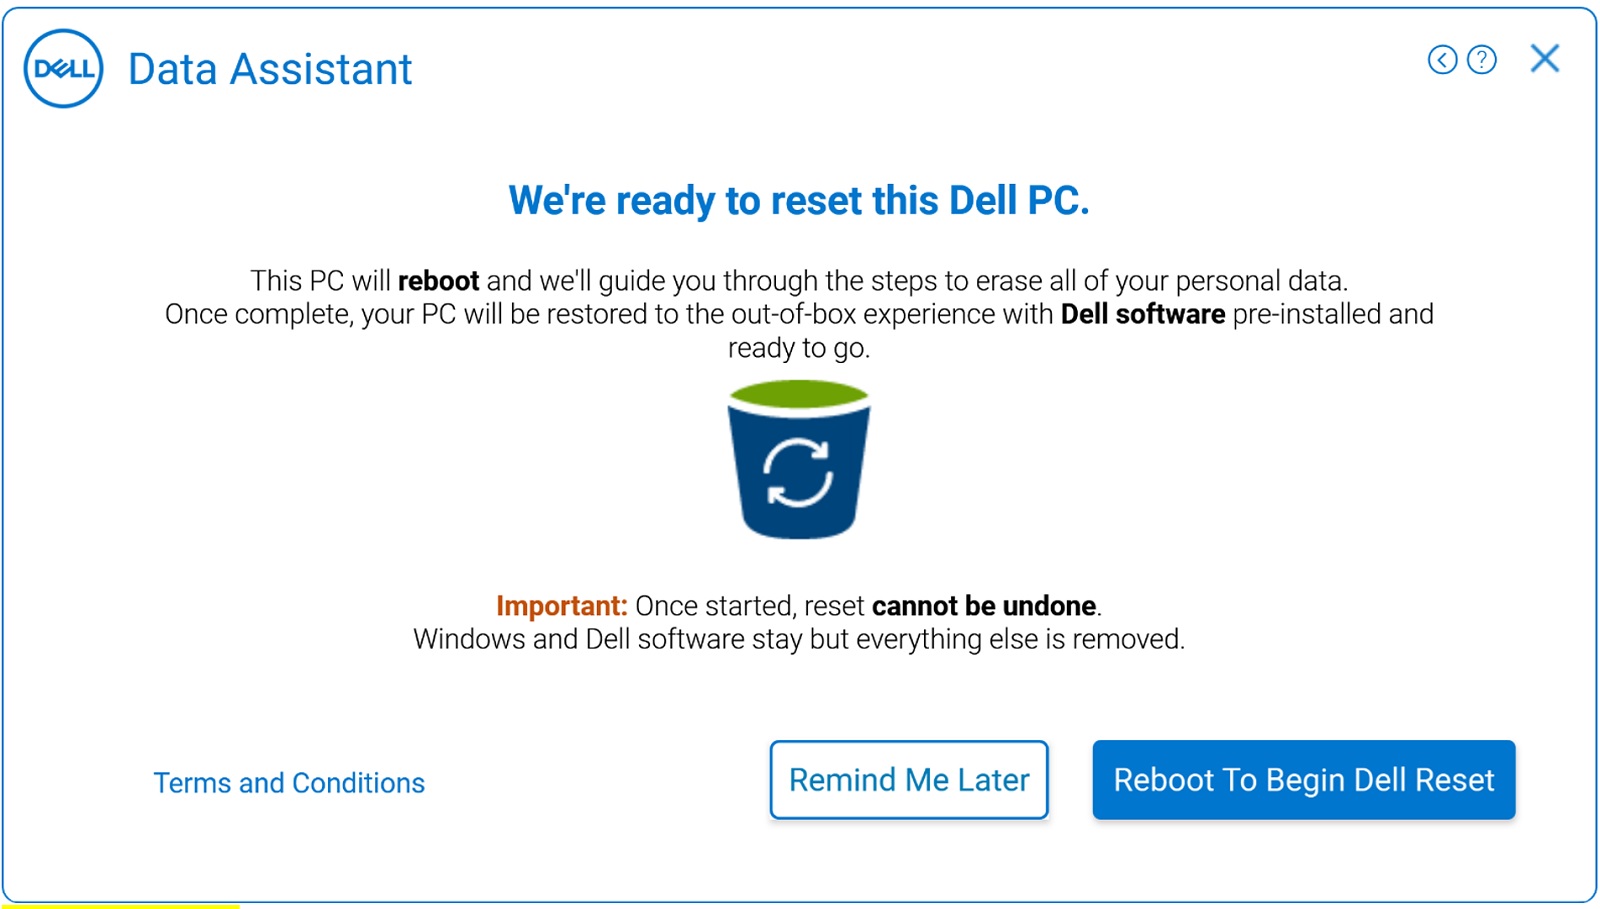
- If your old computer has the latest version of Dell SupportAssist OS Recovery installed, click Reboot to begin Dell Migrate and follow the instructions on your screen. For step-by-step instructions, see Restore your Computer Using SupportAssist OS Recovery.
Related video: How to erase and reset your old computer using Dell reset
Additional Information
Affected Products
SupportAssist, SupportAssist for Home PCsArticle Properties
Article Number: 000125902
Article Type: How To
Last Modified: 19 Apr 2026
Version: 27
Find answers to your questions from other Dell users
Support Services
Check if your device is covered by Support Services.