通过使用DCIP 4.1的SCCM制作Intel Skylake系统的映像
This article applies to
This article does not apply to
This article is not tied to any specific product.
Not all product versions are identified in this article.
Resolution
本文提供了有关“通过使用Dell Client Integration Pack (DCIP) 4.1的System Center Configuration Manager (SCCM) 2012制作Intel Skylake系统的映像”的信息。
通过SCCM 2012制作Skylake系统的映像。
本文提供了有关使用Dell Client Integration Pack 4.1版本将Windows映像应用到带Intel skylake芯片组的戴尔系统的指导。
注:本文适用于充分了解用于制作Windows映像的SCCM2012的用户。
制作映像步骤。
下载Dell Client Integration Pack。
注:确保WinPE CAB版本与引导映像完全匹配;如果是PE 5.0,使用WinPE 5.0 CAB等。建议将Windows 10 PE用于Intel Skylake芯片组系统。
注:如果使用Server 2008:必须安装Microsoft热修补程序:KB 3025419 - Can’t import drivers into System Center Configuration Manager(无法将驱动程序导入到System Center Configuration Manager),然后继续操作:
- 将新引导映像添加到SCCM 2012:
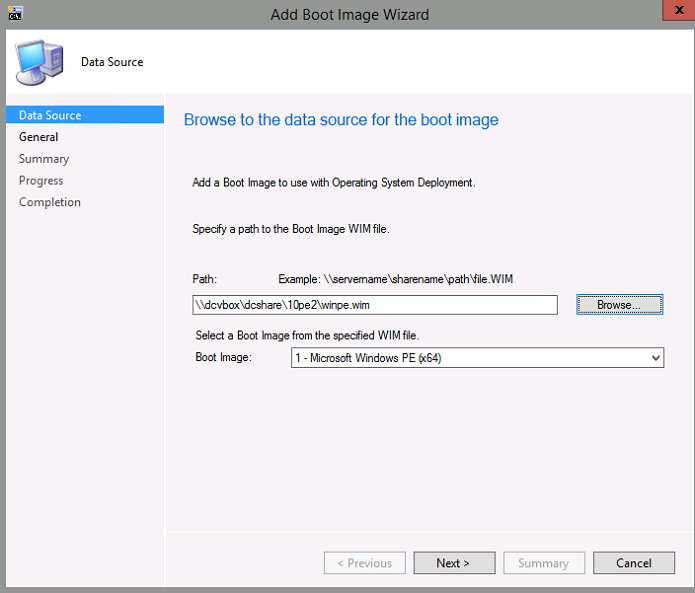
注:安装DCIP的Boot Images(“引导映像”)下的新按钮: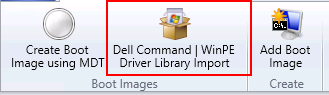
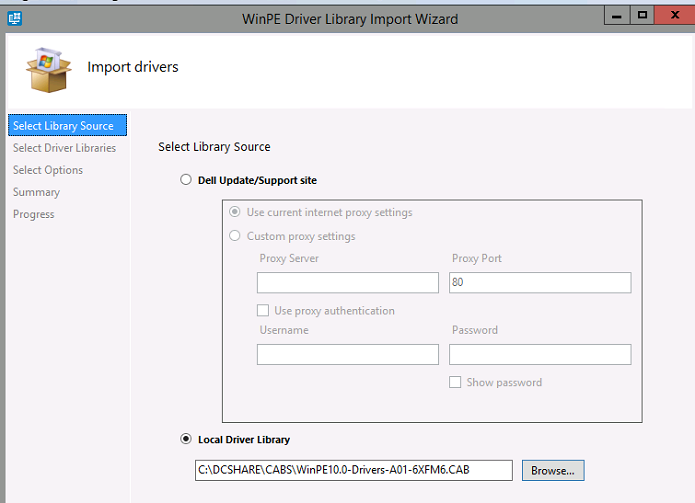
- 使用DCIP WINPE驱动程序导入向导添加WinPE 10 CAB文件A01(或更高版本):
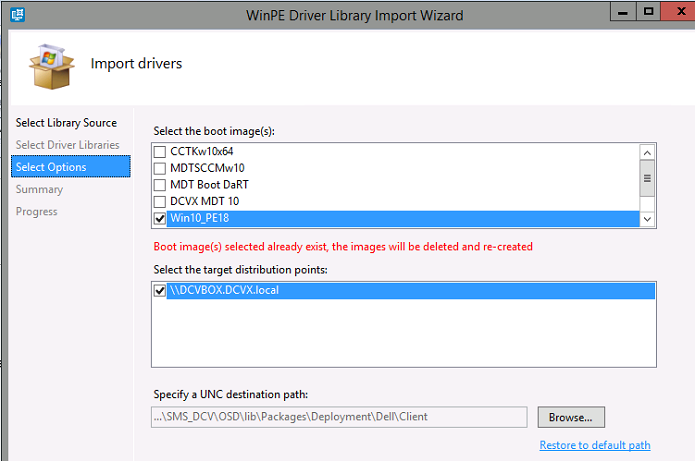
- 选择新引导映像以集成Windows 10 PE CAB:
如果不使用DCIP,则将Windows 10 PE CAB驱动程序导入一个名为W10PEx64-A01的文件夹和类别(或任何已导入的CAB文件版本):
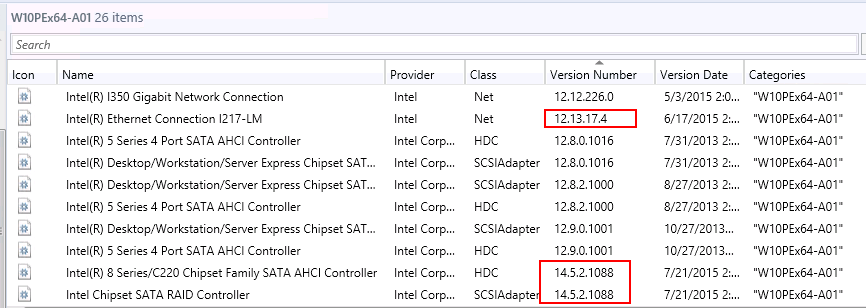
确保Intel Rapid Storage驱动程序是14.5.2.x或更高版本,Intel Ethernet驱动程序是12.13.x或更高版本。
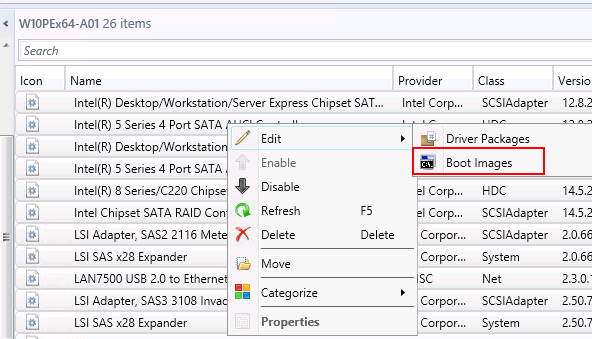
选择PE10x64文件夹中的所有驱动程序,然后右键单击选择Edit Boot Images(“编辑引导映像”):
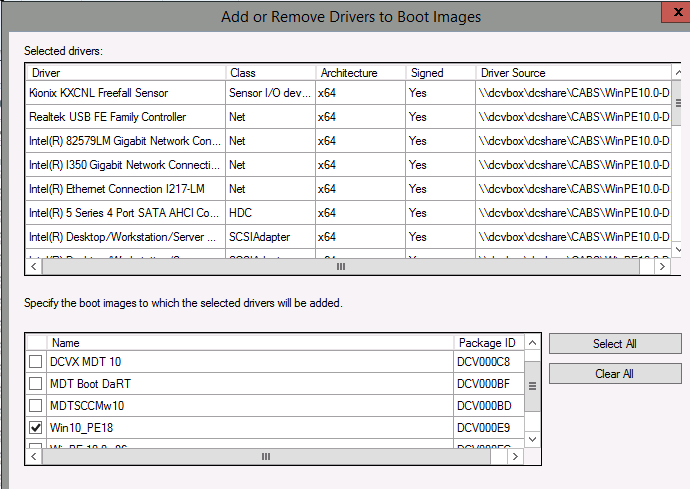
选择新的引导映像:
更新分发点。
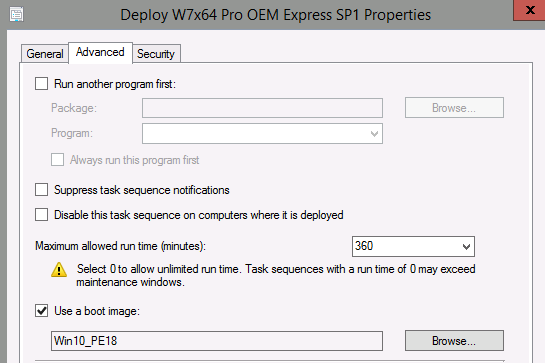
- 创建Task Sequence(“任务序列”)的new Boot image(新引导映像)部分:
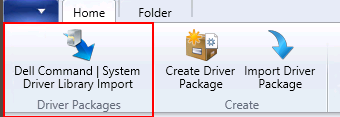
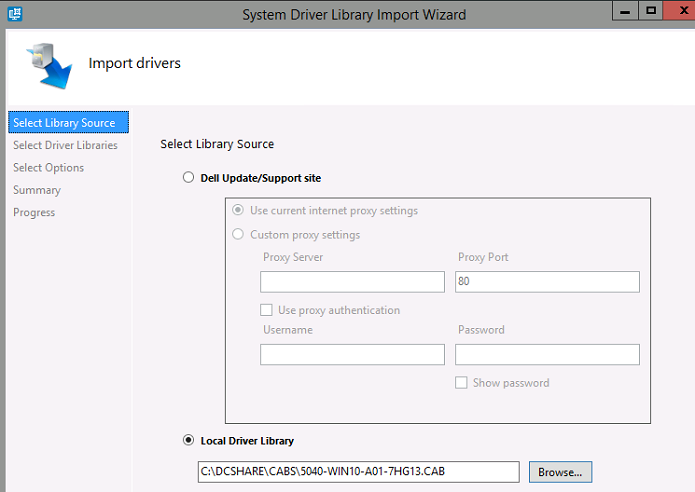
- 导入用于目标系统的正确的CAB文件:
注:新的Dell Command System Driver Library Import(“戴尔命令系统驱动程序库导入”)按钮:
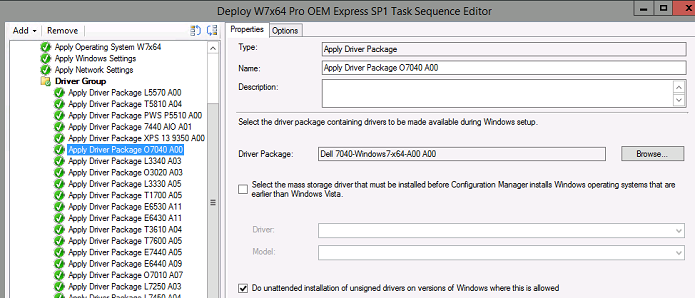
- 将驱动程序包添加到Task Sequence(任务序列)。
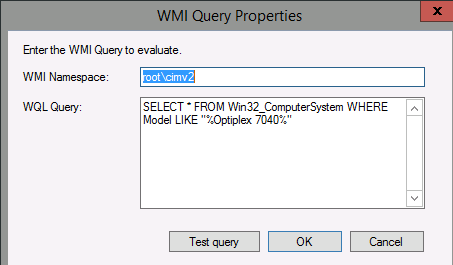
- 使用Windows Management Instrumentation (WMI)呼叫将正确的CAB文件发送到正确的系统:
- 启动Task Sequence(任务序列)
可能需要的可选步骤:将NVMe修复注入Windows 7映像:
更新以在Windows 7和Windows Server 2008 R2的NVM Express中添加本机驱动程序支持
将KB2990941解压缩至C:\dcshare\NVMEw7fix
在Windows 7 SP1或Windows Server 2008 R2 SP1中安装热修补程序2990941后,出现“0x0000007E”停止错误
将KB3087873解压缩至c:\dcshare\NVMEw7fix2
- 转至SCCM中的Windows 7 image(Windows 7映像)。
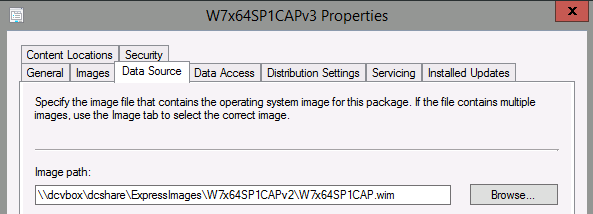
- 转至Properties(属性)。
- 选择Data Source(数据源),并记下映像WIM文件的位置。
- 安装Windows 7映像并集成NVMe修补程序:
- DISM/mount-wim /wimfile:c:\dcshare\ExpressImages\W7x64SP1CAPv2\W7x64SP1CAP.wim/index:1/mountdir:c:\dcshare\temp
- DISM/image:c:\dcshare\temp/add-package/packagepath:c:\dcshare\nvmew7fix
- DISM/image:c:\dcshare\temp/add-package/packagepath:c:\dcshare\nvmew7fix2
- DISM/unmount-wim/mountdir:c:\dcshare\temp/commit
- 转至Windows 7 image(Windows 7映像)下的Images(映像)选项卡。
- 单击Reload(重新加载)。
- 为映像Update the Distribution Point(更新分发点)。
Article Properties
Article Number: 000134956
Article Type: Solution
Last Modified: 20 Nov 2020
Version: 2
Find answers to your questions from other Dell users
Support Services
Check if your device is covered by Support Services.