如何識別 Netskope 用戶端版本
Summary: 您可以依照以下指示來識別 Netskope 用戶端的版本。
This article applies to
This article does not apply to
This article is not tied to any specific product.
Not all product versions are identified in this article.
Symptoms
本文提供尋找和識別 Netskope 用戶端版本的步驟。
受影響的產品:
- Netskope 用戶端
受影響的作業系統:
- Windows
- Mac
- Android
Cause
不適用
Resolution
瞭解 Netskope 用戶端版本可讓系統管理員:
- 識別已知問題
- 判斷 UI 差異
- 瞭解工作流程變更
- 確認系統需求
按一下 Windows、 Mac或 Android 以取得版本資訊。
Windows
Windows Netskope 用戶端版本可透過以下方式識別:
- 使用者介面 (UI)
- 命令列 (CLI)
- 安裝程式
如需詳細資訊,請按一下適當的方法。
若要透過 UI 識別版本:
- 登入 Windows 電腦。
- 在 Windows 系統匣中,以滑鼠右鍵按一下 Netskope 用戶端 圖示,然後選取 「About」。
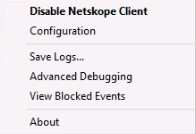
- 記下版本。在範例中,66.0.0.327 為 版本。
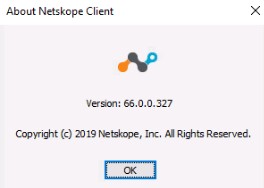
注意:版本可能與上述範例不同。
若要透過命令介面 (CLI) 識別版本:
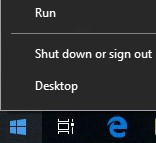
- 以系統管理員身分,以滑鼠右鍵按一下 Windows 開始功能表,然後按一下「 執行」。
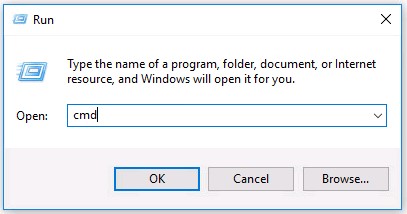
- 在「執行」UI 中,輸入
cmd,然後按下 Enter 鍵。
- 在「命令提示字元」中,輸入
wmic product where name=’Netskope Client’ get version,然後按下 Enter 鍵。

- 記下版本。在範例中,70.0.0.391 為產品 版本。

- 輸入
exit,然後按下 Enter 鍵。
注意:版本可能與上述範例不同。
若要透過安裝程式識別版本:
- 以滑鼠右鍵按一下 NSClient [TENANTSPECIFICINFO].msi ,然後選取 「Properties」。
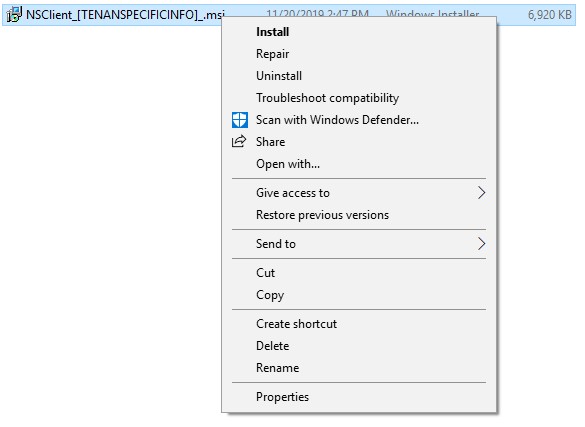
注意:[TENANTSPECIFICINFO] = 指派給 Netskope 租戶的名稱
- 按一下詳細資料標籤。

- 此版本位於 「主旨」內。記下版本。在範例中,69.2.0.373 為 版本。
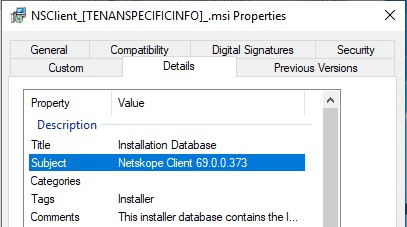
注意:版本可能與上述範例不同。
Mac
Mac Netskope 用戶端版本可透過以下方式識別:
- 使用者介面 (UI)
- 終端機
如需詳細資訊,請按一下適當的方法。
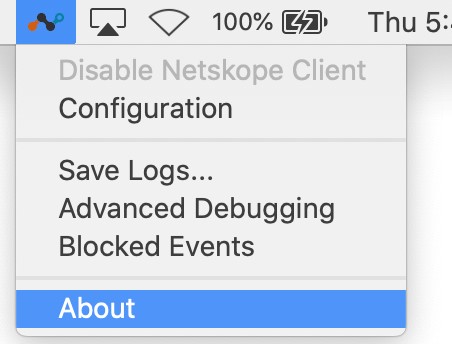
若要透過 UI 識別版本:
- 登入 Mac 電腦。
- 在功能表列中,選取 Netskope 用戶端圖示,然後選取 「About」。
- 記下版本。在範例中,70.0.0.391 為 版本。
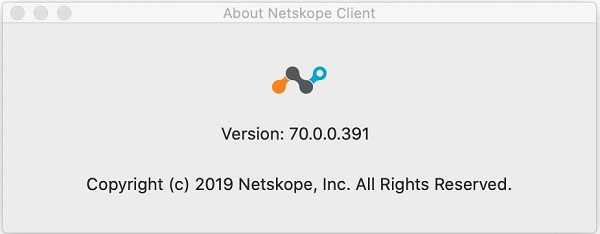
注意:版本可能與上述範例不同。
若要透過終端機識別版本:
- 從 Apple 選單中,按一下前往,然後選取工具程式。
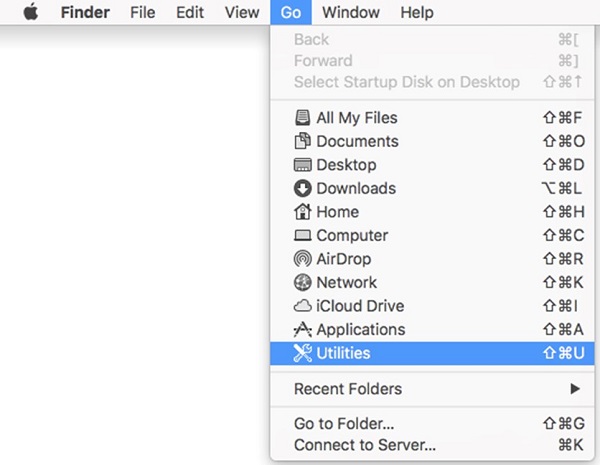
- 在「工具程式」功能表中,按兩下終端機。
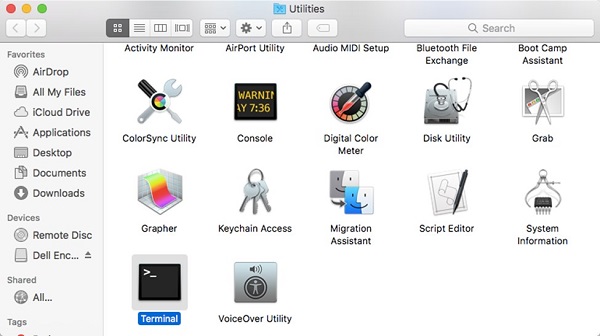
- 在「終端機」中,輸入
defaults read /Library/Application\ Support/Netskope/STAgent/Netskope\ Client.app/Contents/Info.plist CFBundleShortVersionString,然後按 Enter 鍵。

- 記下版本。在範例中,70.0.0.391 為產品 版本。

注意:版本可能與上述範例不同。
- 輸入
exit,然後按下 Enter 鍵。
Android
使用者介面 (UI) 可識別 Android Netskope 用戶端版本。如需詳細資訊,請按一下適當的方法。
若要識別 Android 的版本:
- 選取 Netskope 用戶端 應用程式。
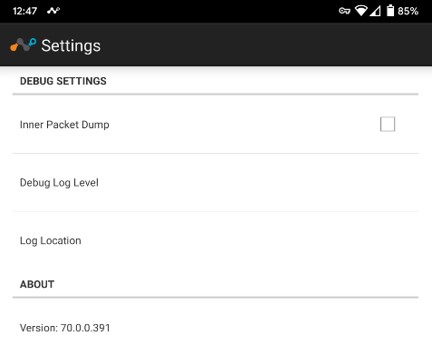
- 選取右側的下拉式選單,然後選擇 「設定」。

- 找到應用程式資訊,然後記錄 版本。在範例中,70.0.0.391 為 版本。
注意:版本可能與上述範例不同。
如要聯絡支援部門,請參閱 Dell Data Security 國際支援電話號碼。
請前往 TechDirect,以線上產生技術支援要求。
如需更多深入見解與資源,請加入 Dell 安全性社群論壇。
Additional Information
Videos
Affected Products
NetskopeArticle Properties
Article Number: 000130781
Article Type: Solution
Last Modified: 10 Apr 2023
Version: 12
Find answers to your questions from other Dell users
Support Services
Check if your device is covered by Support Services.