How to Manage Users in Wyse Management Suite
摘要: Learn how to add, edit, deactivate, activate, and delete users in Wyse Management Suite by following these step-by-step instructions.
本文章適用於
本文章不適用於
本文無關於任何特定產品。
本文未識別所有產品版本。
說明
Managing users in Wyse Management Suite is how an administrator performs routine changes to users in the environment.
Affected Products:
- Wyse Management Suite
Affected Versions:
- v1.3 and Later
Wyse Management Suite has different steps for functions involving Administrator accounts and User accounts. Click the appropriate account type for more information.
Administrator
An administrator may Add, Edit, Deactivate, Activate, and Delete an administrator account. Click the appropriate process for more information.
- Sign in to Wyse Management Suite.
 Note: For information about accessing the Wyse Management Suite Administration Console, reference How to Access the Wyse Management Suite Administration Console.
 - Click Users.

- Click Administrators.
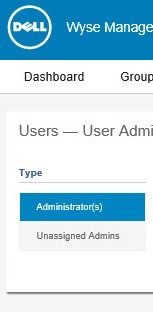
- Click Add Admin.

- From the New Admin User menu:
- Populate an Email.
- Populate a Username or select Same as Email.

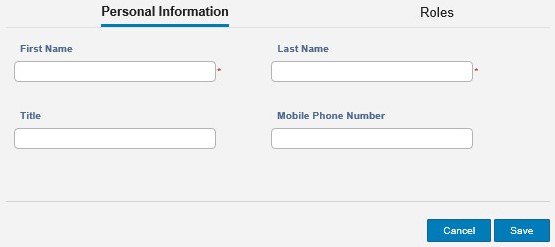
- Within Personal Information:
- Populate a First Name.
- Populate a Last Name.
- Optionally, populate a Title.
- Optionally, populate a Mobile Phone Number.
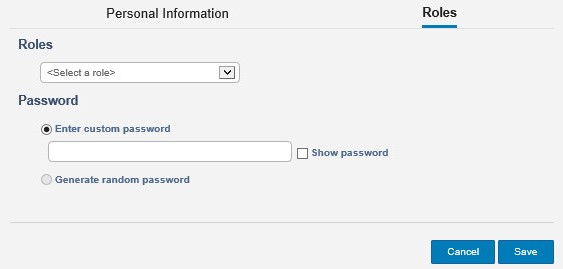
- Within Roles:
- Optionally, select from the available Roles.
- Populate a Custom password or Generate random password.
- Optionally, select Show password.
- Click Save.
- Sign in to Wyse Management Suite.
 Note: For information about accessing the Wyse Management Suite Administration Console, reference How to Access the Wyse Management Suite Administration Console.
 - Click Users.

- Click Administrators.
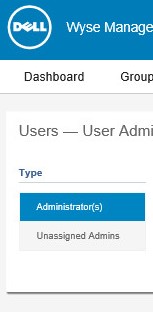
- Select an account checkbox.

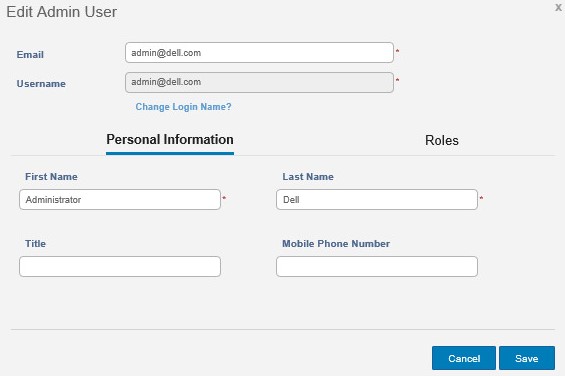
- Click Edit Admin.

- Change the appropriate settings and then click Save.
- Sign in to Wyse Management Suite.
 Note: For information about accessing the Wyse Management Suite Administration Console, reference How to Access the Wyse Management Suite Administration Console.
 - Click Users.

- Click Administrators.
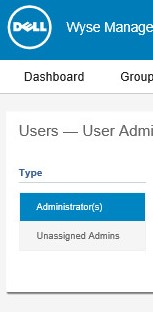
- Select a check box for one or more accounts marked active.

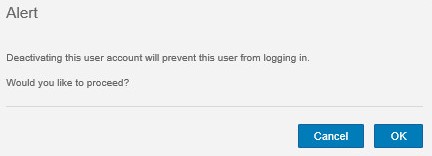
- Click Deactivate Admin(s).

- Click OK.
- Sign in to Wyse Management Suite.
 Note: For information about accessing the Wyse Management Suite Administration Console, reference How to Access the Wyse Management Suite Administration Console.
 - Click Users.

- Click Administrators.
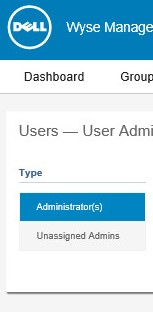
- Select an account checkbox for one or more accounts marked as deactivated.

- Click Activate Admin(s).

- Sign in to Wyse Management Suite.
 Note: For information about accessing the Wyse Management Suite Administration Console, reference How to Access the Wyse Management Suite Administration Console.
 - Click Users.

- Click Administrators.
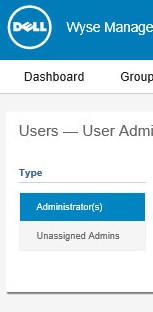
- Select an account checkbox for one or more accounts marked as deactivated.

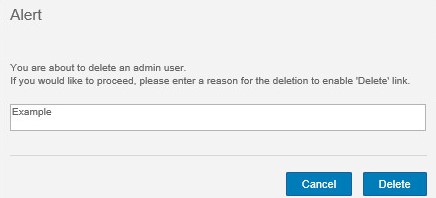
- Click Delete Admin(s).

- Populate a reason for deletion and then click Delete.
User
An administrator may Bulk Import, Edit, Deactivate, Activate, and Delete users. Click the appropriate process for more information.
- Sign in to Wyse Management Suite.
 Note: For information about accessing the Wyse Management Suite Administration Console, reference How to Access the Wyse Management Suite Administration Console.
 - Click Users.

- Click Unassigned Admins.
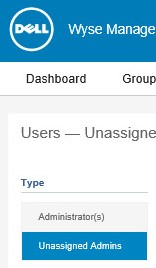
- Click Bulk Import.

- From the Bulk Import menu:
- Browse to the CSV file to import.
- Optionally, select CSV file has header line.
- Click Import.
 Note: For information about creating the CSV to import into Wyse Management Suite, reference How to Prepare a CSV of Users to Import to Wyse Management Suite.
- Sign in to Wyse Management Suite.
 Note: For information about accessing the Wyse Management Suite Administration Console, reference How to Access the Wyse Management Suite Administration Console.
 - Click Users.

- Click Unassigned Admins.
- Select a check box for an account to edit.

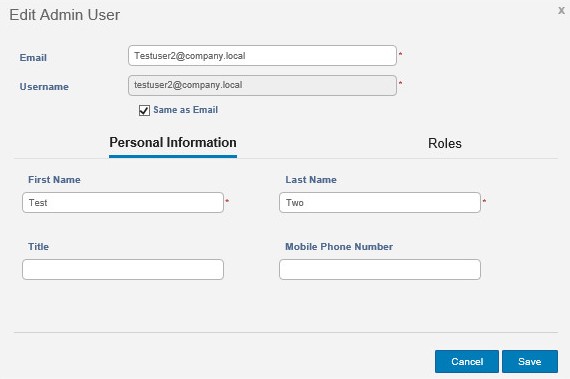
- Click Edit User.

- Change the appropriate settings and then click Save.
- Sign in to Wyse Management Suite.
 Note: For information about accessing the Wyse Management Suite Administration Console, reference How to Access the Wyse Management Suite Administration Console.
 - Click Users.

- Click Unassigned Admins.
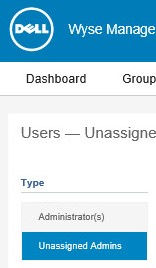
- Select a check box for one or more accounts to deactivate.

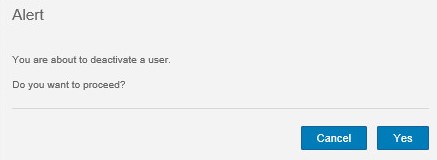
- Click Deactivate User(s).

- Click Yes.
- Sign in to Wyse Management Suite.
 Note: For information about accessing the Wyse Management Suite Administration Console, reference How to Access the Wyse Management Suite Administration Console.
 - Click Users.

- Click Unassigned Admins.
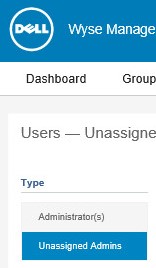
- Select a check box for one or more accounts marked as deactivated.

- Click Activate User(s).

- Sign in to Wyse Management Suite.
 Note: For information about accessing the Wyse Management Suite Administration Console, reference How to Access the Wyse Management Suite Administration Console.
 - Click Users.

- Click Unassigned Admins.
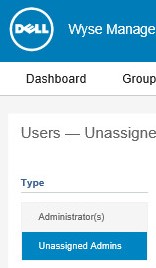
- Select a check box for one or more accounts marked as deactivated.

- Click Delete User(s).

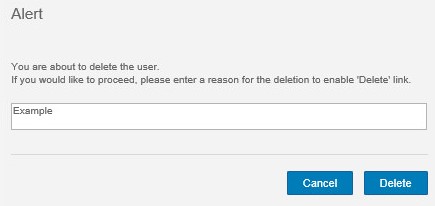
- Populate a reason for deletion and then click Delete.
受影響的產品
Wyse Management Suite文章屬性
文章編號: 000175229
文章類型: How To
上次修改時間: 22 7月 2024
版本: 6
向其他 Dell 使用者尋求您問題的答案
支援服務
檢查您的裝置是否在支援服務的涵蓋範圍內。