文章編號: 000131805
How to Deprovision Dell Encryption Enterprise Self-Encrypting Drive Manager or Dell Encryption Personal Self-Encrypting Drive Manager
摘要: Dell Encryption Enterprise or Personal Self-Encrypting Drive Manager (formerly Dell Data Protection Self-Encrypting Drive Manager) may require a drive to be deprovisioned before performing other tasks. ...
文章內容
症狀
Deprovisioning a self-encrypting drive managed by Dell Data Security (formerly Dell Data Protection) must be performed before:
- Uninstalling Dell Data Security software
- Preparing the drive for usage in a different endpoint
- Reimaging the drive
Warning: Self-encrypting drives that are not properly deprovisioned may fail to boot.
Affected Products:
- Dell Encryption Enterprise Self-Encrypting Drive
- Dell Encryption Personal Self-Encrypting Drive
- Dell Data Protection | Self-Encrypting Drive Manager
- Dell Data Protection | Security Tools
Affected Operating Systems:
- Windows
原因
Not applicable
解析度
Click Remotely Managed or Locally Managed for the appropriate steps to deprovision a self-encrypting drive.
Remotely Managed
Select the appropriate Dell Data Security (formerly Dell Data Protection) server version for steps on deprovisioning. For more information, reference How to Identify the Dell Data Security / Dell Data Protection Server Version.
To deprovision:
- From a web browser, go to the Dell Data Security administration console at https://servername.company.com:8443/webui.
Note:
- The example, servername.company.com, may differ from the server DNS in your environment.
- The port, 8443, may differ from the Remote Management Console port in your environment.
- Sign in to the Dell Data Security administration console.
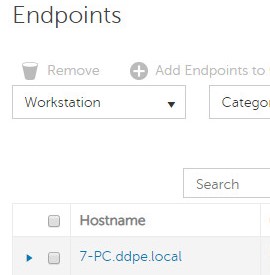
- From the left menu pane, click Populations and then Endpoints.
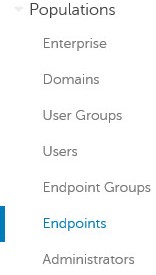
- Click the endpoint to deprovision.
- Click Security Policies.

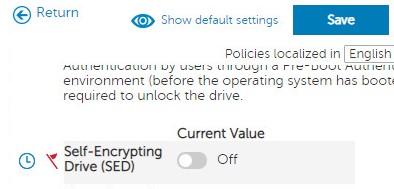
- Click Self-Encrypting Drive (SED).
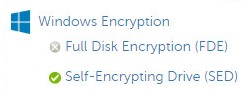
- Switch Self-Encrypting Drive (SED) to Off and then click Save.
- Commit the policy change.
Note: For more information about committing policies, reference How to Commit Policies for Dell Data Security / Dell Data Protection Servers.
- From the endpoint to deprovision, check for policy updates.
Note:
- For more information about checking for policy updates, reference How to Check for Policy Updates for Dell Data Security / Dell Data Protection.
- The product can be uninstalled once deprovisioned. For more information, reference How to Run the Dell Data Security Uninstaller.
To deprovision:
- In Windows Explorer, go to
C:\Program Files\Dell\Enterprise Edition\Console\and then double-clickCredant.Console.exe.

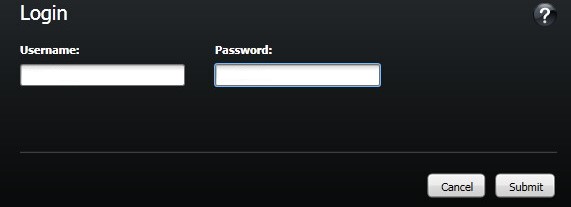
- Submit credentials to sign in to the Remote Management Console.
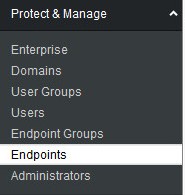
- From the left menu pane, click Endpoints.
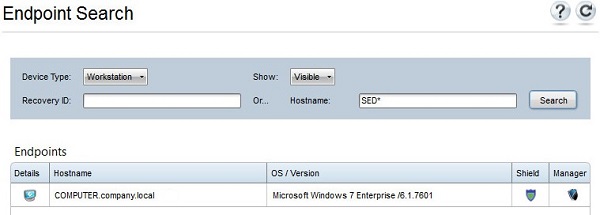
- Search for the endpoint to deprovision, and then click the Details icon.
- Click Security Policies.

- From Policy Category, select Self-Encrypting Drives.

- Expand SED Administration.

- Set the local value of Enable SED Management to False and then click Save.
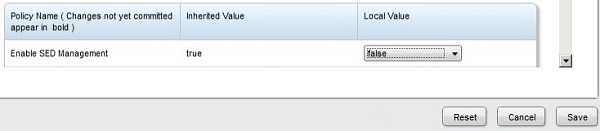
- Commit the policy change.
Note: For more information about committing policies, reference How to Commit Policies for Dell Data Security / Dell Data Protection Servers.
- From the endpoint to deprovision, check for policy updates.
Note:
- For more information about checking for policy updates, reference How to Check for Policy Updates for Dell Data Security / Dell Data Protection.
- The product can be uninstalled once deprovisioned. For more information, reference How to Run the Dell Data Security Uninstaller.
Locally Managed
The self-encrypting drive is deprovisioned differently depending on the software version. Select the appropriate version for more information.
To deprovision:
- In Windows Explorer, go to
C:\Program Files\DELL\Dell Data Protection\Security Toolsand then double-clickDell.SecurityFramework.AdminConsole.
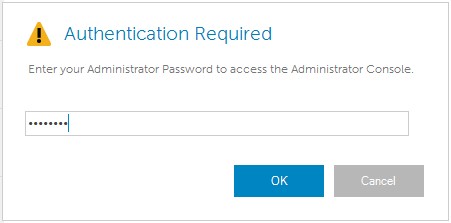
- Populate the Administrator Password and then click OK.

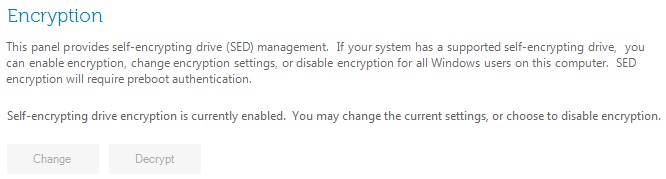
- Click Decrypt.
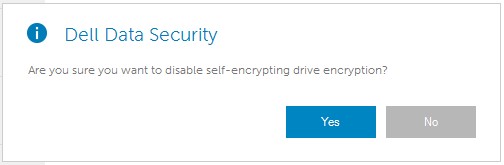
- Click Yes.
- Populate the Administrator Password and then click OK.
Note: The product can be uninstalled once deprovisioned. For more information, reference How to Run the Dell Data Security Uninstaller.
To deprovision:
- In Windows Explorer, go to
C:\Program Files\DELL\Dell Data Protection\Security Toolsand then double-clickDell.SecurityManager.LocalConsole.
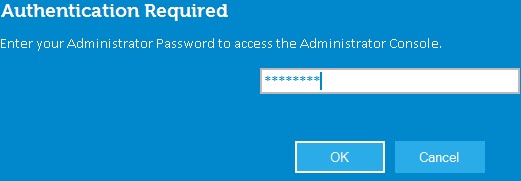
- Populate the Administrator Password and then click OK.
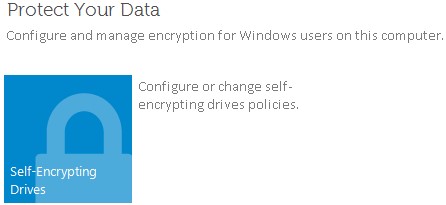
- Click Encryption.
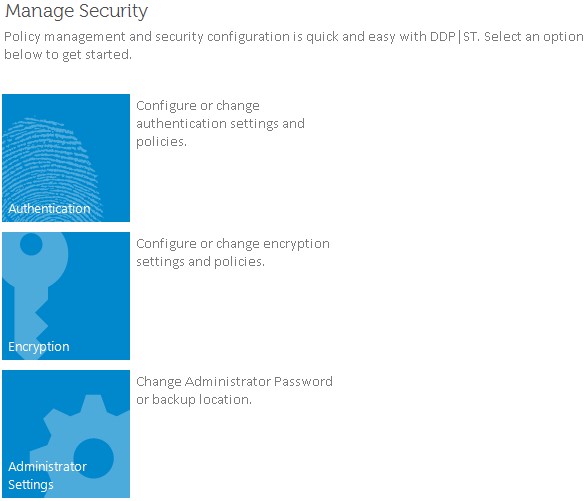
- Click Self-Encrypting Drives.
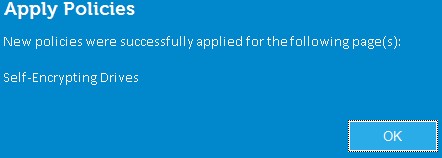
- Switch Self-Encrypting Drive Management to Off and then click Apply.
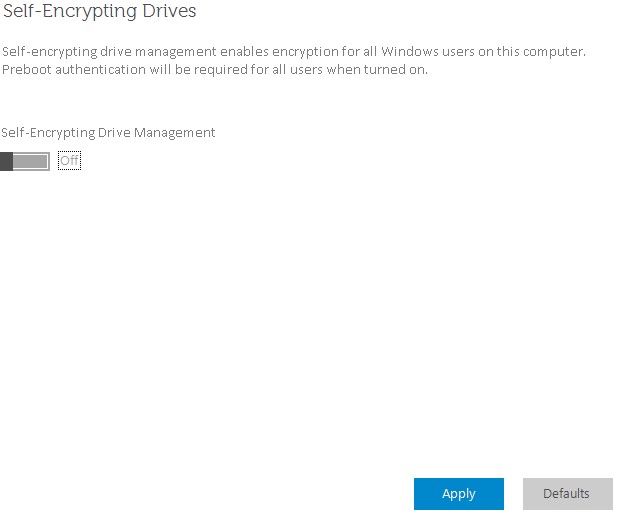
- Click OK.
Note: The product can be uninstalled once deprovisioned. For more information, reference How to Run the Dell Data Security Uninstaller.
To contact support, reference Dell Data Security International Support Phone Numbers.
Go to TechDirect to generate a technical support request online.
For additional insights and resources, join the Dell Security Community Forum.
其他資訊
影片
文章屬性
受影響的產品
Dell Encryption
上次發佈日期
03 3月 2023
版本
11
文章類型
Solution