How to Install Wyse Management Suite (Private Cloud)
摘要: Learn how to install Wyse Management Suite (Private Cloud) by following these instructions.
說明
This article covers the basic installation process for Wyse Management Suite (Private Cloud).
Affected Products:
- Wyse Management Suite
Affected Versions:
- v4.4.211 and later
- Right-click
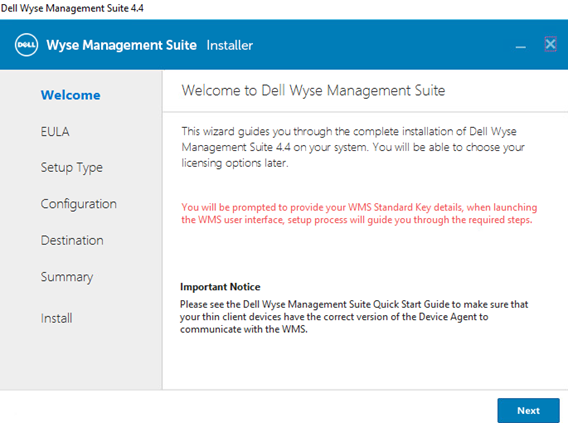
WMS_[X.X].exeand then select Run as administrator.
 Note:
Note:[X.X]= Version of Wyse Management Suite- For more information about how to download the server software, reference How to Download Wyse Management Suite for Private Cloud.
- Click Next.
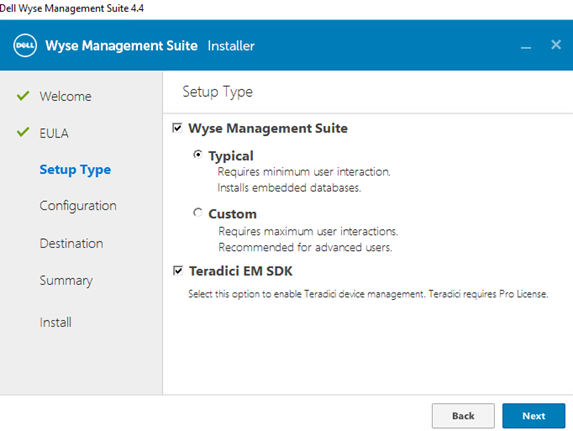
- From the Setup Type menu:
- Check Wyse Management Suite.
- With Wyse Management Suite checked, select either Typical or Custom.
- Optionally, check Teradici EM SDK.
- Click Next.
- If Wyse Management Suite with Typical was selected, go to Step 4.
- If Wyse Management Suite with Custom was selected, go to Step 5.
- Check Wyse Management Suite.
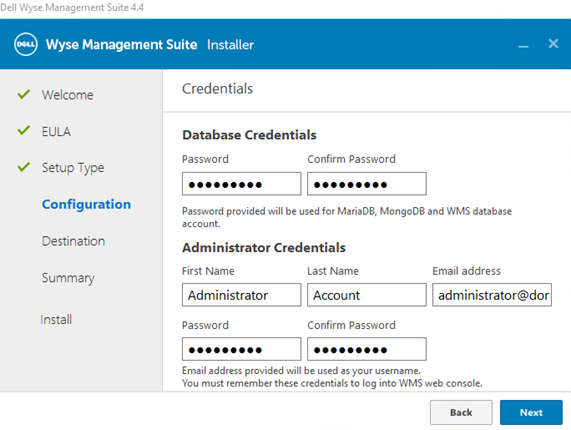
- From the Credentials menu:
- Populate and confirm a database Password.
- Populate an administrator First Name.
- Populate an administrator Last Name.
- Populate an administrator Email address.
- Populate and confirm an administrator Password.
- Click Next.
- Go to Step 9.
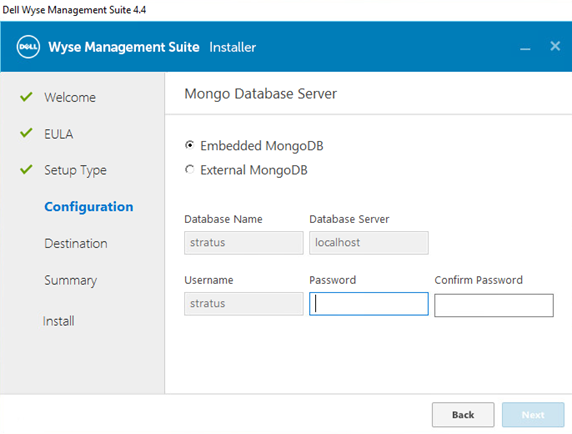
- From the Mongo Database Server Configuration menu:
- Select either Embedded MongoDB or External MongoDB.
- If Embedded MongoDB is selected, populate and confirm a Password.
- If External MongoDB is selected, populate the Database Server, Port, Username, and Password.
- Click Next.
- Select either Embedded MongoDB or External MongoDB.
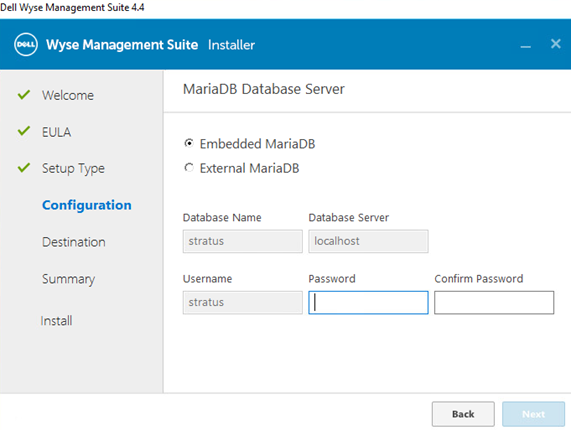
- From the MariaDB Database Server Configuration menu:
- Select either Embedded MariaDB or External MariaDB.
- If Embedded MariaDB is selected, populate and confirm a Password.
- If External MariaDB is selected, populate the Database Server, Port, Username, and Password.
- Click Next.
- Select either Embedded MariaDB or External MariaDB.
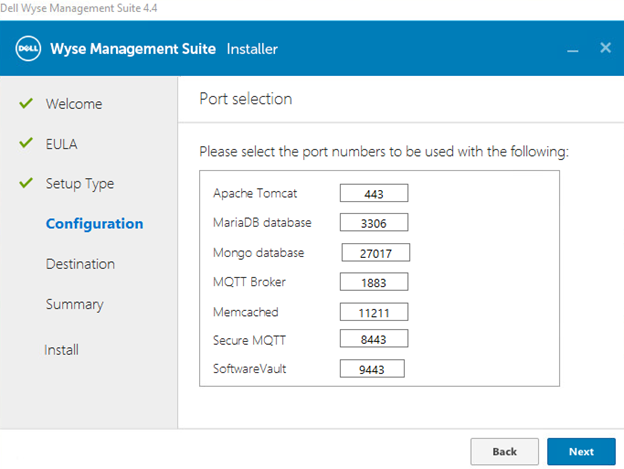
- From the Port selection Configuration menu:
- Optionally, change the port of:
- Apache Tomcat
- MariaDB database
- Mongo database
- MQTT Broker
- Memcached
- Secure MQTT
- Software Vault
- Click Next.
- Optionally, change the port of:
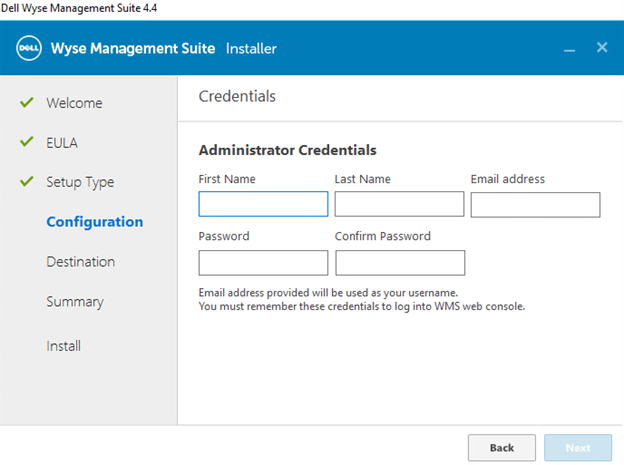
- From the Credentials Configuration menu:
- Populate an administrator First Name.
- Populate an administrator Last Name.
- Populate an administrator Email address.
- Populate and confirm an administrator Password.
- Click Next.
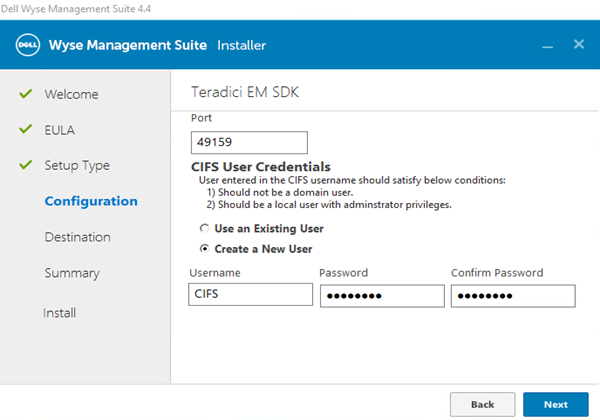
- From the Teradici EM SDK Configuration menu:
- Optionally, change the Port (only present if Teradici EM SDK was selected in Step 3).
- Select either Use an Existing User or Create a New User.
- If Use an Existing User is selected, populate a Username and Password.
- If Create a New User is selected, populate a Username, then populate and confirm the Password.
- Click Next.
Note:- If Teradici EM SDK was selected (Step 3), Configure CIFS User Credentials is not optional, and does not have a checkbox.
- If Teradici EM SDK was not selected (Step 3), Configure CIFS User Credentials is optional with a checkbox.
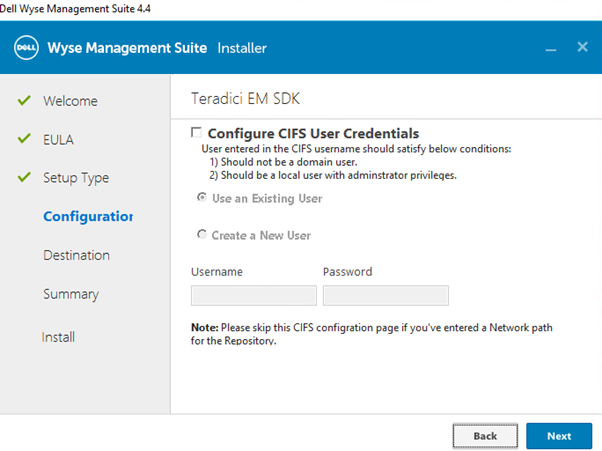
- Do not check Configure CIFS User Credentials if Teradici EM SDK was not selected (Step 3) and the repository will be installed to a network location (Step 13).
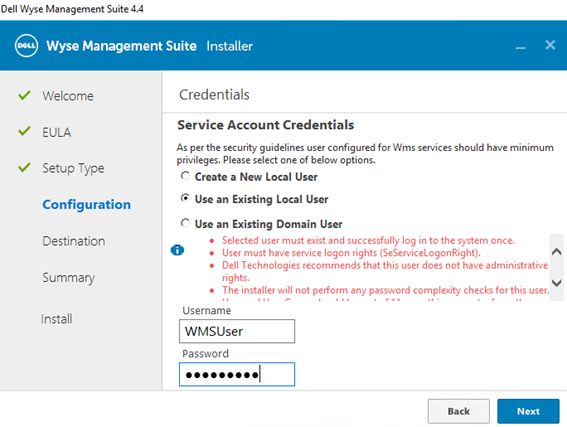
- From the Service Account Credentials menu:
- Select either Create a New Local User, Use an Existing Local User, or Use an Existing Domain User.
- Populate a Username and Password.
- Click Next.
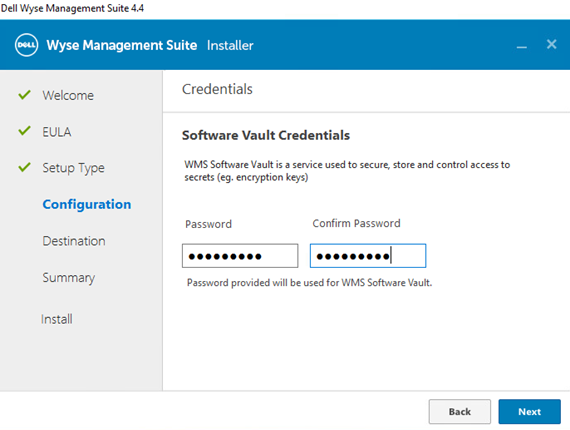
- From the Software Vault Credentials menu, configure a Password and then click Next.
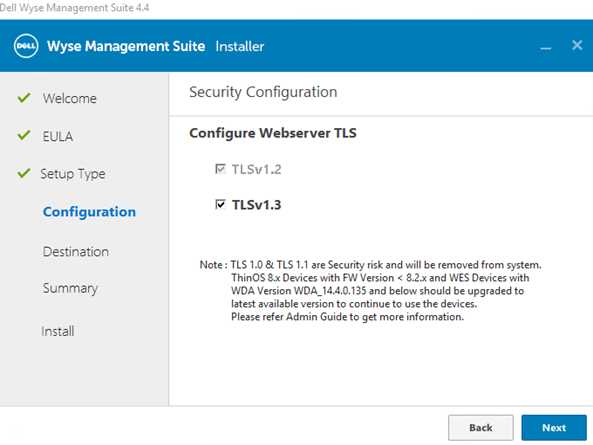
- From the Security Configuration - Configure Webserver TLS menu, optionally select TLSv1.3, then click Next.
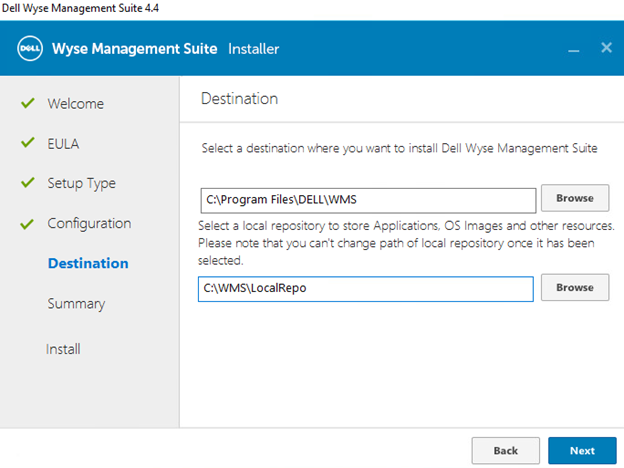
- From the Destination menu:
- Optionally, change the install directory.
- Optionally, change the repository directory.
- Click Next.
- From the Pre-Installation Summary, click Next.
 Note: The selections in the review will differ from what is pictured above based on selections that are made in the previous steps.
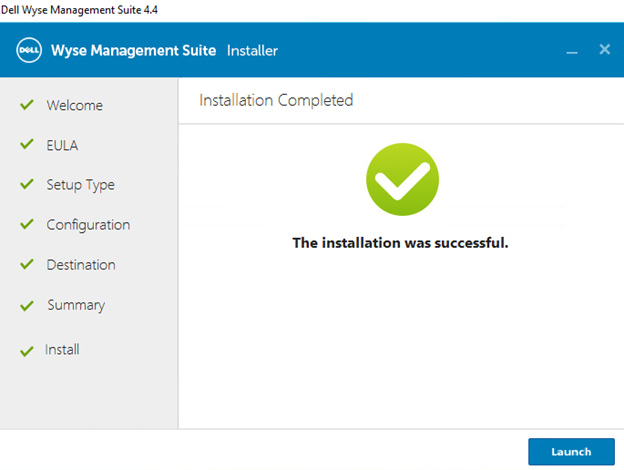
 - Click Launch to configure Wyse Management Suite.
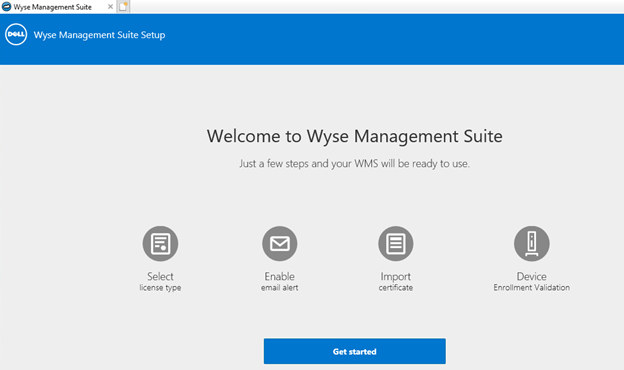
- Click the Get started button.
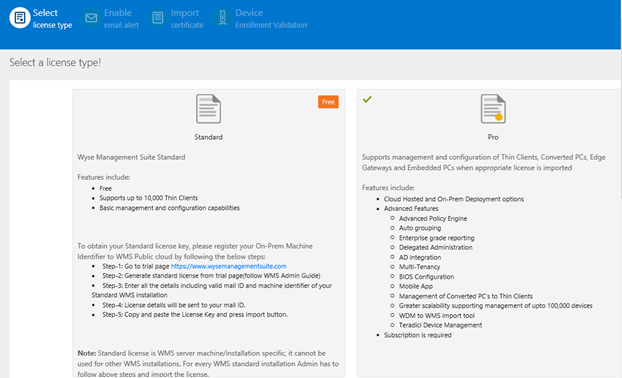
- From the License type menu:
- Select Standard or Pro.
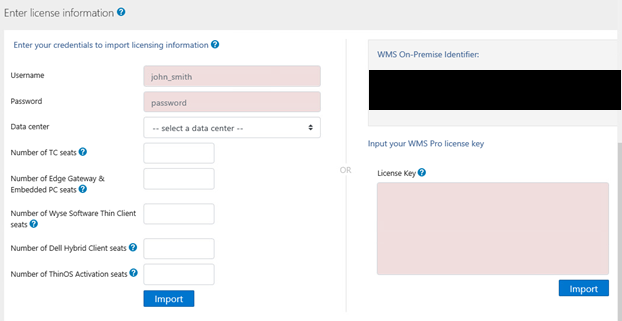
- If Pro is selected, either enter your credentials to import licensing information or input your WMS Pro license key.
- If entering your credentials:
- Populate a Username.
- Populate a Password.
- Populate a Data center.
- Populate a Number of TC seats.
- Populate a Number of Edge Gateway & Embedded PC seats.
- Populate a Number of Wyse Software Thin Client seats.
- Populate a Number of Dell Hybrid Client seats.
- Populate a Number of ThinOS Activation seats.
- Click Import.
- If inputting your WMS Pro license key:
- Populate the license key from the Public Cloud.
- Click Import.
- If entering your credentials:
- Click Next.
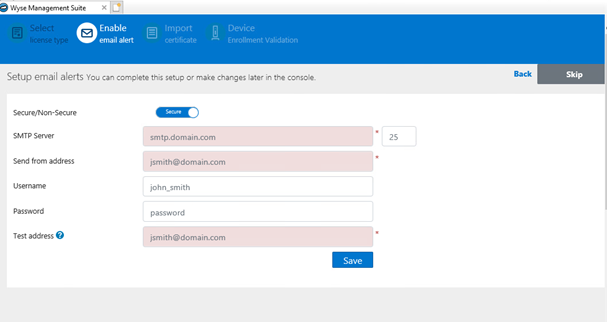
- From the Setup email alerts menu:
- Optionally, click Skip and go to Step 19.
- Populate the SMTP Server.
- Optionally, change the Port.
- Populate the Send from address.
- Populate the Username.
- Populate the Password.
- Populate the Test address.
- Click Save.
- Click Next.
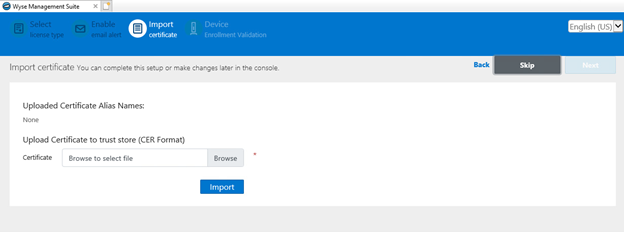
- From the Uploaded Certificate Alias Names menu:
- Optionally, click Skip and go to Step 20.
- Browse to and then select the certificate file.
- Click Next.
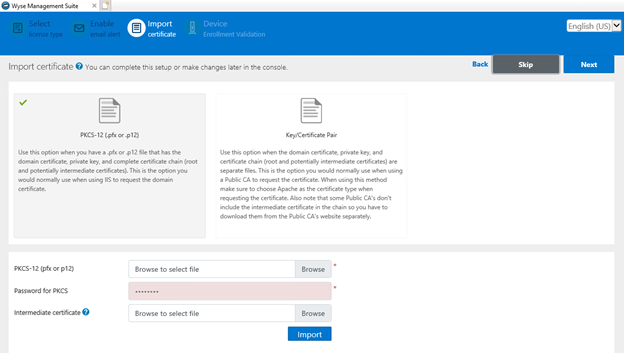
- From the Import certificate menu:
- Select either PKCS-12 (.pfx or .p12) or Key/Certificate Pair.
- If PKCS-12 (.pfx or .p12) is selected:
- Browse to the PKCS-12 and then click Open.
- Populate a Password for PKCS.
- Browse to the Intermediate certificate and then click Open.
- Click Import.
- If Key/Certificate Pair is selected:
- Browse to the Certificate and then click Open.
- Browse to the Intermediate certificate and then click Open.
- Browse to the Private key and then click Open.
- Populate the Password.
- Click Import.
- Click Next.
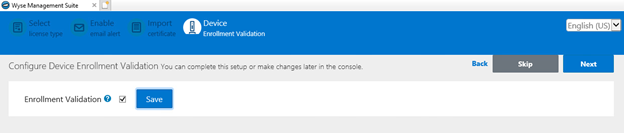
- From the Configure Device Enrollment Validation menu:
- Select the checkbox for Enrollment Validation.
- Click the Save button.
- Click Next.
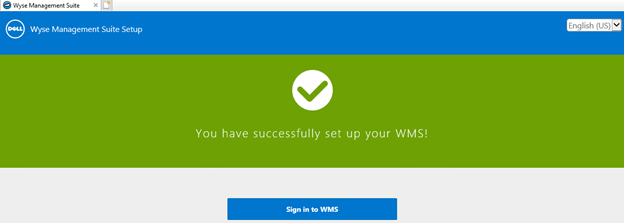
- Click Sign in to WMS to use Wyse Management Suite.