文章編號: 000125477
How to Create a Domain or Third-Party Certificate for Dell Data Security / Dell Data Protection Server
摘要: A certificate may be created for a Dell Data Security / Dell Data Protection server using these instructions.
文章內容
症狀
A Dell Data Security (formerly Dell Data Protection) server may use a certificate that is provided by a third-party or internal certificate authority (CA).
Affected Products:
Dell Security Management Server
Dell Security Management Server Virtual
Dell Data Protection | Enterprise Edition
Dell Data Protection | Virtual Edition
Affected Versions:
v8.0.0 to Later
原因
Not applicable.
解析度
To use a CA certificate, Dell Data Security server requires:
- A certificate signing request (CSR) to be submitted to the CA.
- A CA signed certificate (.cer) and private key to be converted to a Personal Information Exchange Format (PFX).
Click the appropriate action for more information.
To create a CSR:
- Right-click the Windows Start menu and then click Run.
- In the Run UI, type MMC and then press OK.

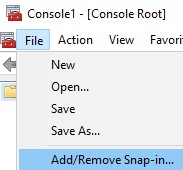
- From the Microsoft Management Console, select File, and then Add/Remove Snap-in.
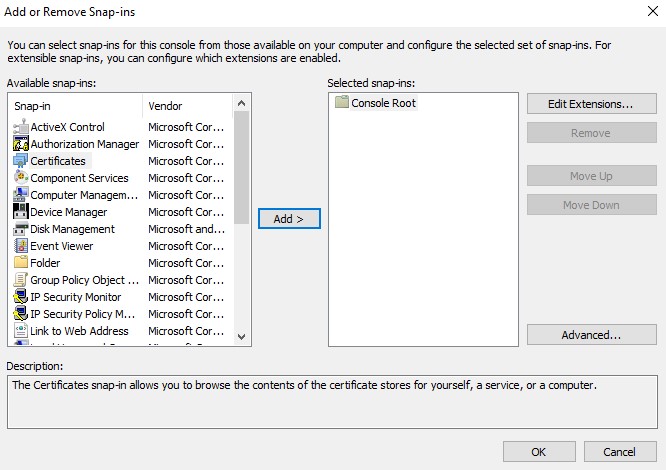
- Select Certificates and then click Add.
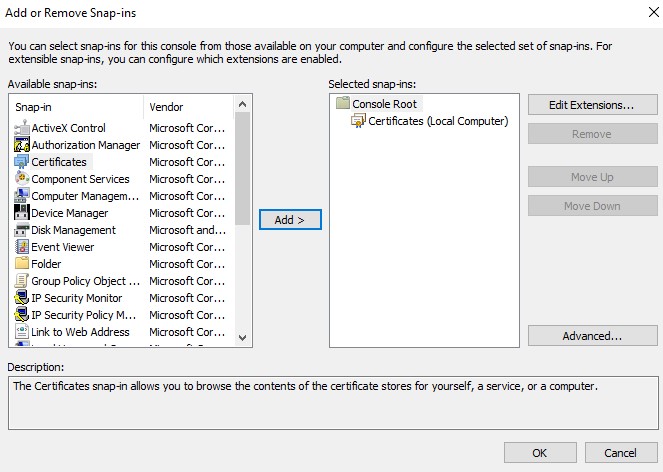
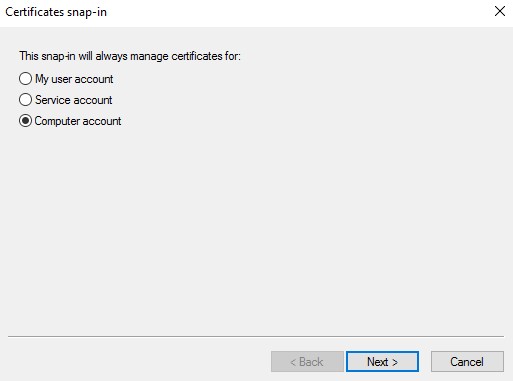
- Select Computer account and then click Next.

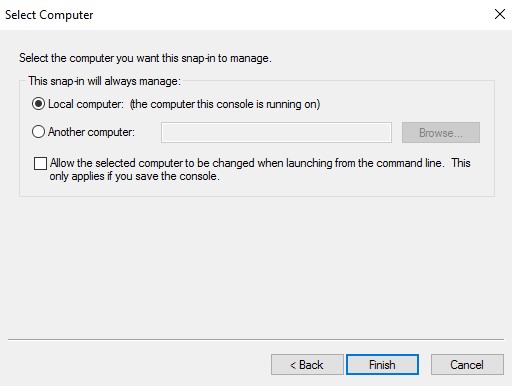
- With Local computer selected, click Finish.

- Click OK.
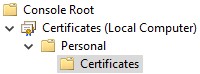
- In Console Root, expand Certificates.
- Right-click Personal, select All Tasks, Advanced Operations, and then click Create Custom Request.

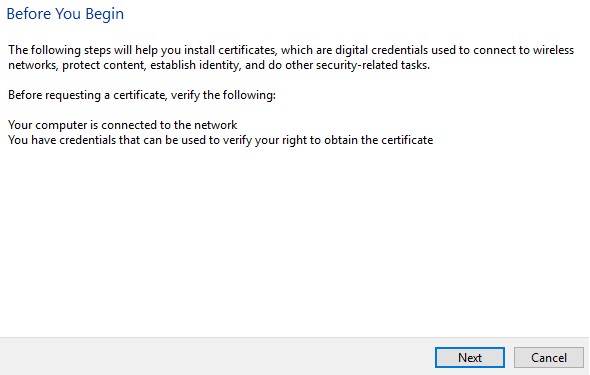
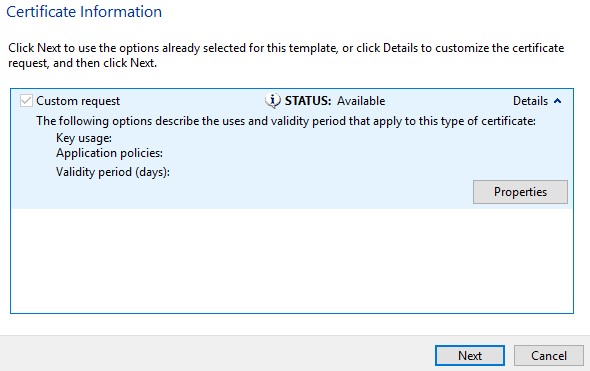
- Click Next.
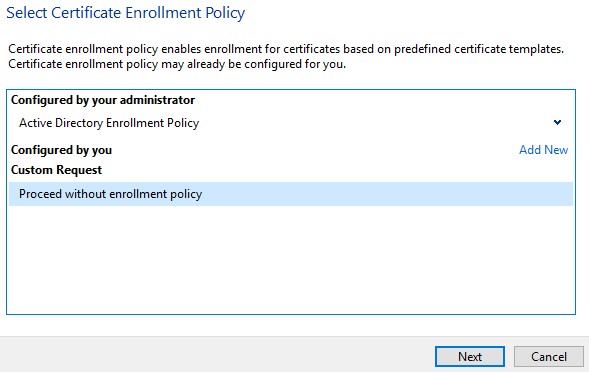
- Under Custom Request, select Proceed without enrollment policy and then click Next.
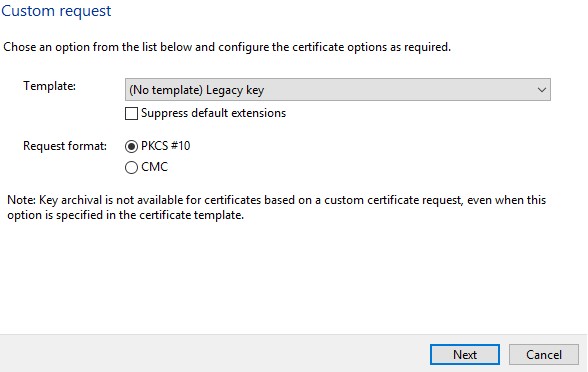
- From the Custom request menu:
- Select template: (No template) Legacy key
- Select format: PKCS #10
- Click Next.
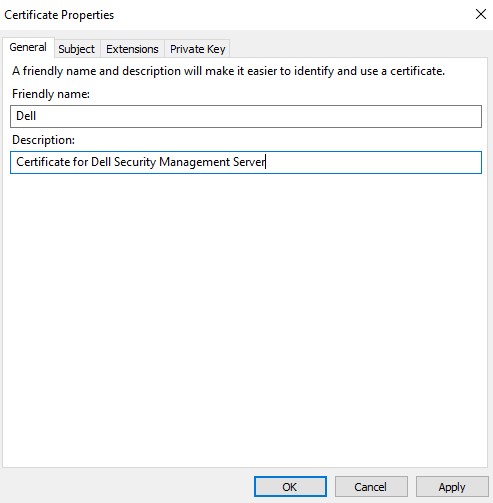
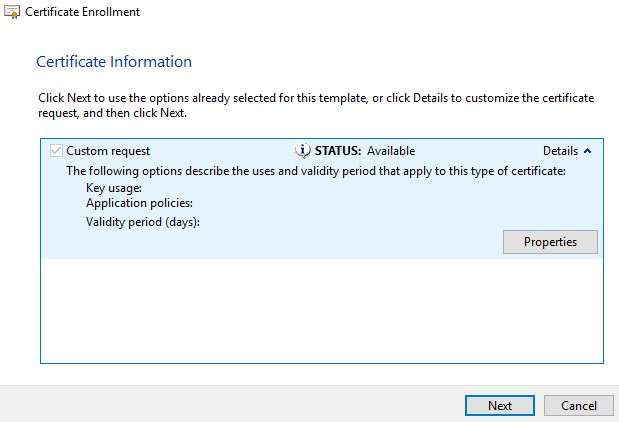
- Expand Details and then click Properties.
- In the General tab, populate the Friendly name and Description.
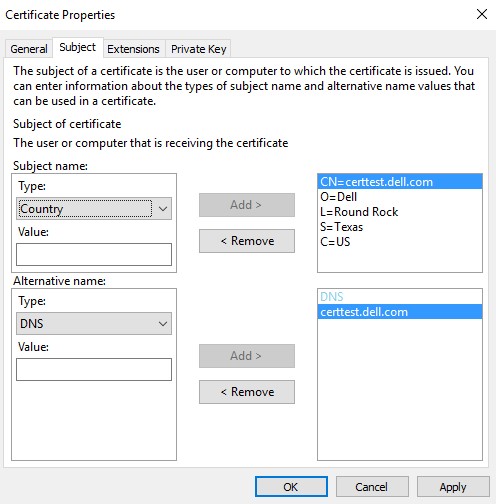
- In the Subject tab:
- From subject name, populate and then Add:
- Common name (CN)
- Organization
- Locality
- State
- Country
- From alternative name, populate the Dell Data Security server DNS and then click Add.
- From subject name, populate and then Add:
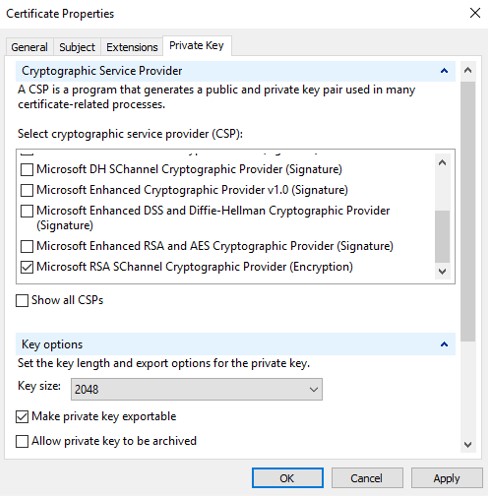
- In the Private Key tab:
- Expand Cryptographic Service Provider.
- Select Microsoft RSA SChannel Cryptographic Provider.
- Expand Key options.
- Select key size: 2048.
- Check Make private key exportable.
- Click OK.
- Click Next.
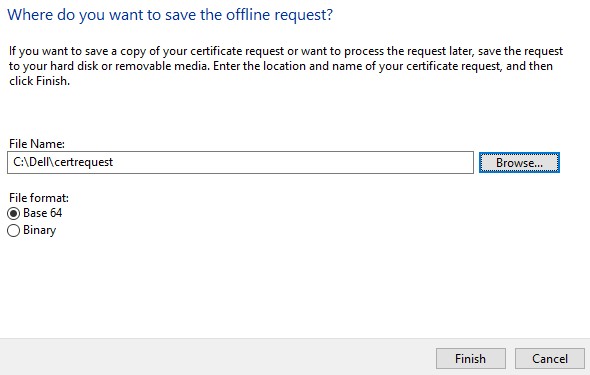
- Browse to a location to save the file and then click Finish.
Note: The CSR output can now be submitted to a third-party provider or internal certificate authority (CA).
To export a .pfx:
- Bring the CA signed certificate (.cer) to the machine where the CSR originated from.
- Right-click the .cer file and then click Install Certificate.
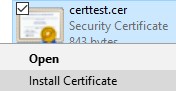
Note: certtest.cer is an example certificate name. The certificate name may differ in your environment.
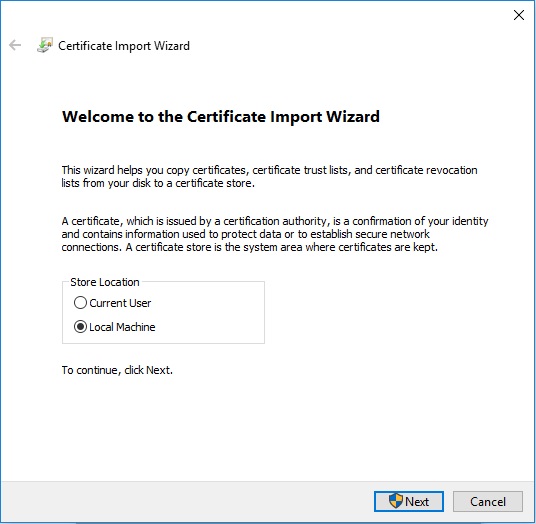
- In the Certificate Import Wizard, select Local Machine and then click Next.
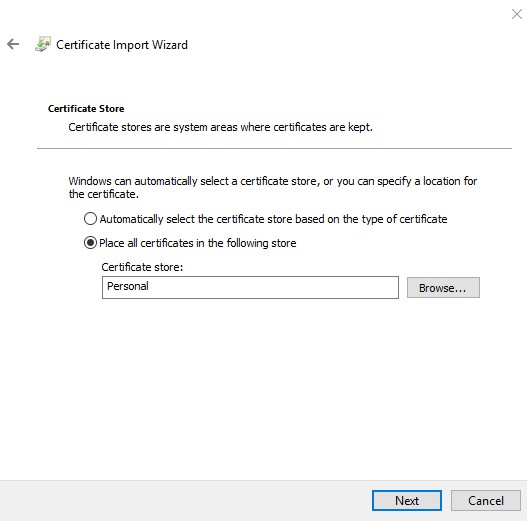
- Select:
- Select Place all certificates in the following store.
- Click Browse.
- Click Personal.
- Click OK.
- Click Next.
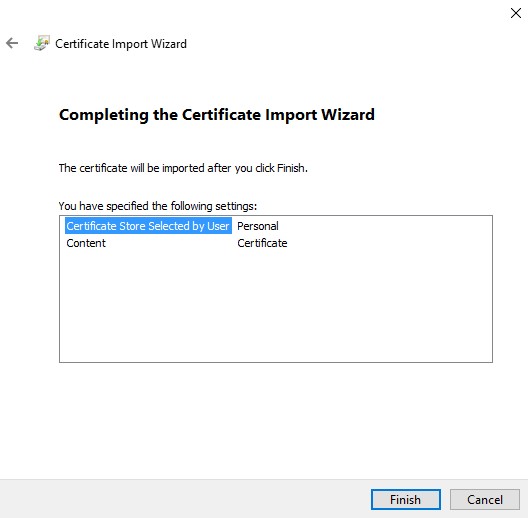
- Click Finish.
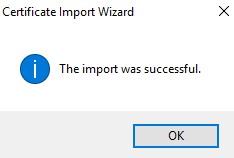
- Click OK.
- Right-click the Windows start menu and then click Run.

- In the Run UI, type MMC and then press OK.
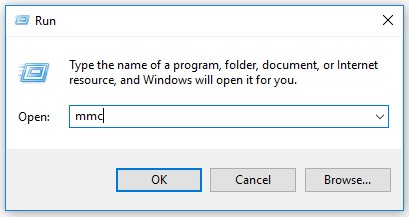
- From Microsoft Management Console, select File, and then Add/Remove Snap-in.

- Select Certificates and then click Add.

- Select Computer Account and then click Next.
- With Local computer selected, click Finish.
- Click OK.

Note: Ensure the root certificate of the third-party provider or internal CA is installed in trusted root certificates.
- Go to Certificates, Personal, and then Certificates.
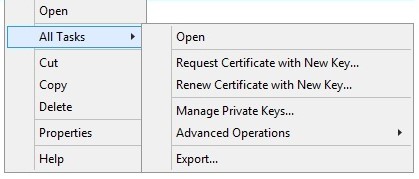
- Right-click the imported certificate (step 5), click All Tasks, and then click Export.
- Click Next.

- With Yes, export the private key selected, click Next.

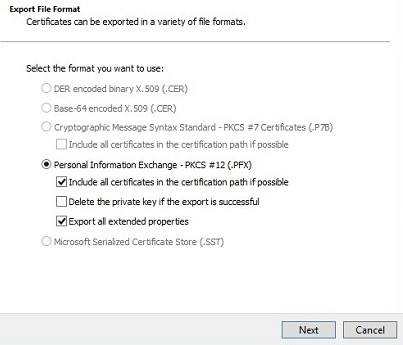
- From the Export File Format menu:
- Select Personal Information Exchange - PKCS #12 (.PFX).
- Check Include all certificates in the certification path if possible.
- Check Export all extended properties.
- Click Next.
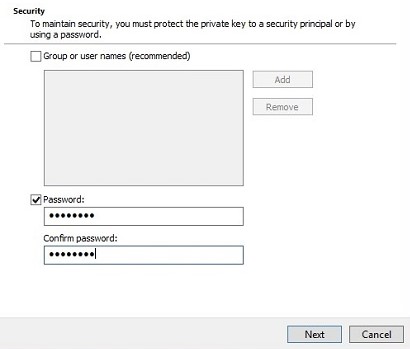
- Enter and confirm the Password. Once populated, click Next.
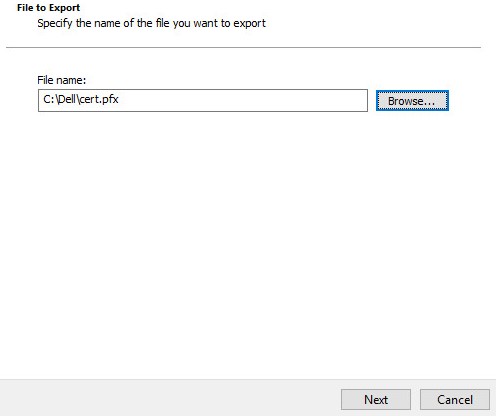
- Browse to a location to save the .pfx and then click Next.
- Click Finish.
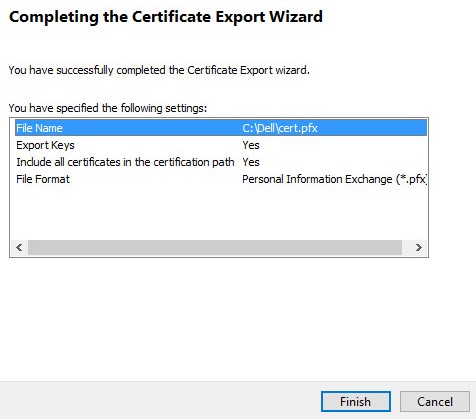
- Click OK.
- If using:
- Dell Security Management Server Virtual (Formerly Dell Data Protection | Virtual Edition), go to Step 24
- Dell Security Management Server (Formerly Dell Data Protection | Enterprise Edition), the .pfx creation process is completed.
- To successfully upload a .pfx, Dell Security Management Server Virtual requires:
- A completed .pfx
- A third-party FTP (file transfer protocol) client.
- Examples of an FTP client include (but are not limited to):
- Filezilla
- WinSCP
- FireFTP
- Examples of an FTP client include (but are not limited to):
Note:
- Dell does not endorses or support any listed third-party product. The listed clients are meant to be an example of potential products a customer can use. Contact the product’s manufacturer for information about setup, configuration, and management.
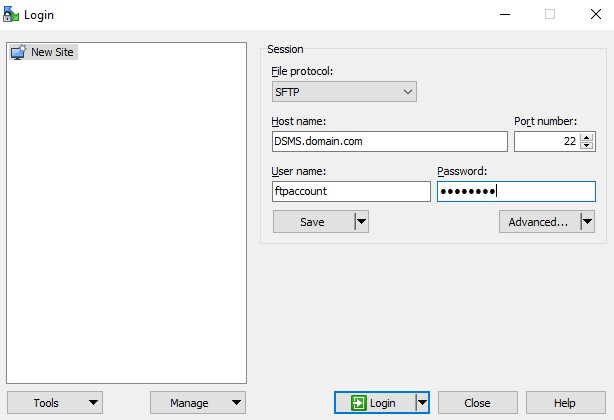
- Your FTP Client UI may differ from the below screenshot examples.
- Launch the FTP client.
- In the FTP client, Log in with an FTP user to the Dell Security Management Server Virtual.
Note: An FTP user must be created within the Dell Security Management Server. Reference How to Create an FTP User in Dell Security Management Server Virtual / Dell Data Protection Virtual Edition for more information.
- Go to
/certificates/.

- Move the .pfx from where it was saved (Step 20) to /certificates/.

- Close the FTP client.
To contact support, reference Dell Data Security International Support Phone Numbers.
Go to TechDirect to generate a technical support request online.
For additional insights and resources, join the Dell Security Community Forum.
其他資訊
影片
文章屬性
受影響的產品
Dell Encryption
上次發佈日期
20 12月 2022
版本
10
文章類型
Solution