How to Setup and Schedule Netskope Reports
Сводка: Netskope reports may be created and scheduled by following these instructions.
Симптомы
This article provides the steps for creating and scheduling reports for Netskope.
Affected Products:
Netskope
Причина
Not applicable.
Разрешение
To setup and schedule a template report:
- In a web browser, go to the Netskope web console:
- United States Datacenter: https://[TENANT].goskope.com/
- European Union Datacenter: https://[TENANT].eu.goskope.com/
- Frankfurt Datacenter: https://[TENANT].de.goskope.com/
Note: [TENANT] = The tenant name in your environment
- Log in to the Netskope web console.
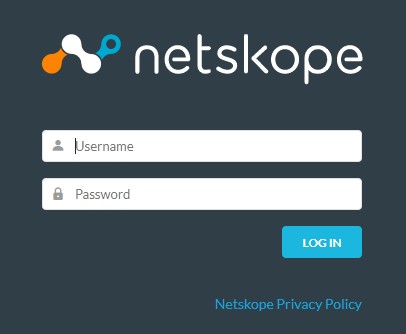
- Click Reports.
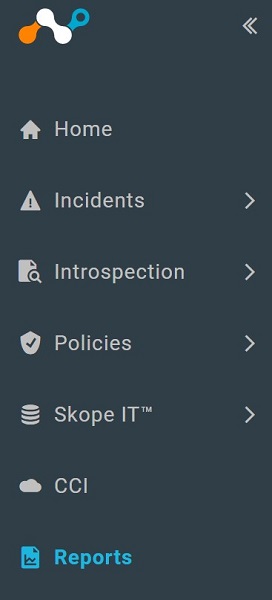
- Click Template Library.
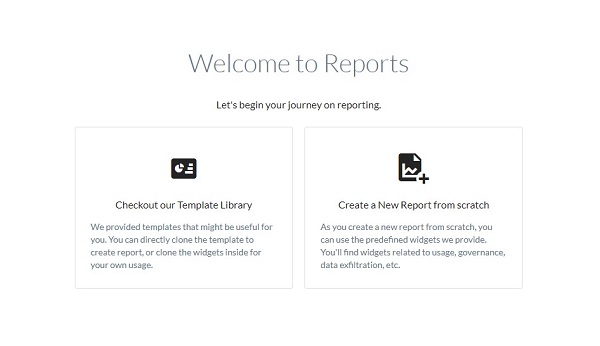
- Select the appropriate template and then click USE TEMPLATE.

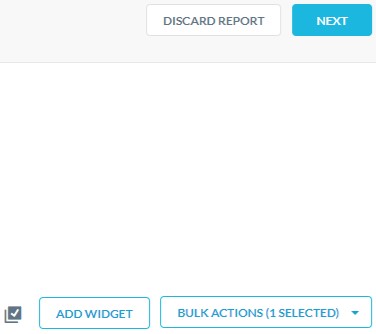
- Optionally, click Add Widget to add widgets to the report. Once finished, click Next.
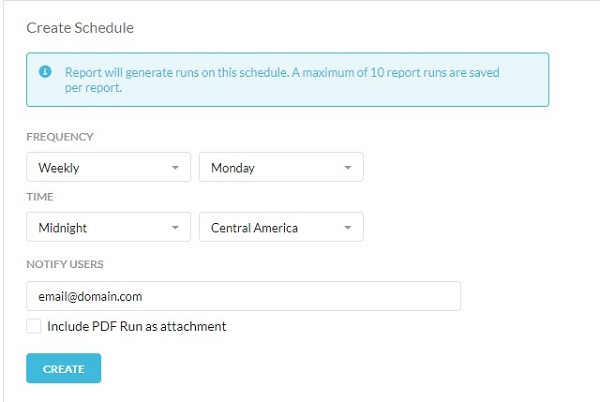
- From the Create Schedule menu:
- Select a Frequency of how often you would like the report to run.
- Select a Time to run the report.
- Populate Notify Users email addresses.
- Optionally, select Include PDF Run as attachment.
- Click Create.
- Click Done.

To contact support, reference Dell Data Security International Support Phone Numbers.
Go to TechDirect to generate a technical support request online.
For additional insights and resources, join the Dell Security Community Forum.