Pular para o conteúdo principal
  • Faça pedidos de forma rápida e simples
  • Visualize os pedidos e acompanhe o status de envio
  • Crie e acesse uma lista dos seus produtos

Dell MS3220 Wired Laser Mouse Usage and Troubleshooting Guide

Resumo: Information about the Dell MS3220 Laser Mouse can be learned by reading this article. You can reference each section to learn more about the features of the Dell MS3220 Multi-device Laser Wired Mouse and how to use it. ...

Este artigo aplica-se a Este artigo não se aplica a Este artigo não está vinculado a nenhum produto específico. Nem todas as versões do produto estão identificadas neste artigo.

Sintomas


The following article provides information about the Dell MS3220 Laser Mouse. You can reference each section to learn more about the features of the Dell MS3220 Multidevice Laser Wired Mouse and how to use it.


Causa

Not applicable

Resolução

Table of Contents:

  1. What is in the Dell MS3220 Multidevice Laser Wired Mouse box
  2. Mouse Features
  3. Setting up your mouse
  4. Troubleshooting
  5. Additional Information
 

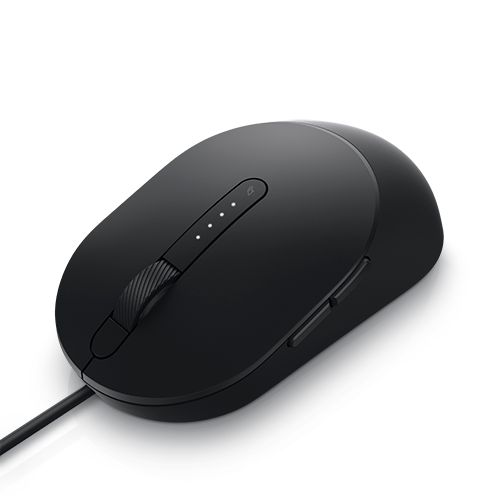
Work faster and smarter with the Dell Laser Wired Mouse - MS3220
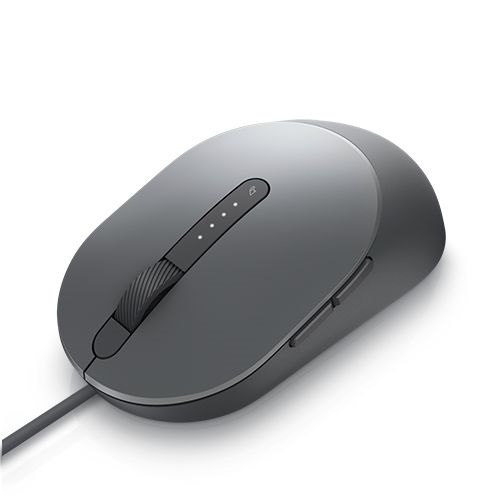
Figure 1: Work faster and smarter with the Dell Laser Wired Mouse - MS3220

Work faster and smarter with the Dell Laser Wired Mouse - MS3220

Figure 2: Work faster and smarter with the Dell Laser Wired Mouse - MS3220


What is in the Dell MS3220 Multidevice Laser Wired Mouse box
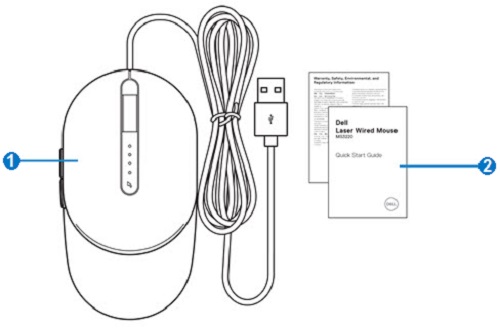
 

Dell MS3220 Mouse Box Contents

Figure 3: Dell MS3220 Mouse Box Contents

1 Laser Wired Mouse 2 Documents


Back to Top


Mouse Features


Top View

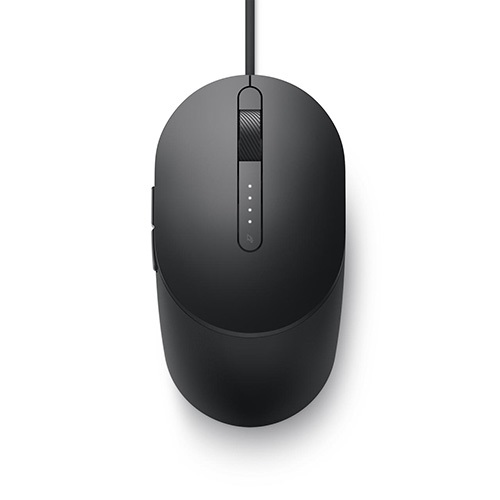
Dell MS3220 Mouse Top View

Figure 4: Dell MS3220 Mouse Top View

Left View
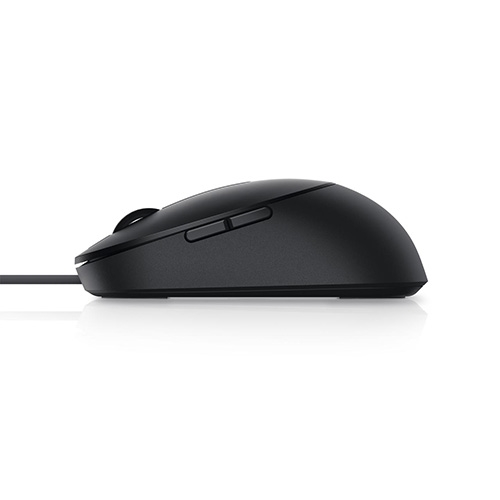
Dell MS3220 Mouse Left View

Figure 5: Dell MS3220 Mouse Left View

Product Features
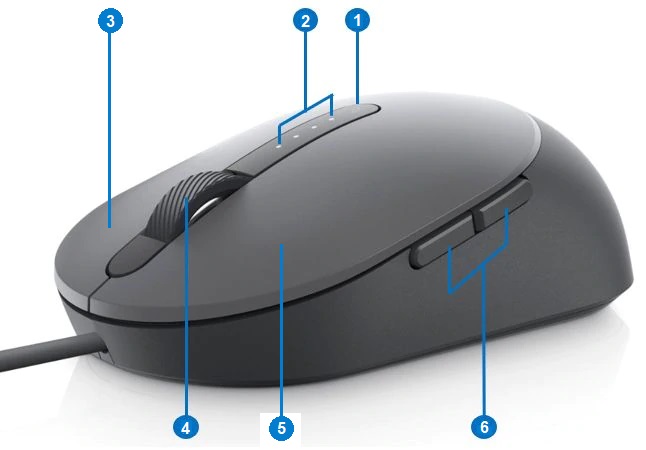
Dell MS3220 Product Features

Figure 6: Dell MS3220 Product Features

1 DPI Toggle button 2 DPI Indicator (Four Levels)
3 Right-Mouse button 4 Scroll Wheel
5 Left-Mouse button 6 Forward and Backward buttons
 

Label Location

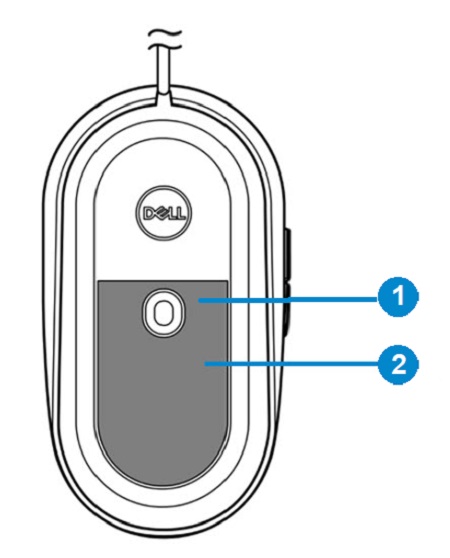
Bottom Label Location View

Figure 7: Bottom Label Location View

1 Laser Sensor 2 Label Location


Back to Top


Setting up your mouse


Compatibility

Operating Systems:

  • Windows 7, 8, 8.1 and 10; Mac; Linux (Redhat/Ubuntu); Chrome; and Android OS

Using the Dell Peripheral Manager application:

  • Windows 10 or later

Connecting the mouse

The MS3220 laser mouse uses a USB Type-a 2.0 connector to connect to your Desktop or Notebook system.
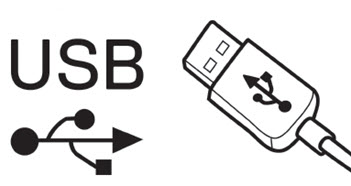
USB 2.0 Type-a Connector

Figure 8: USB 2.0 Type-a Connector

Adjusting the DPI

Press the DPI adjustment button repeatedly to switch between the preset mouse tracking resolutions.

The number of DPI indicator lights that are illuminated indicate the DPI setting. The preset four DPI settings and their indicator lights are as follows:
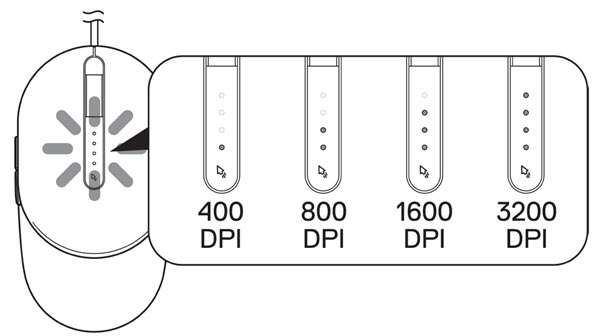
DPI Adjustments

Figure 9: DPI Adjustments


Back to Top


Troubleshooting


Problems Possible solutions
The mouse is not functioning.
  1. Connect the mouse USB cable to another USB A port. A notification appears indicating that the driver installation is in progress. If so, wait until a notification appears indicating that the drivers are installed before you use the mouse
  2. Restart your computer
Resolving cursor issues
  1. Connect the mouse USB cable to another USB A port. A notification appears indicating that the driver installation is in progress. If so, wait until a notification appears indicating that the drivers are installed before you use the mouse
  2. Ensure that the sensor is not obstructed or dirty
  3. Glass or smooth, glossy surfaces are not appropriate for the mouse sensor to capture movement. Using a dark-colored fabric mouse pad can improve the tracking
  4. Save any data, close any open programs, and then restart the laptop or desktop. If you do not have another mouse or touch screen? You may have to hold the power button down for at least 15 seconds to turn the laptop or desktop off. You may lose any data that is not saved
Resolving mouse button issues
  1. Ensure that nothing is preventing the mouse buttons from moving. Most mouse buttons make a clicking noise when pressed down
  2. Connect the mouse USB cable to another USB A port. A notification appears indicating that the driver installation is in progress. If so, wait until a notification appears indicating that the drivers are installed before you use the mouse
  3. Save any data, close any open programs, and then restart the laptop or desktop. If you do not have another mouse or touch screen? You may have to hold the power button down for at least 15 seconds to turn the laptop or desktop off. You may lose any data that is not saved
Troubleshooting a slow-moving cursor
  1. Ensure that the sensor is not obstructed or dirty
  2. Glass or smooth, glossy surfaces are not appropriate for the mouse sensor to capture movement. Using a dark-colored fabric mouse pad can improve the tracking.use pad can improve the tracking
  3. Change the mouse settings to adjust the pointer speed. Click the tab that matches the operating system that is installed on your laptop or desktop and perform the steps within that section to change the settings
    • In the Search box, type main.cpl
    • Click or tap main.cpl in the list of programs
    • Move the slider under Select a Pointer Speed to adjust the cursor speed to the wanted level
    • Click or tap OK


Back to Top


Additional Information


Dell Mouse Support Site

Learn how to use and troubleshoot problems with the mouse you use with your computer. You can find information about Troubleshooting steps, How-To guides, and relevant Support Videos for assistance.

For the DELL MS3220 User Guide, browse to the Dell MS3220 Online Manual Page. Touch or click the View PDF button to the right of the Mouse User Guide which is located in the Manuals and Documents section.


Back to Top


Produtos afetados

Dell Laser Wired Mouse MS3220
Propriedades do artigo
Número do artigo: 000175267
Tipo de artigo: Solution
Último modificado: 11 mai. 2023
Versão:  4
Encontre as respostas de outros usuários da Dell para suas perguntas.
Serviços de suporte
Verifique se o dispositivo está coberto pelos serviços de suporte.