How to Download and Install Foxit PDF Editor or Foxit PhantomPDF from Dell
요약: This article discusses how to download and install Foxit PDF Editor (formerly Foxit PhantomPDF) that is sold on Dell computers.
지침
Affected Product:
International:
- Foxit PDF Editor
- Foxit PDF Editor Pro
- Foxit PhantomPDF
- Foxit PhantomPDF Pro
US Only:
- Foxit PDF Editor with AI Assistant
- Foxit PDF Editor Pro with AI Assistant
Affected Platforms:
- Windows
Foxit PDF Editor and Foxit PDF Editor Pro allows you to create, review, edit, manage, share, and secure PDF documents. Foxit PDF Editor can be purchased when ordering a new Dell Windows computer.
Note: Before downloading and installing Foxit PDF Editor:
- Log in to Windows with an account with administrator privileges.
- Download and install Dell Digital Delivery.
- For more information: How to Download and Install Dell Digital Delivery
To download and install:
- In the Windows Start Menu, locate and then click Dell Digital Delivery (Figure 1).
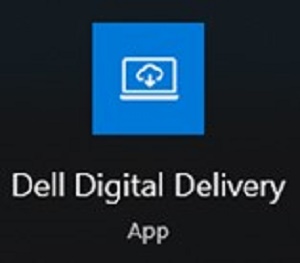
Figure 1
Note:- If Dell Digital Delivery is missing, see: How to Download and Install Dell Digital Delivery
- The Dell Digital Delivery icon reflects the latest version and may differ on your computer.
- In Dell Digital Delivery, click the Available tab.
- Locate Foxit PDF Editor or Foxit PDF Editor Pro and then click Download (Figure 2 and 3).


Figure 2
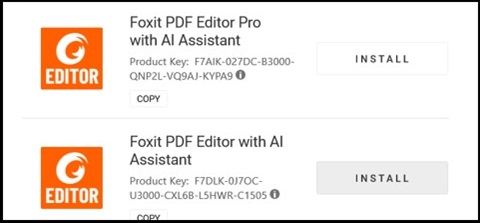
Figure 3
Note:- If Foxit PDF Editor is not listed, that could indicate connectivity issues, or the software is not associated to your Dell Digital Delivery account. In those situations, contact support.
- For more information: How to Get Support for Foxit Products Sold at Dell
- The License Key has been omitted from the above screenshots.
- If Foxit PDF Editor is not listed, that could indicate connectivity issues, or the software is not associated to your Dell Digital Delivery account. In those situations, contact support.
- Dell Digital Delivery automatically downloads and installs the software (Figure 4 and 5).

Figure 4

Figure 5
- On successful install, double-click the Foxit PDF Editor desktop shortcut to launch the application.
- On launch, confirm the Perpetual License number and then click Activate (Figure 6).
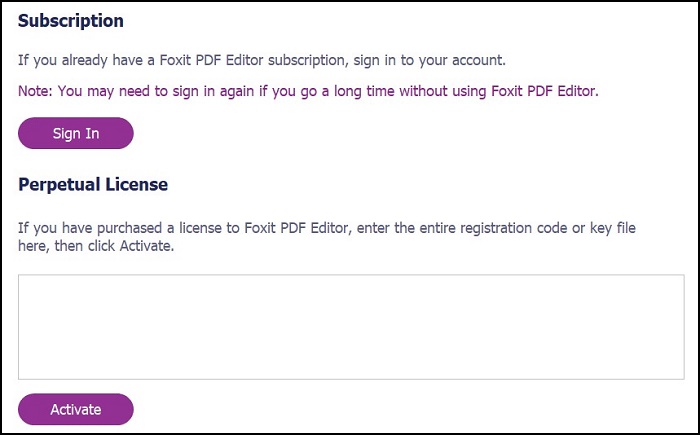
Figure 6
Note: The Perpetual License is omitted from the screenshot above. - Populate the user’s name and then click Activate (Figure 7).
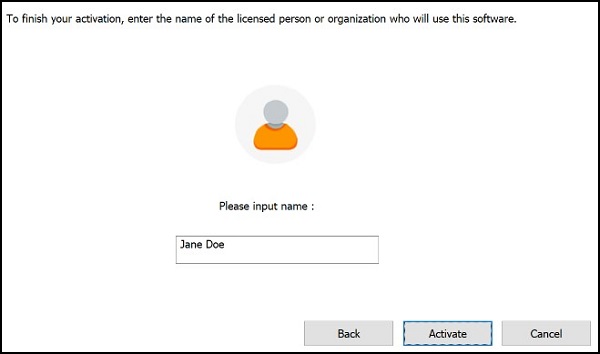
Figure 7
- On activation, click OK (Figure 8).
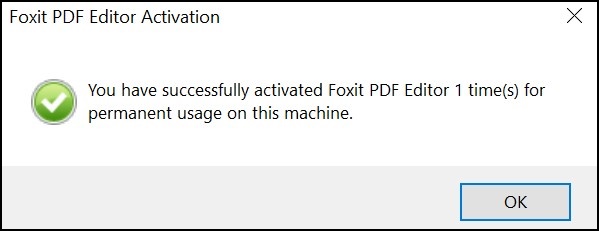
Figure 8
- Choose if you want to configure Foxit as the default viewer of PDF files (Figure 9).
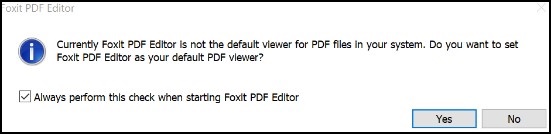
Figure 9
- On configuration, Foxit automatically downloads and installs the latest updates (Figure 10).
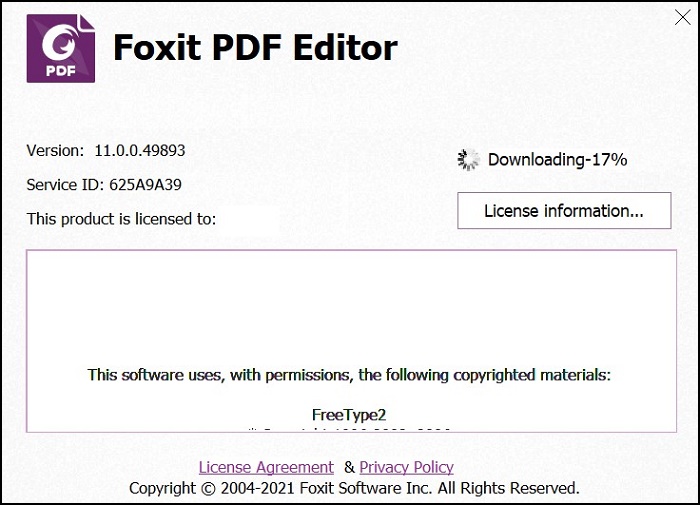
Figure 10
추가 정보
Recommended Articles
Here are some recommended articles related to this topic that might be of interest to you.