Installing a PCIe Card in Windows: A Comprehensive Guide
Résumé: Learn to install a PCIe card in a Windows system. Find tips on PCIe slots, adapter options, and easy, step-by-step installation instructions
Cet article concerne
Cet article ne concerne pas
Cet article n’est associé à aucun produit spécifique.
Toutes les versions du produit ne sont pas identifiées dans cet article.
Instructions
If you want to add a PCIe card in your Dell system, follow the below steps to complete the installation.
- Remove your side cover. If you do not know how to remove it, see the Dell Support page to get your system document.
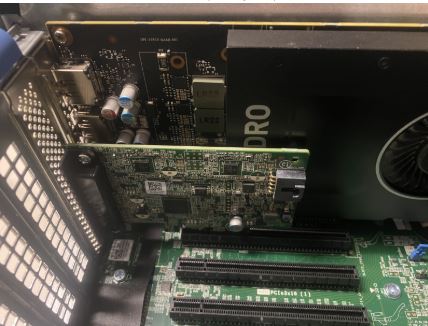
- A PCIe card is added to the PCIe Slot. (See Figure 1)

(Figure 1 - PCIe Slot)
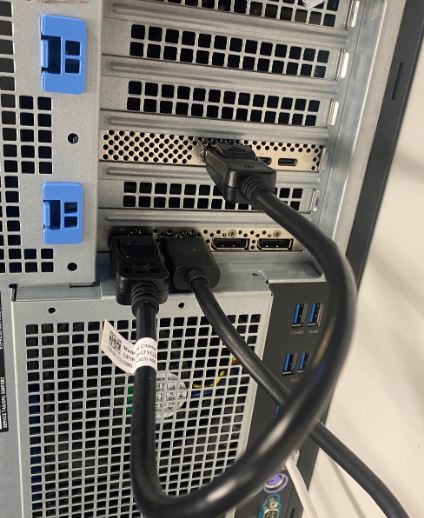
- Once the PCIe card ID is added. You need a Display Port to Display Port cable to plug in from the PCIe Card Display Port to the Graphics Card Display Port. (See Figure.2)

(Figure 2 - DP to DP Cable)
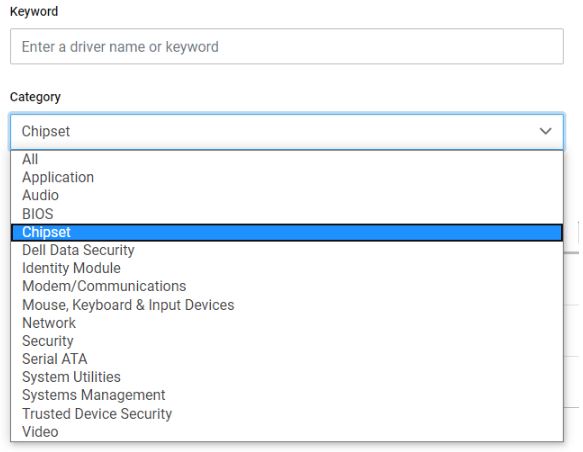
- Once the card has been installed, if it is a Thunderbolt PCIe card you must update the latest Thunderbolt Controller Driver. Go to our Drivers Site to search for the matching driver for your system. Thunderbolt Controller Driver can be found under "Chipset." (See Figure 3)

(Figure 3 - Dell Driver Category)
After completion of this driver installation and a reboot of the system, PCIe card functionality should now be capable of using the PCIe slot.
Informations supplémentaires
Recommended Articles
Here are some recommended articles related to this topic that might be of interest to you.
Produits concernés
OptiPlex, Fixed WorkstationsPropriétés de l’article
Numéro d’article: 000126038
Type d’article: How To
Dernière modification: 03 avr. 2024
Version: 8
Trouvez des réponses à vos questions auprès d’autres utilisateurs Dell
Services de support
Vérifiez si votre appareil est couvert par les services de support.