Bienvenue
Bienvenue dans l’univers Dell
Mon compte
- Passer des commandes rapidement et facilement
- Afficher les commandes et suivre l’état de votre expédition
- Profitez de récompenses et de remises réservées aux membres
- Créez et accédez à une liste de vos produits
- Gérer vos sites, vos produits et vos contacts au niveau des produits Dell EMC à l’aide de la rubrique Gestion des informations de l’entreprise.
Numéro d’article: 000125166
How to Schedule Managed Reports for Dell Data Security Servers
Résumé: Managed reports may be scheduled on Dell Data Security servers by following these instructions.
Contenu de l’article
Symptômes
An administrator can schedule Managed Reports to be sent to a list of email recipients for Dell Data Security servers (Dell Security Management Server or Dell Security Management Server Virtual).
Affected Products:
- Dell Security Management Server
- Dell Security Management Server Virtual
Affected Versions:
- v10.1.0 and later
Cause
Not applicable
Résolution
A New or Existing managed report may be scheduled to send to one or more email addresses. Click the appropriate task for more information.
Note:
- Email notifications require SMTP settings to be configured on the Dell Data Security server.
- For more information, reference How to Configure SMTP Settings for Dell Data Security Servers.
New
- Sign in to the Dell Data Security administration console.
Note: For more information, reference How to Access the Dell Data Security Server Administration Console.
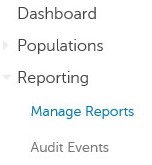
- From the left menu pane, click Reporting and then Manage Reports.
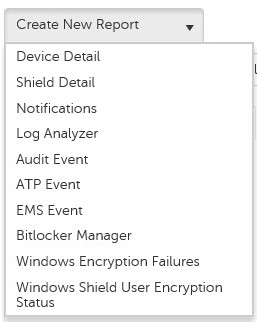
- Click the Create New Report drop-down and then select the appropriate report.
- Make any changes to the default report filters. Once finished, click Save As.

- From the Report - Save As menu:
- Populate a Report Name.
- Populate a Description.
- Optionally check Private.
- Click Save.
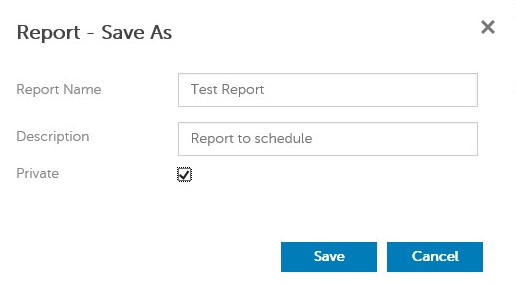
Note: Only the owner and report administrator have visibility to a Private report.
- Click Schedule.

- Click Add Schedule.

- From the Add Schedule menu:
- Populate an Email to receive the report.
- Select a Schedule for the report to run.
- Select a Time to run.
- Select a Locale.
- Click Save.
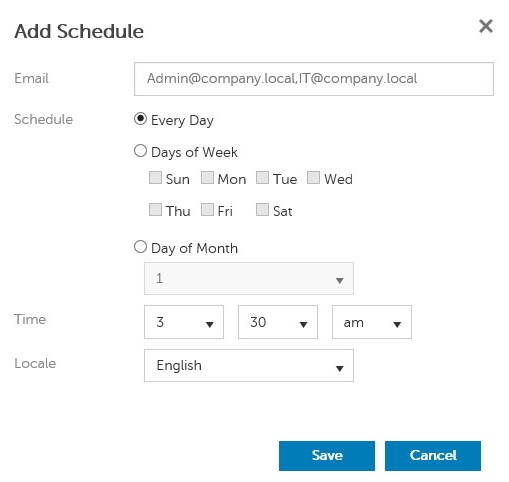
Note: Multiple email addresses may be separated by commas.
Existing
- Sign in to the Dell Data Security administration console.

Note: For more information, reference How to Access the Dell Data Security Server Administration Console.
- From the left menu pane, click Reporting and then Manage Reports.

- Select the report to be scheduled.

Note: The report information (name, description, and report type) may differ in your environment.
- Click Schedule.

- Click Add Schedule.

- From the Add Schedule menu:
- Populate an Email to receive the report.
- Select a Schedule for the report to run.
- Select a Time to run.
- Select a Locale.
- Click Save.

Note: Multiple email addresses may be separated by commas.
To contact support, reference Dell Data Security International Support Phone Numbers.
Go to TechDirect to generate a technical support request online.
For additional insights and resources, join the Dell Security Community Forum.
Propriétés de l’article
Produit concerné
Dell Encryption
Dernière date de publication
23 oct. 2023
Version
8
Type d’article
Solution