如何安装 Netskope Client
Résumé: Netskope Client 可通过遵循以下 Windows、Mac 或 ChromeOS 的说明来进行安装。
Cet article concerne
Cet article ne concerne pas
Cet article n’est associé à aucun produit spécifique.
Toutes les versions du produit ne sont pas identifiées dans cet article.
Symptômes
本文提供了安装 Netskope Client 的步骤。
受影响的产品:
- Netskope Client
受影响的操作系统:
- Windows
- Mac
- ChromeOS
Cause
不适用
Résolution
提醒:安装之前,请确保已验证系统要求。有关详细信息,请参阅 Netskope Client 系统要求。
有关安装 Netskope Client 的步骤,请单击相应的操作系统平台选项卡。
要安装 Netskope Client,请执行以下操作:
- 双击
NSClient_addon-[TENANT]_[VERSION]_ [LICENSE].msi。

提醒:
[TENANT]= 您环境的租户名称[VERSION]= Netskope 客户端的版本[LICENSE]= 用户的唯一许可证密钥- 要获取安装程序,请参阅 如何下载 Netskope Client。
- 此时将运行 Netskope Client 安装程序。

- 单击 Finish。
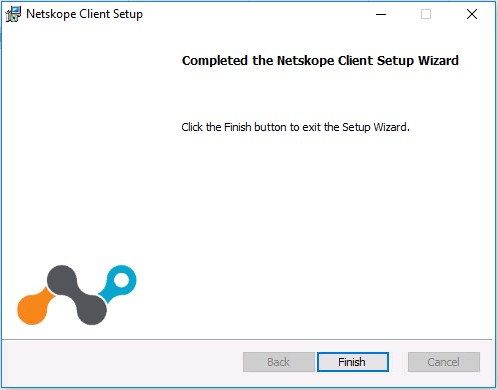
要安装该产品:
- 双击
NSClient_addon-[TENANT]_[VERSION]_ [LICENSE].pkg。
提醒:
[TENANT]= 您环境的租户名称[VERSION]= Netskope 客户端的版本[LICENSE]= 用户的唯一许可证密钥- 要获取安装程序,请参阅 如何下载 Netskope Client。
- 单击 Continue。
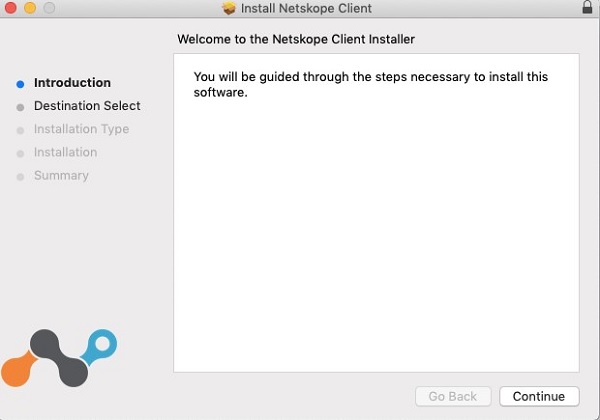
- 选择用于安装的磁盘,然后单击 Continue。

- (可选)更改安装位置,然后单击 Install。
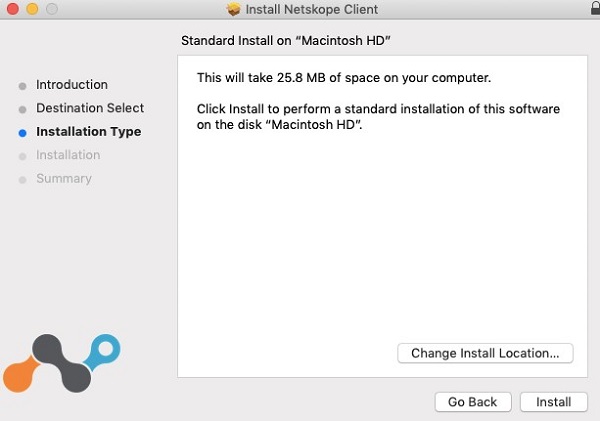
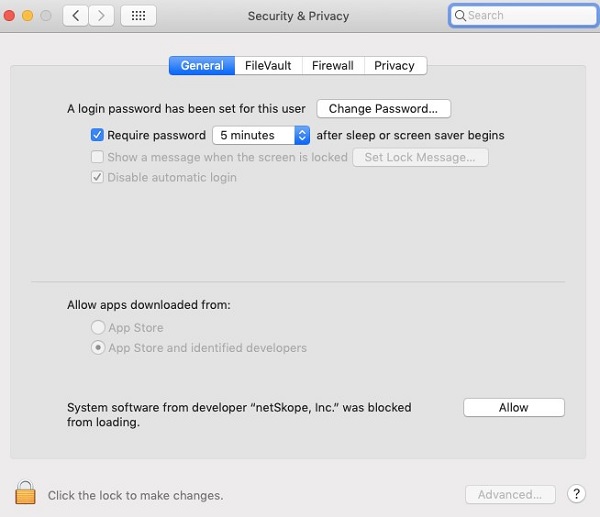
- 如果系统扩展被阻止提示,请单击 打开安全首选项 ,然后转至 步骤 6 。否则,请转至步骤 7。
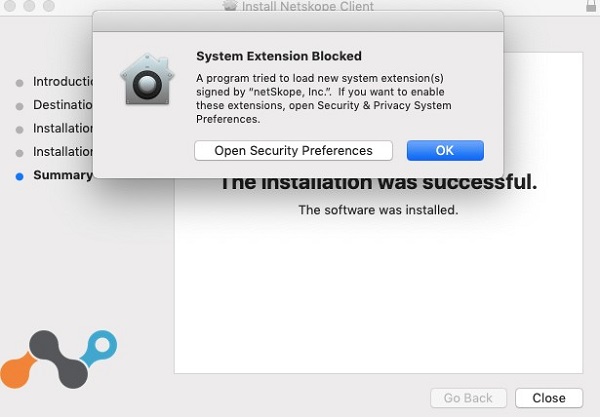
- 单击 Allow。
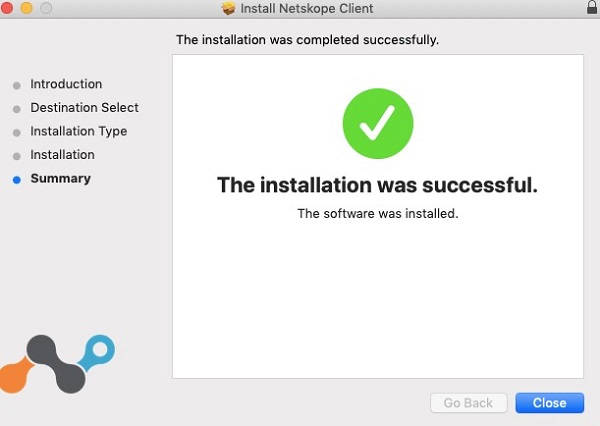
- 单击 Close。
提醒:ChromeOS 需要先发送邀请电子邮件,然后才能完全配置。有关如何发送邀请电子邮件的详细信息,请参阅如何下载 Netskope Client。
要安装该产品:
- 打开邀请电子邮件,然后单击 ChromeOS Client 下载链接。
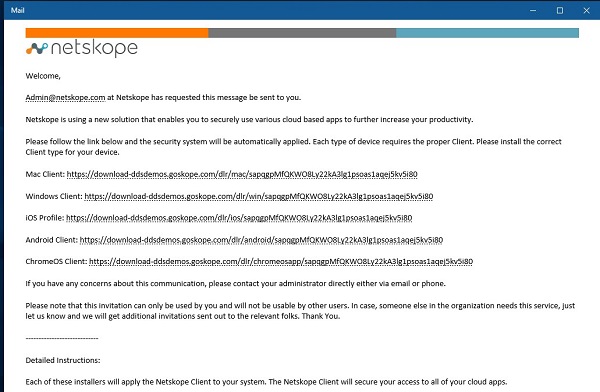
提醒:下载链接是唯一的。安装已绑定到与该链接关联的用户。
- ChromeOS 设备上安装的浏览器将启动。单击 Install。
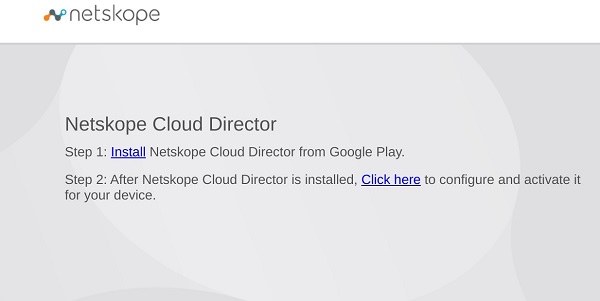
- 您将被定向到 Netskope Cloud Director 应用程序的 Google Play Store 页面。单击 Install。
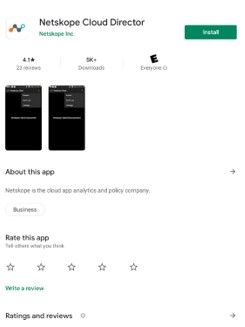
- 安装该应用程序后,单击 Open。

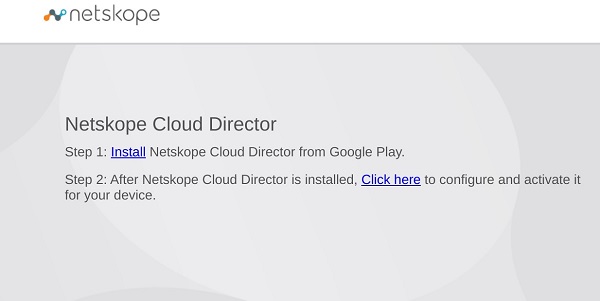
- 返回步骤 2 中的网页,然后选择 Click Here。
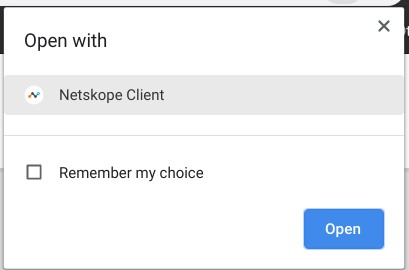
- 此时将显示 Open with 对话框。确保选择的是 Netskope Client,然后单击 Open。
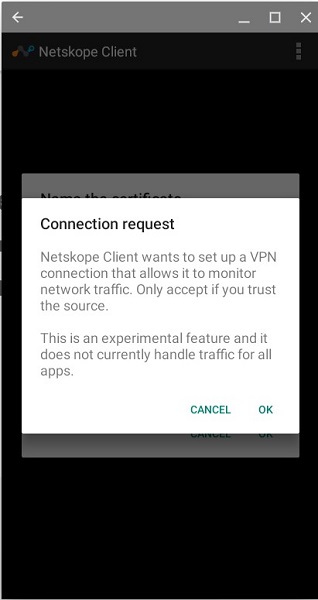
- Netskope Client 应用程序将启动,并显示连接请求对话框。单击确定。
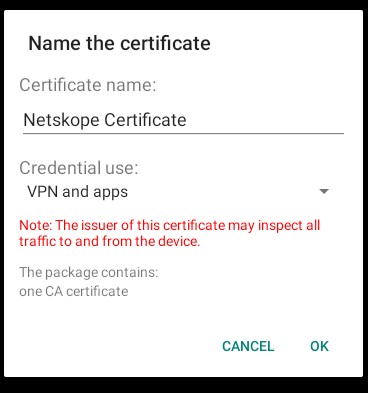
- 如果您的设备或组织不信任 Netskope 证书,您将收到一个提示,提示您为证书命名。单击确定。
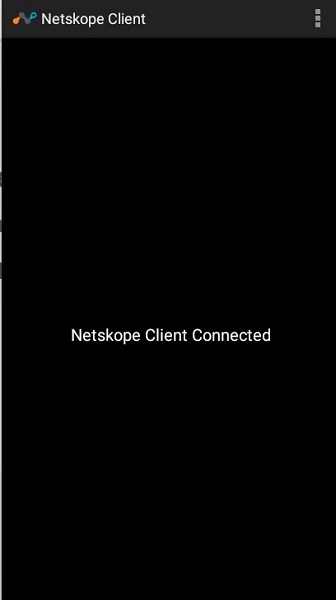
- 成功后,将显示“Netskope Client Connected”。
要联系支持部门,请参阅 Dell Data Security 国际支持电话号码。
转至 TechDirect,在线生成技术支持请求。
要获得更多见解和资源,请加入戴尔安全社区论坛。
Informations supplémentaires
Vidéos
Produits concernés
NetskopePropriétés de l’article
Numéro d’article: 000130554
Type d’article: Solution
Dernière modification: 09 Mar 2023
Version: 9
Trouvez des réponses à vos questions auprès d’autres utilisateurs Dell
Services de support
Vérifiez si votre appareil est couvert par les services de support.