在 Windows 中安裝 PCIe 卡:綜合指南
Résumé: 瞭解如何在 Windows 系統中安裝 PCIe 卡。尋找 PCIe 插槽、介面卡選項的秘訣,以及簡單的逐步安裝指示
Cet article concerne
Cet article ne concerne pas
Cet article n’est associé à aucun produit spécifique.
Toutes les versions du produit ne sont pas identifiées dans cet article.
Instructions
如果您要在 Dell 系統中新增 PCIe 卡,請按照以下步驟完成安裝。
- 卸下側蓋。如果您不知道如何將其移除,請參閱 Dell 支援 頁面以取得您的系統文件。
- PCIe 卡已新增至 PCIe 插槽。(請參閱圖 1)
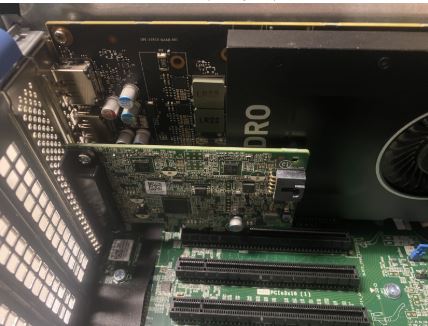
(圖 1 - PCIe 插槽)
- 新增 PCIe 卡 ID 後。您需要 DisplayPort 對 DisplayPort 纜線,才能從 PCIe 卡 DisplayPort 插入顯示卡 DisplayPort。(請參閱圖 2)
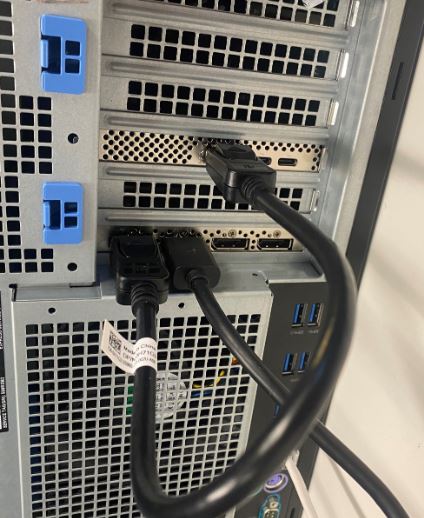
(圖 2 - DP 轉 DP 纜線)
- 安裝擴充卡後,若為 Thunderbolt PCIe 卡,您必須更新最新的 Thunderbolt 控制器驅動程式。前往我們的 驅動程式網站 ,搜尋適合您系統的相符驅動程式。您可以在「晶片組」底下找到 Thunderbolt 控制器驅動程式。(請參閱圖 3)
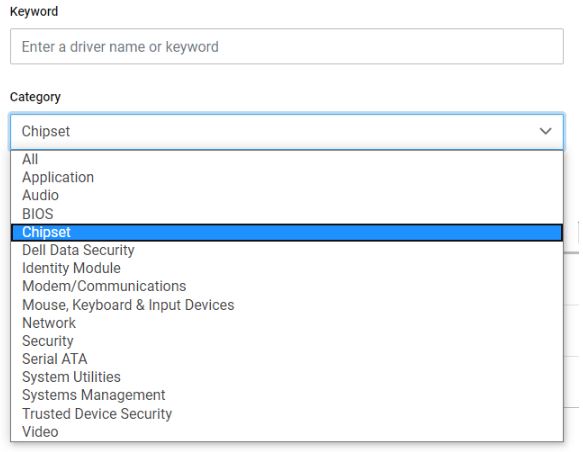
(圖 3 - Dell 驅動程式類別)
完成此驅動程式安裝和系統重新開機後,PCIe 卡功能現在應可使用 PCIe 插槽。
Informations supplémentaires
Propriétés de l’article
Numéro d’article: 000126038
Type d’article: How To
Dernière modification: 09 Dec 2024
Version: 9
Trouvez des réponses à vos questions auprès d’autres utilisateurs Dell
Services de support
Vérifiez si votre appareil est couvert par les services de support.