How to Setup and Schedule Netskope Reports
Yhteenveto: Netskope reports may be created and scheduled by following these instructions.
Tämä artikkeli koskee tuotetta
Tämä artikkeli ei koske tuotetta
Oireet
This article provides the steps for creating and scheduling reports for Netskope.
Affected Products:
Netskope
Syy
Not applicable.
Tarkkuus
To setup and schedule a template report:
- In a web browser, go to the Netskope web console:
- United States Datacenter: https://[TENANT].goskope.com/
- European Union Datacenter: https://[TENANT].eu.goskope.com/
- Frankfurt Datacenter: https://[TENANT].de.goskope.com/
Note: [TENANT] = The tenant name in your environment
- Log in to the Netskope web console.
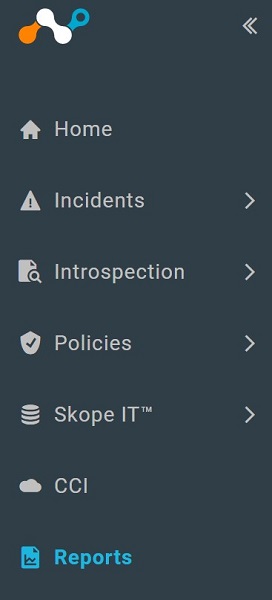
- Click Reports.
- Click Template Library.
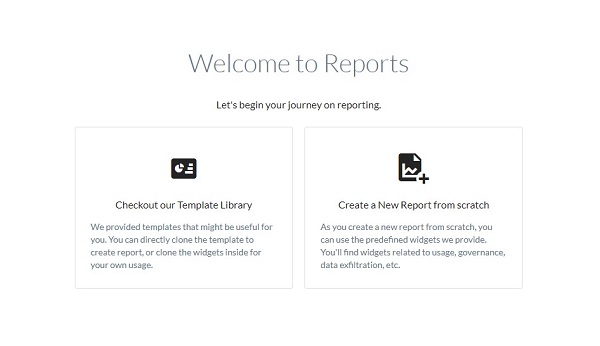
- Select the appropriate template and then click USE TEMPLATE.

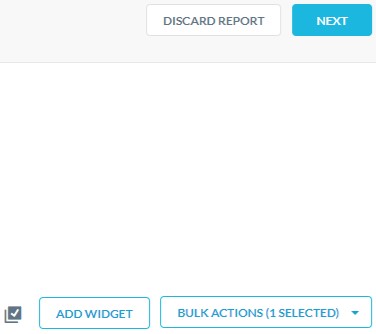
- Optionally, click Add Widget to add widgets to the report. Once finished, click Next.
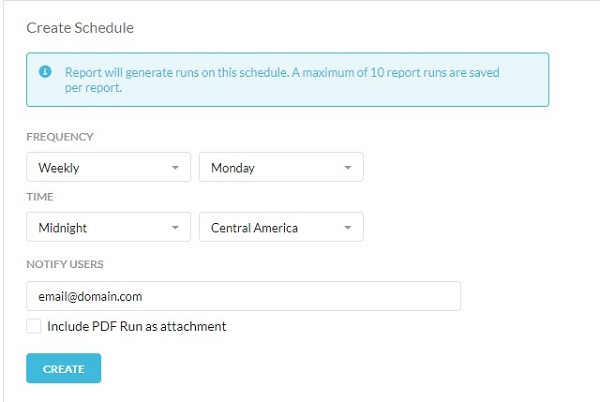
- From the Create Schedule menu:
- Select a Frequency of how often you would like the report to run.
- Select a Time to run the report.
- Populate Notify Users email addresses.
- Optionally, select Include PDF Run as attachment.
- Click Create.
- Click Done.

To contact support, reference Dell Data Security International Support Phone Numbers.
Go to TechDirect to generate a technical support request online.
For additional insights and resources, join the Dell Security Community Forum.
Lisätietoja
Tuotteet, joihin vaikutus kohdistuu
NetskopeArtikkelin ominaisuudet
Artikkelin numero: 000130775
Artikkelin tyyppi: Solution
Viimeksi muutettu: 19 jouluk. 2022
Versio: 9
Etsi vastauksia kysymyksiisi muilta Dell-käyttäjiltä
Tukipalvelut
Tarkista, kuuluuko laitteesi tukipalveluiden piiriin.