Installing a PCIe Card in Windows: A Comprehensive Guide
Yhteenveto: Learn to install a PCIe card in a Windows system. Find tips on PCIe slots, adapter options, and easy, step-by-step installation instructions
Tämä artikkeli koskee tuotetta
Tämä artikkeli ei koske tuotetta
Ohjeet
If you want to add a PCIe card in your Dell system, follow the below steps to complete the installation.
- Remove your side cover. If you do not know how to remove it, see the Dell Support page to get your system document.
- A PCIe card is added to the PCIe Slot. (See Figure 1)
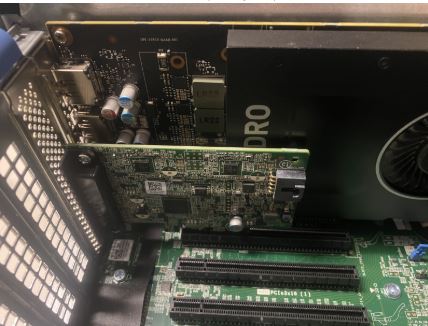
(Figure 1 - PCIe Slot)
- Once the PCIe card ID is added. You need a Display Port to Display Port cable to plug in from the PCIe Card Display Port to the Graphics Card Display Port. (See Figure.2)
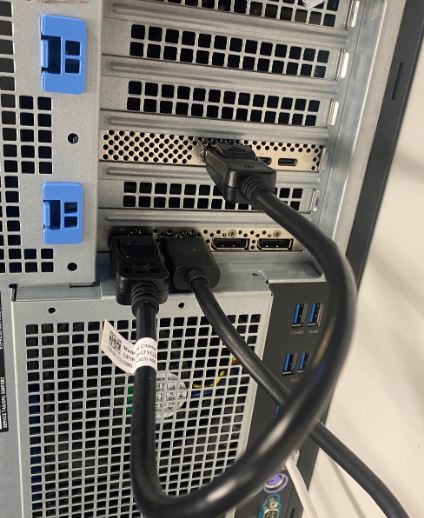
(Figure 2 - DP to DP Cable)
- Once the card has been installed, if it is a Thunderbolt PCIe card you must update the latest Thunderbolt Controller Driver. Go to our Drivers Site to search for the matching driver for your system. Thunderbolt Controller Driver can be found under "Chipset." (See Figure 3)
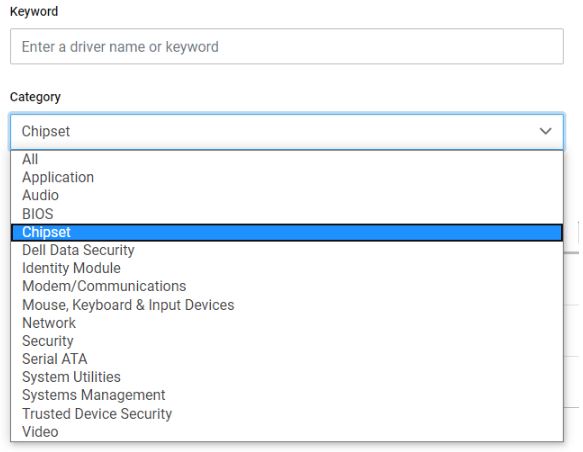
(Figure 3 - Dell Driver Category)
After completion of this driver installation and a reboot of the system, PCIe card functionality should now be capable of using the PCIe slot.
Lisätietoja
Recommended Articles
Here are some recommended articles related to this topic that might be of interest to you.
Tuotteet, joihin vaikutus kohdistuu
OptiPlex, Fixed WorkstationsArtikkelin ominaisuudet
Artikkelin numero: 000126038
Artikkelin tyyppi: How To
Viimeksi muutettu: 03 huhtik. 2024
Versio: 8
Etsi vastauksia kysymyksiisi muilta Dell-käyttäjiltä
Tukipalvelut
Tarkista, kuuluuko laitteesi tukipalveluiden piiriin.