How to Resolve Internal Mic Cannot Be Selected or Missing in Device Manager
Resumen: The internal microphone is missing in Device Manager or cannot be selected in Device Manager.
Este artículo se aplica a
Este artículo no se aplica a
Este artículo no está vinculado a ningún producto específico.
No se identifican todas las versiones del producto en este artículo.
Instrucciones
- Start up the computer. Ensure it is NOT connected to the Internet and log in as ADMIN.
- Go to Device Manager (Figure 1 [English only]) and check the following. Check to see if the Intel® Smart sound Technology (Intel® SST) Audio controller is installed and with no yellow bangs (As seen in below image). Check to see if the Intel® Smart Sound Technology (Intel® SST) OED is installed and with no yellow bangs. (As seen in below image) If there are any yellow bangs remove BOTH these devices, and if asked to remove the software as well, do that as well.

Figure 1 Device Manager - If these two (x2) devices above has been removed restart the computer, and log in as ADMIN.
- Connect to the Internet and check if ALL Microsoft updates have been done (Figure 2 [English only]).
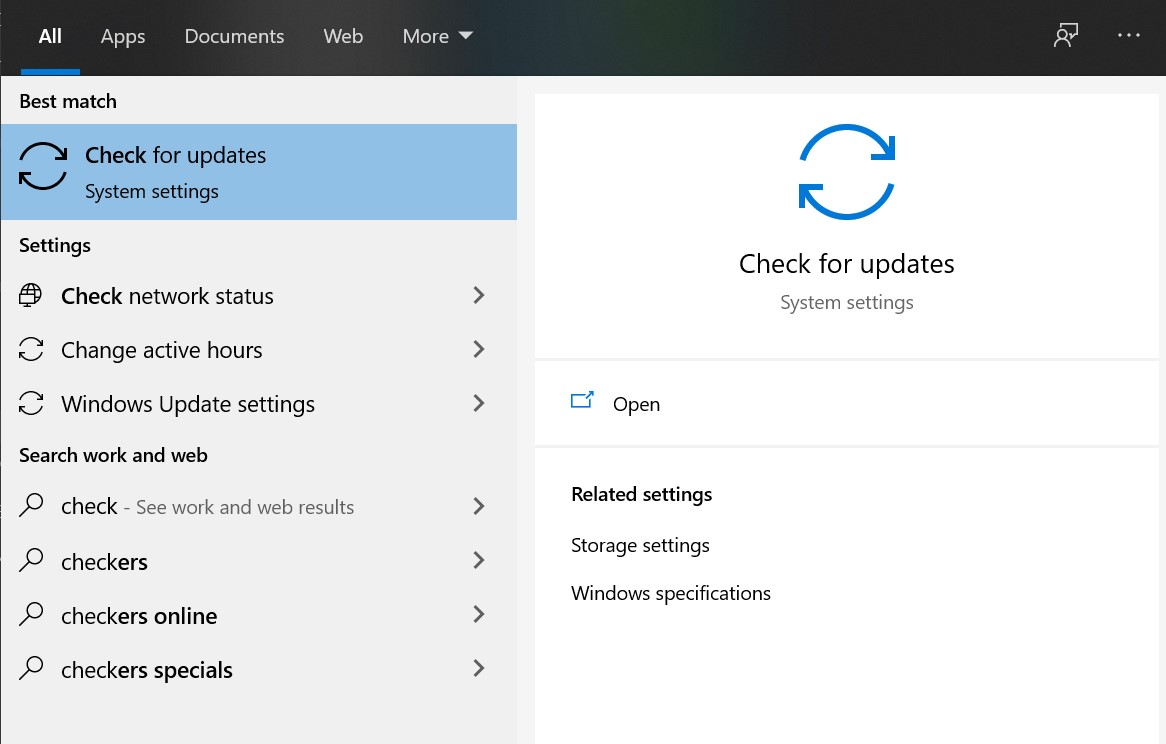
Figure 2 Check updates - Click the Check for updates, and if available check online for updates from Microsoft (Figure 3 [English only]).
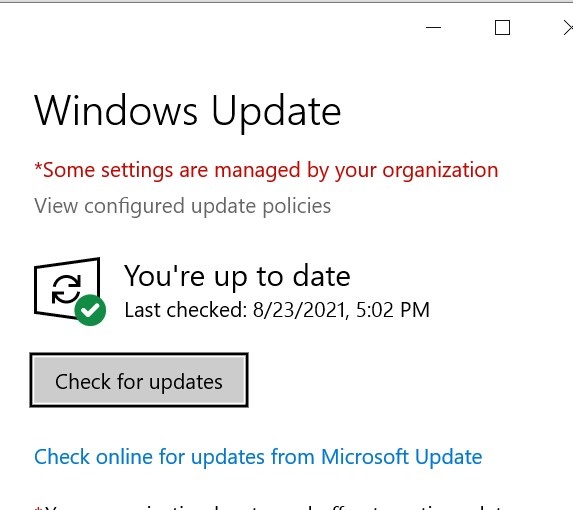
Figure 3 Windows Update - Let it check and install all updates.
- After all updates have been done, restart the computer.
- Login as ADMIN and check Device Manager again for the Intel® Smart sound Technology (Intel® SST) devices (Figure 4 [English only]).
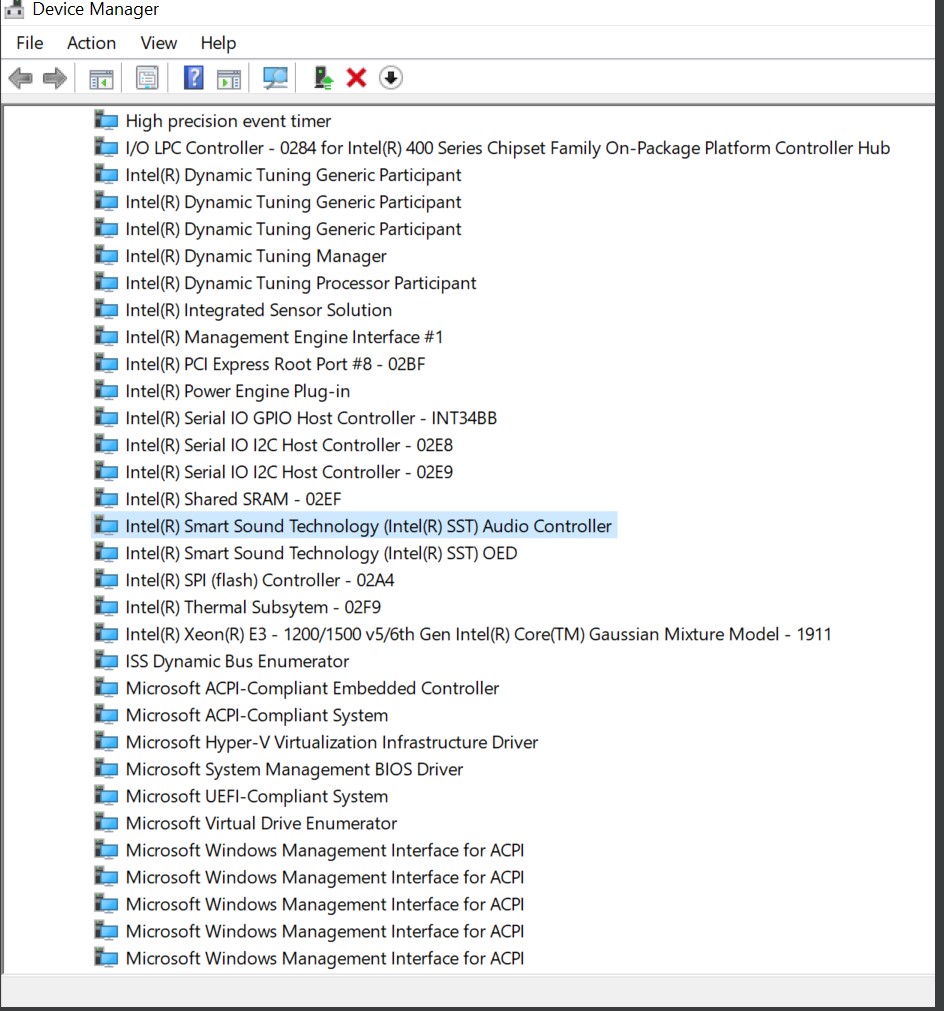
Figure 4 Intel Smart sound Technology - If these two (x2) devices (Figure 1 English only]) seem all good, check the Audio inputs and outputs in Device Manager (Figure 5 [English only]).
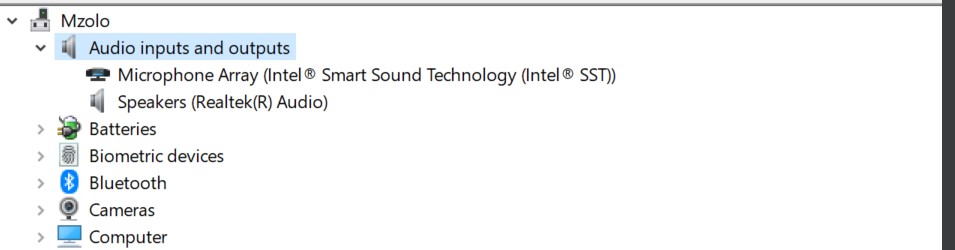
Figure 5 Audio inputs and output - Then check the Sound, Video and game controller, in Device Manager (Figure 6 [English only]).

Figure 6 Sound, video, and game controllers - After this go to Dell Support. In the search field type in the computers ServTag number, and click search (Figure 7 [English only]).

Figure 7 Dell Support - This should bring up the computers details. Go to the Drivers & Downloads tab and click Find Drivers (Figure 8 [English only]).
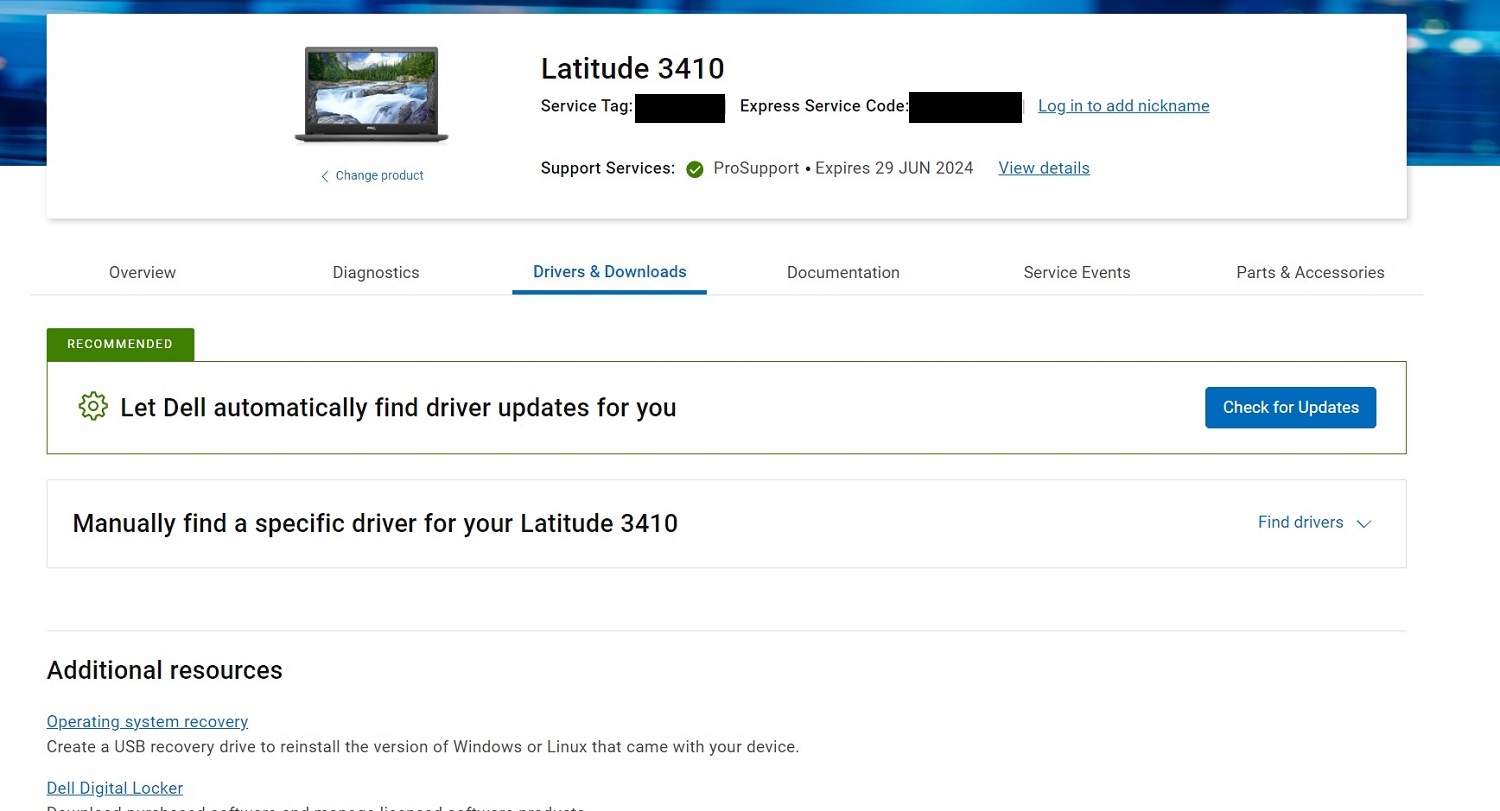
Figure 8 Drivers & Downloads - On the Manual download screen, select AUDIO in the category tab. Download all the AUDIO drivers and when done install them (Figure 9 [English only]).
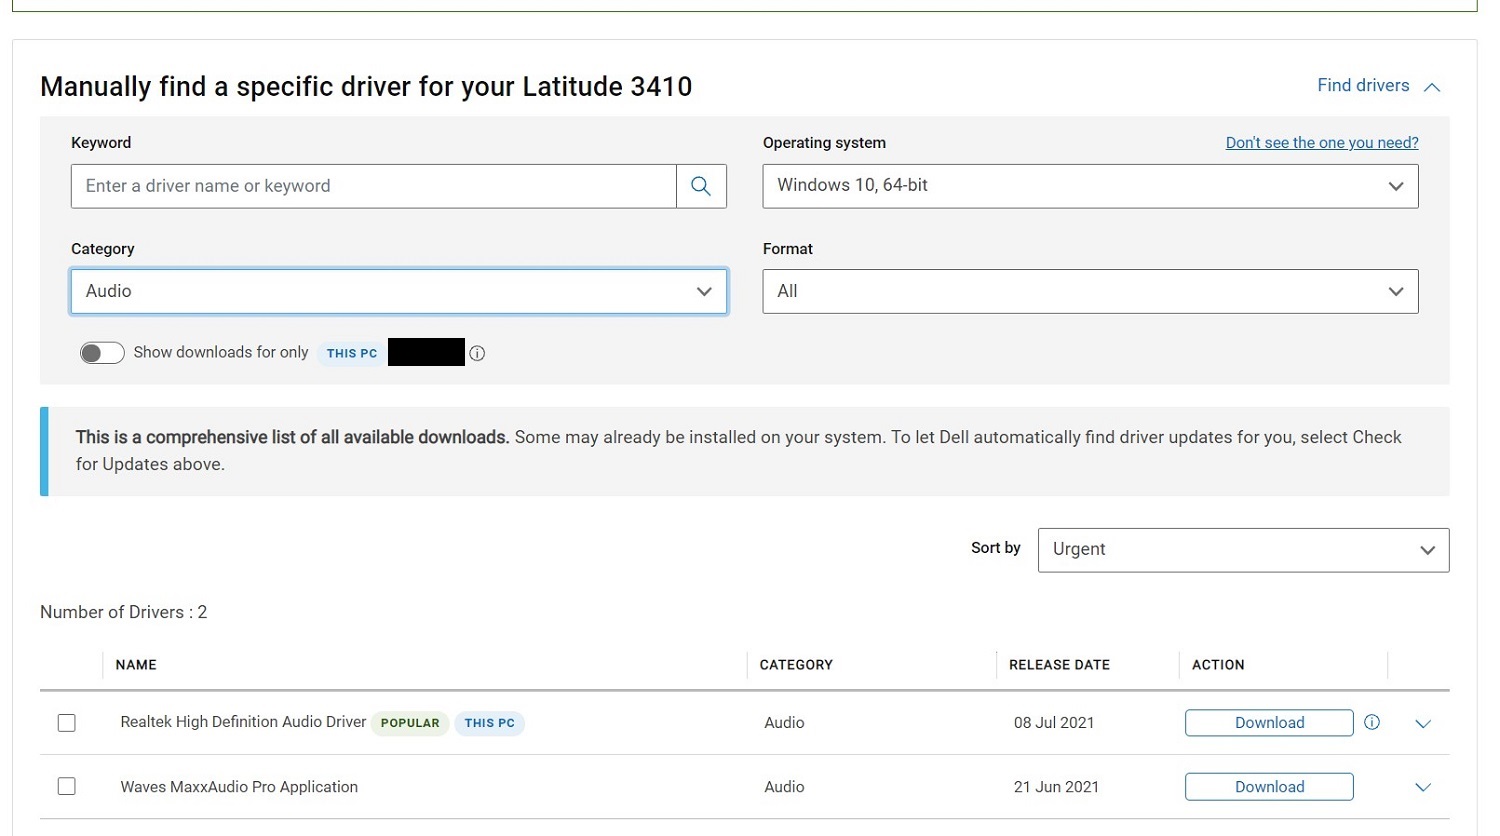
Figure 9 Manual download screen - When these drivers are installed, restart the computer.
- Login with ADMIN and check if MIC is working. In Windows sound, you should see the input device as Microphone Array (Figure 10 [English only]).

Figure 10 Microphone Array - Now you can open Windows voice recording to test the Microphone.
More information for microphone related matters can be found in our complimentary articles How to Troubleshoot Audio or Sound Recording Issues or Microphone Not Working Due to Privacy Settings in Windows 11 or Windows 10
Propiedades del artículo
Número del artículo: 000191990
Tipo de artículo: How To
Última modificación: 15 ene 2025
Versión: 6
Encuentre respuestas a sus preguntas de otros usuarios de Dell
Servicios de soporte
Compruebe si el dispositivo está cubierto por los servicios de soporte.