Número del artículo: 000126833
How to Create a Netskope Profile
Resumen: A Netskope profile may be created by following these instructions.
Contenido del artículo
Síntomas
Netskope uses profiles with policies. This article covers how to create profiles for Netskope.
Affected Products:
Netskope Admin Platform
Causa
Not applicable.
Resolución
To create a profile:
- In a web browser, go to the Netskope web console:
- United States Datacenter: https://[TENANT].goskope.com/
- European Union Datacenter: https://[TENANT].eu.goskope.com/
- Frankfurt Datacenter: https://[TENANT].de.goskope.com/
- Log in to the Netskope web console.

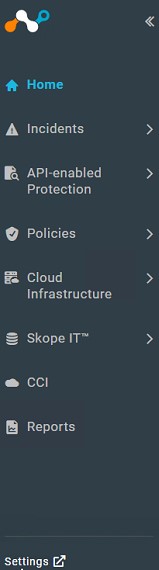
- Click Policies.
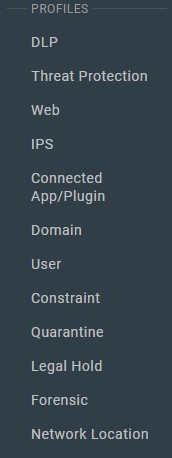
- From the Policies bar, click the Profile to create. Options may be profiled for:
- Data Loss Prevention (DLP)
- Threat Protection
- Web
- Intrusion Protection System (IPS)
- Connected App/Plugin
- Domain
- User
- Constraint
- Quarantine
- Legal Hold
- Forensic
- Network Location
- Click New Profile in the upper left.
For more information about options to be profiled, click the appropriate option.
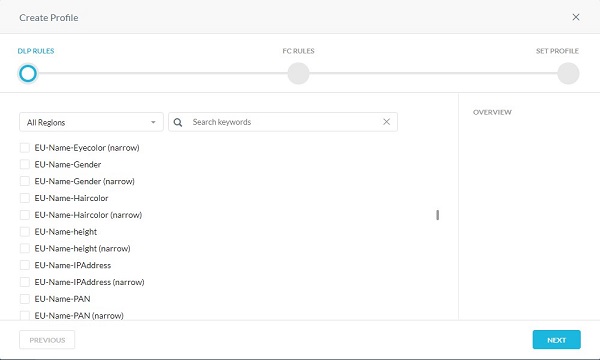
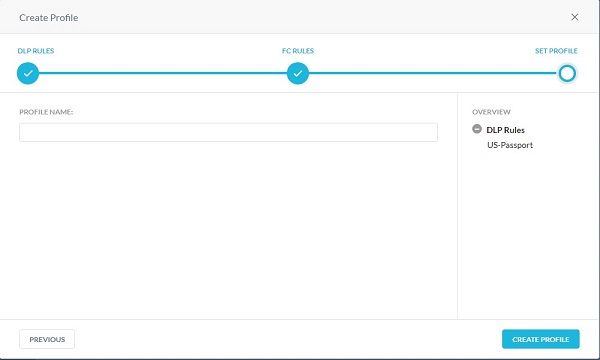
- From the Create Profile menu:
- Optionally, click All Regions and then select a region.
- Optionally, Search for a keyword.
- Select a Rule.
- Repeat Steps A, B, & C until all wanted rules are selected.
- Click Next.
- Optionally, select any fingerprints that are created. Once finished, click Next.
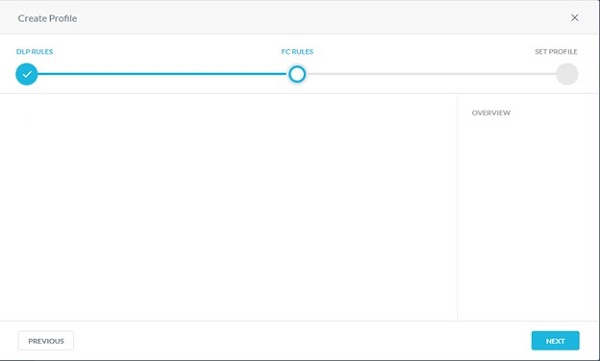
- Populate a profile name and then click Create Profile.

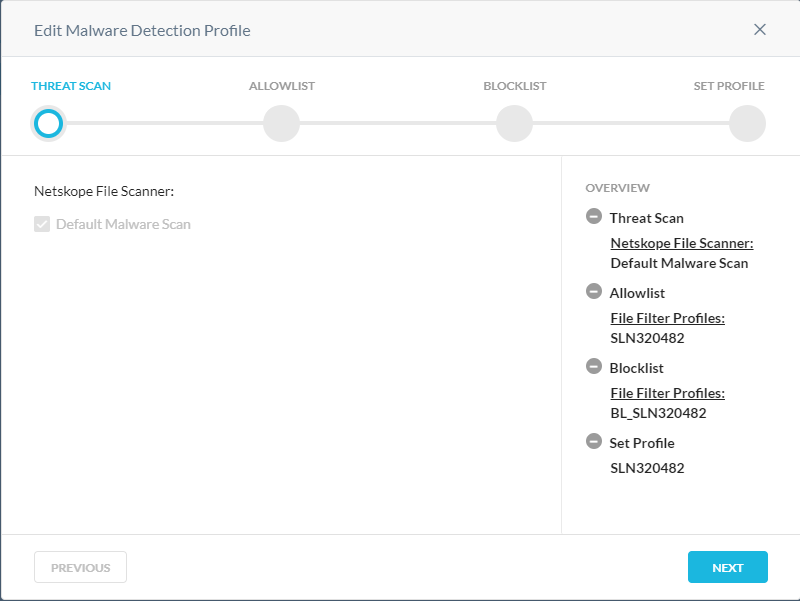
The default malware scan can be extended by creating a custom malware detection profile. The malware detection profile allows users to add a custom hash list as a blocklist and an allowlist. Known malicious hashes that are sourced from other intelligence sources can be included in the blocklist. Known good files (usually proprietary content specific to the enterprise) can be added to the allowlist so Netskope does not mark them as suspicious. The custom malware detection profiles can be used in the real-time protection policy creation workflow.
- Optionally, select a different scan, and then click Next.
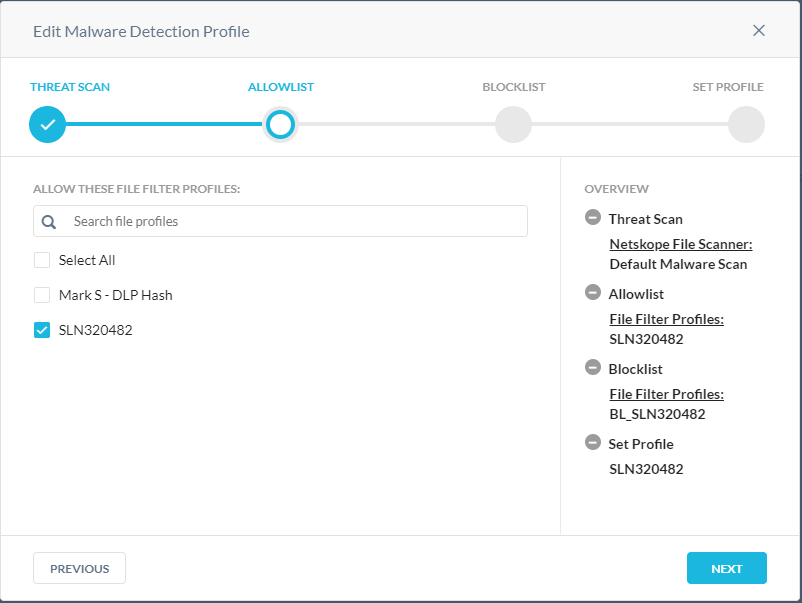
- From the Allowlist menu:
- Optionally, click + Create New to create a new file hash and then go to Step 8.
- Select a File Hash to allowlist.
- Repeat Steps A & B until all wanted file hashes are selected.
- Click Next and then go to Step 10.
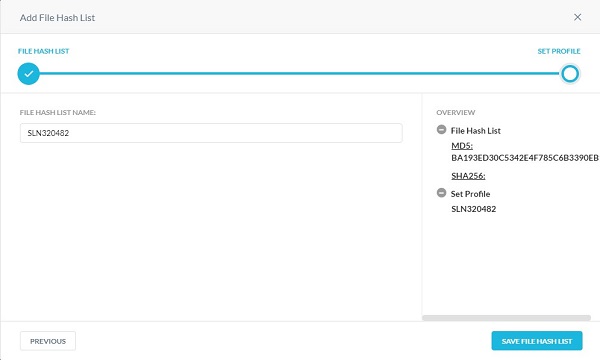
- From the Add File Hash List menu:
- Select either SHA256 or MD5.
- Populate the file hash.
- Click Next.
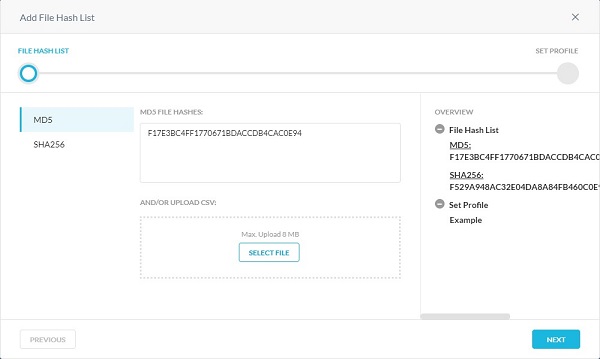
- Populate a File Hash List Name and then click Save File Hash List.
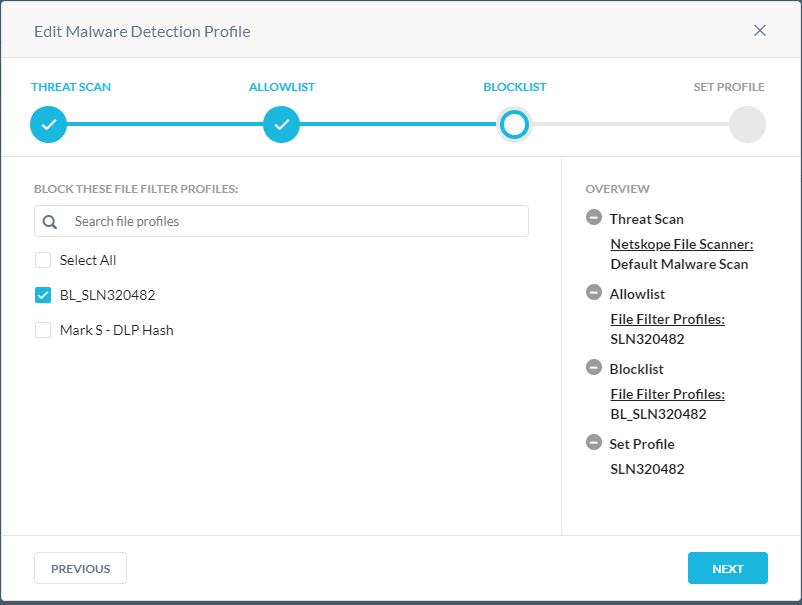
- From the Blocklist menu:
- Optionally, click + Create New to create a new file hash and then go to Step 11.
- Select a File Hash to blocklist.
- Repeat steps A & B until all wanted file hashes are selected.
- Click Next and then go to Step 13.
- From the Add File Hash List menu:
- Select either SHA256 or MD5.
- Populate the file hash.
- Click Next.

- Populate a File Hash List Name and then click Save File Hash List.

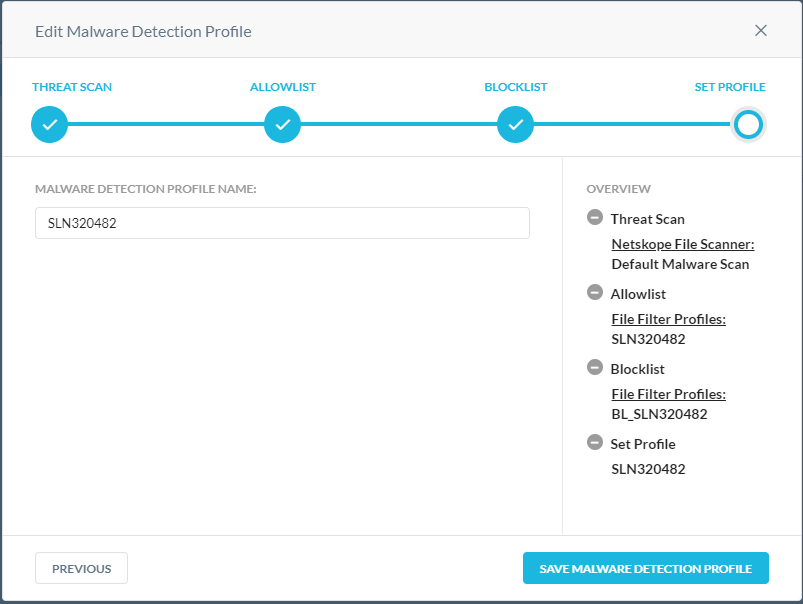
- Populate a Malware Detection Profile Name and then click Save Malware Detection Profile.
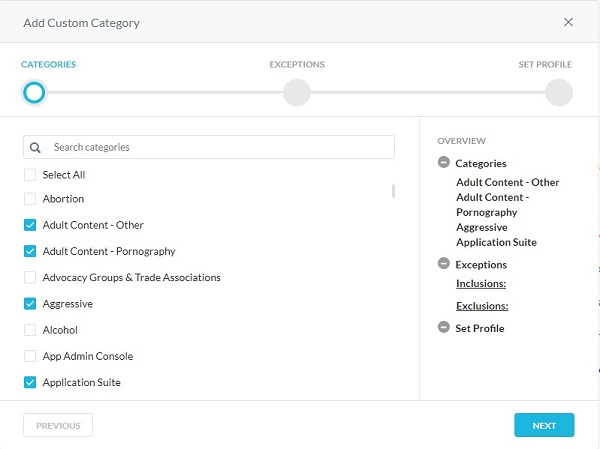
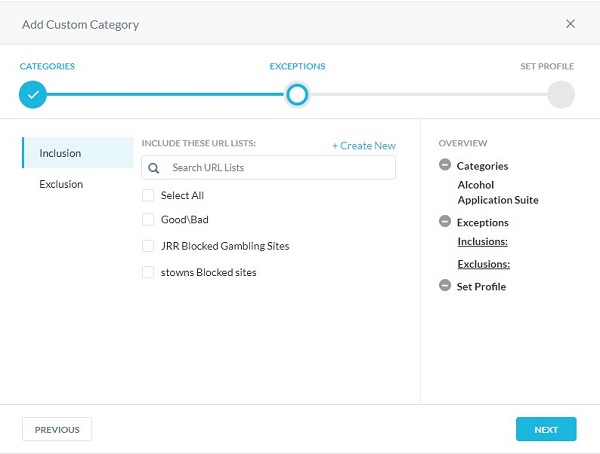
The custom category feature offers flexibility to supersede the predefined Netskope Uniform Resource Locator (URL) category mapping for a given URL and/or augment them by defining custom URL categories. This is helpful for situations in which the Netskope predefined URL category does not have a mapping for a URL (uncategorized).
- From the Categories menu:
- Select Categories to block.
- Click Next.
- From the Exceptions menu:
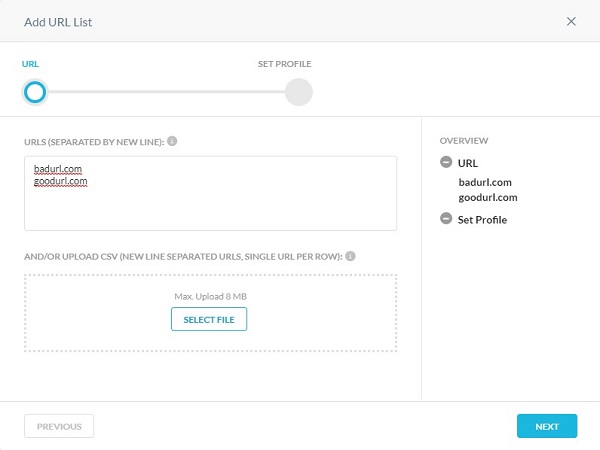
- Optionally, click + Create New to add custom URLs and the go to Step 8.
- Select URLs to Include or Exclude.
- Click Next and then go to Step 9.
- Populate any URLs to add to the Inclusion or Exclusion list, and then click Next.
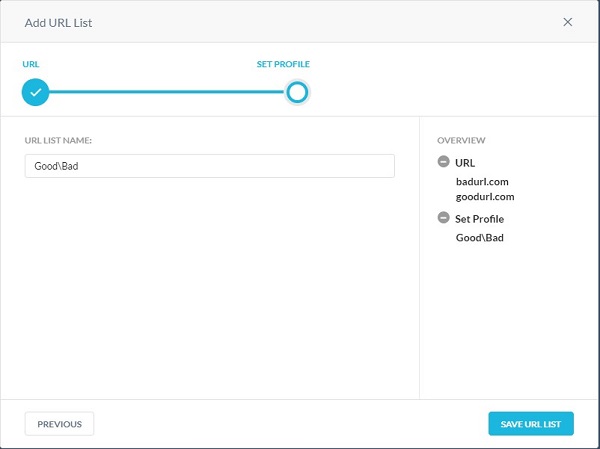
- Populate a URL List Name and then click Save URL List.
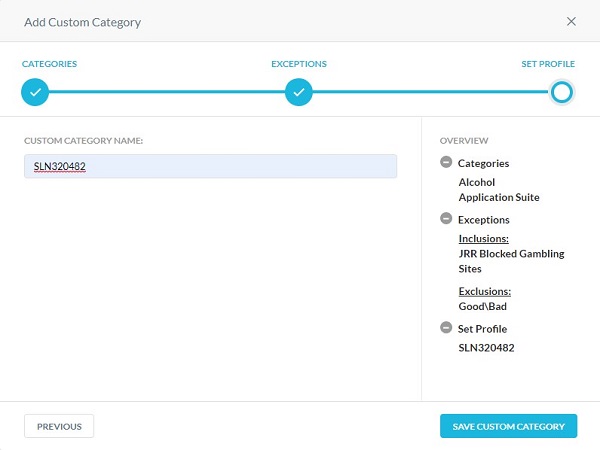
- Populate a Custom Category Name, and then click Save Custom Category.
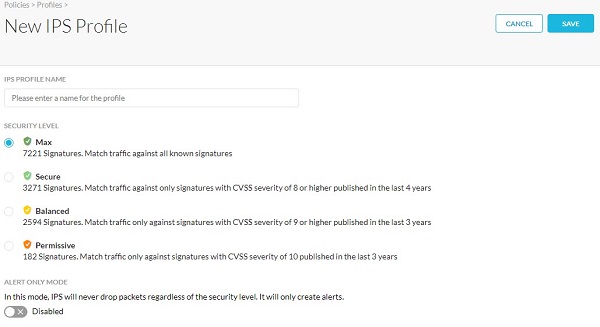
- From the New IPS Profile menu:
- Populate an IPS Profile Name.
- Select a Security Level.
- Optionally, select Alert Only Mode.
- Click Save.
The Connected App/Plugin profile allows you to create a profile consisting of a custom list of Google apps and plugins. Use this profile to detect and prevent users from installing whatever third-party apps they add in Google.
- Click New Connected App/Plugin Profile.

- Click Select File to upload the .csv file consisting of the list of connected apps/plugins and IDs, and then click Next.
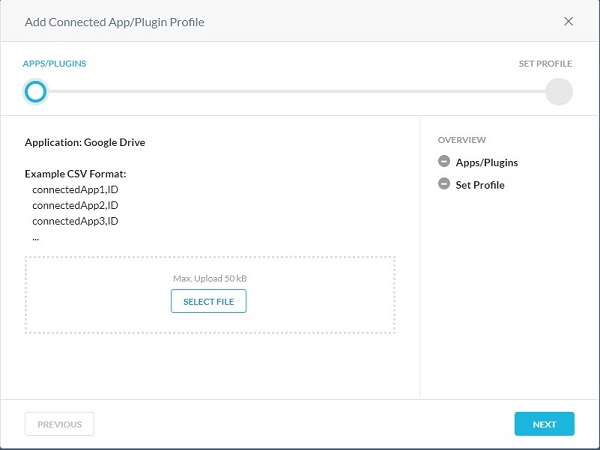
- The format of the .csv file should be:
- connectedApp1,ID
- connectedApp2,ID
- connectedApp3,ID
- Sign in to the Google App Engine website with your Google account's username and password. View the list of App Engine applications on the My Applications page. Each application's App ID is displayed under the Application column.
- Populate a Profile Name, and then click Save Connected App/Plugin Profile.

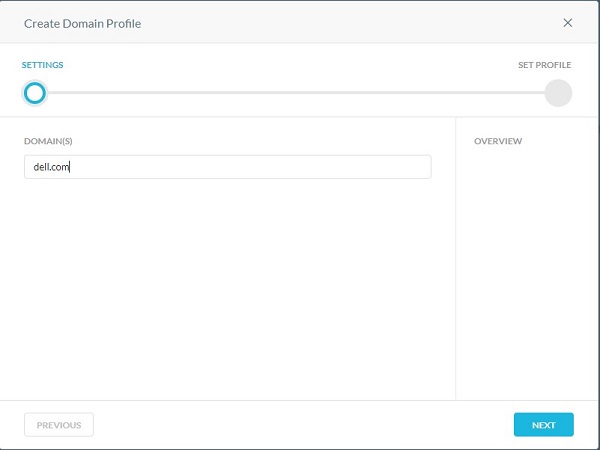
The domain profile is used to define external domain accounts for email. The domain profile works with application programming interface (API)-enabled protection apps such as Gmail and Microsoft 365 Outlook.com. As part of the policy definition wizard, you can scan email messages that are sent to external domains such as xyz.com or abc.com.
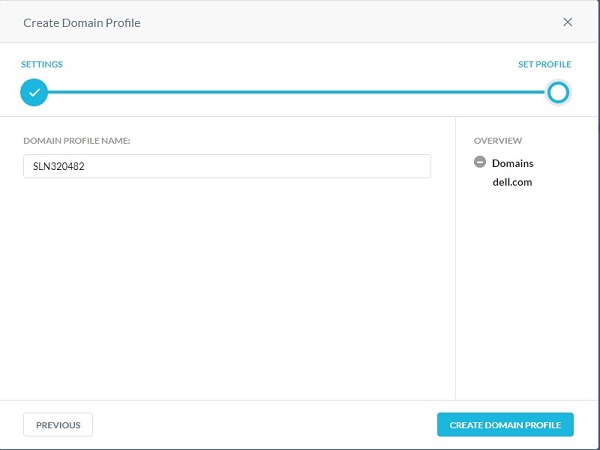
- Populate Domain(s), and then click Next.
- Populate a Domain Profile Name, and then click Create Domain Profile.
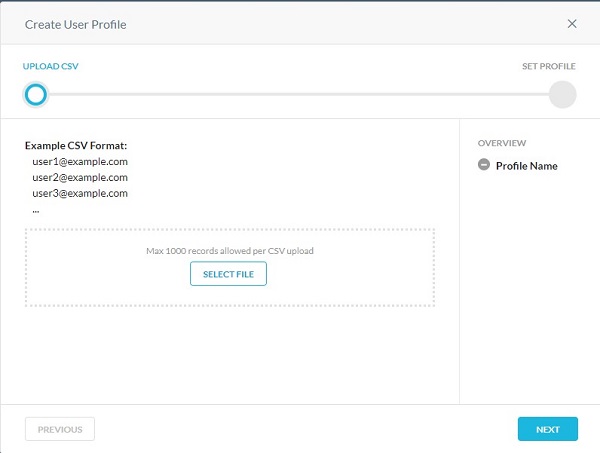
The user profile is used to select a user profile instead of all users or user groups in an application programming interface (API)-enabled protection policy. User profiles allow you to upload a comma-separated value (CSV) file with all the users' email addresses to include or exclude in a scan for policy violations.
- From the Upload CSV menu:
- Click Select File.
- Go to the CSV file of user email addresses and then double-click it.
- Click Next.
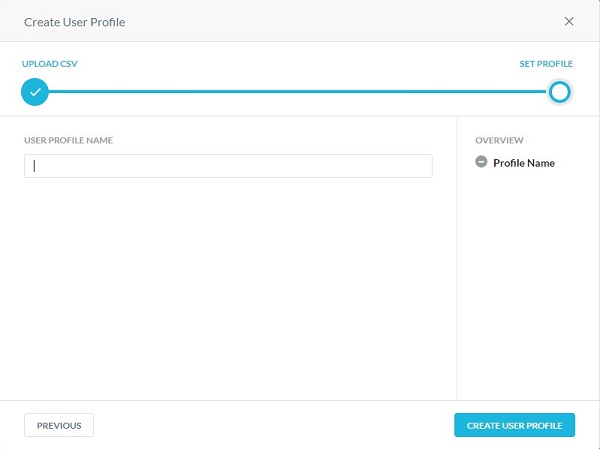
- Populate a User Profile Name, and then click Create User Profile.
A constraint profile is used in real-time protection policies. Constraint profiles define what a user can do for a specific activity in an app. In the case of Amazon S3, constraints detect and prevent insider threat activities.
For example:
- Users can share contents only within the organization from Google Drive, or bypass inspection if the user is logging into their personal instance of Gmail.
- Users cannot copy or sync data from corporate owned Amazon S3 buckets to personal or non-corporate Amazon S3 buckets.
User and Storage constraint profiles can be applied to specific activities when creating a real-time protection policy for an app. Click the appropriate profile for more information.
- From the Create User Constraint Profile menu:
- Populate the Constraint Profile Name.
- Select the match type.
- Populate the email domain.
- Optionally, click + Add Another and then repeat steps B & C until all wanted email addresses are populated.
- Click Save Constraint Profile.
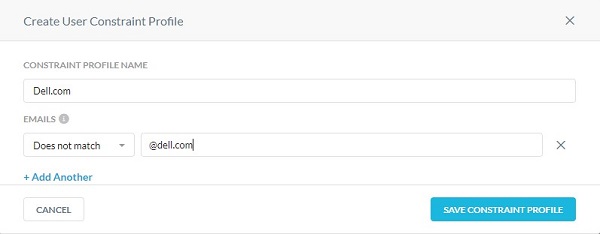
- The email domain may be populated with a wildcard before the domain to block or allow an entire domain. For example, *@dell.com.
- For example, to block users from sharing files outside the organization, specify the email address Does not match with the value *@dell.com.
- Click the Storage tab.

- Click New Storage Constraint Profile.

- From the Create Storage Constraint Profile menu:
- Populate the Constraint Profile Name.
- Select the Match Type.
- Select the Amazon S3 Buckets to be matched.
- Click Save Constraint Profile.
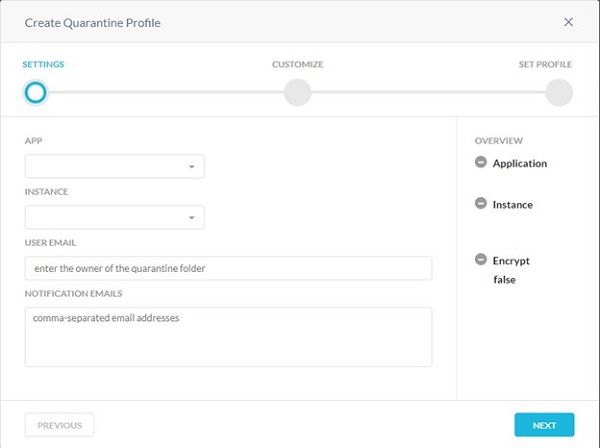
A Quarantine profile is used for specifying where the file must be quarantined when there is a policy action of Quarantine. Use tombstone files to replace the content of the original file. The name and extension of the original file are preserved.
- From the Settings menu:
- Select an App.
- Select an Instance.
- Populate the User Email to own the quarantine folder.
- Populate email addresses separated by commas to receive notifications when a file is uploaded to the quarantine folder.
- Click Next.
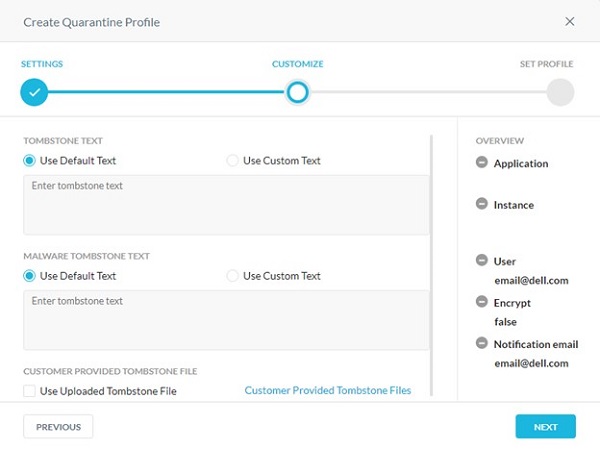
- From the Customize menu:
- Select Default or Custom Tombstone Text.
- If Custom Text was selected, populate custom tombstone text. Otherwise, go to Step C.
- Select Default or Custom Malware Tombstone Text.
- If Custom Text was selected, populate custom malware tombstone text. Otherwise, go to Step E.
- Optionally, select Use Uploaded Tombstone File.
- Optionally, click Customer Provided Tombstone Files and then go to Step 8.
- Click Next and then go to Step 9.
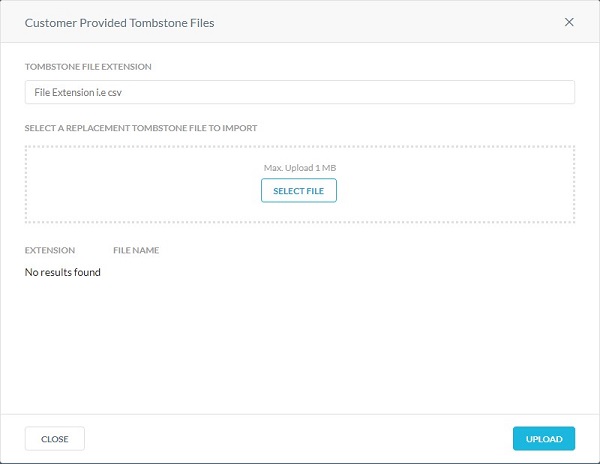
- From the Customer Provided Tombstone Files menu:
- Populate a Tombstone File Extension.
- Click Select File to upload a tombstone file.
- Click Upload.
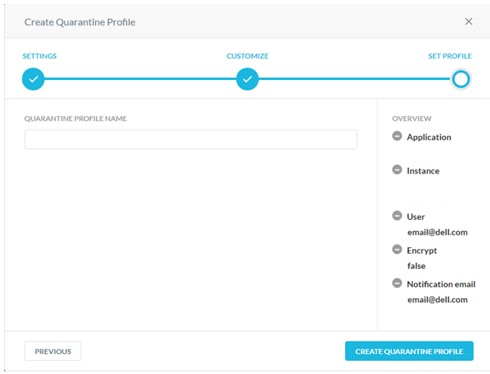
- Populate a Quarantine Profile Name and then click Create Quarantine Profile.
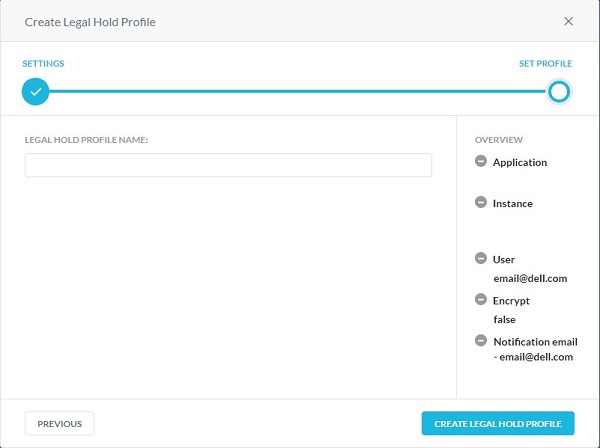
Legal hold is a process that an organization uses to preserve all forms of relevant information when litigation is reasonably anticipated. A legal hold profile is used for specifying where the files must be held for legal purposes.
- From the Create Legal Hold Profile Settings menu:
- Select the App where you want the files to be uploaded for legal hold purposes.
- Select the Instance of the app.
- Populate a Custodian Email to own the legal hold folder.
- Populate Notification Emails of any administrators that should be notified when a file is uploaded to the legal hold folder.
- Click Next.

- For more information about creating an instance, reference How to Create Netskope API-Enabled Protection Instances.
- Before setting up a legal hold profile for Microsoft 365 OneDrive/SharePoint apps, the custodian should log in to the Microsoft 365 account and set up the OneDrive/SharePoint app.
- For Slack for Enterprise app, the email address should be the same as that you entered during the Slack for Enterprise instance setup.
- Populate a Legal Hold Profile Name and then click Create Legal Hold Profile.
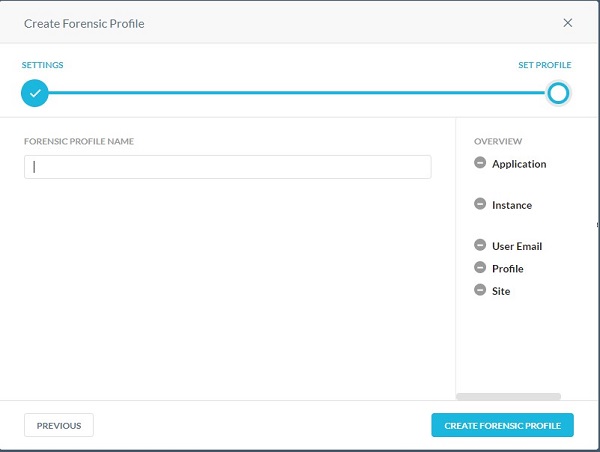
This feature provides the data loss prevention (DLP) forensic details when a policy triggers a violation. Forensic information may contain sensitive content. In order to maintain privacy, you must select a forensic profile to store forensic information.
- From the Create Forensic Profile menu:
- Select the App for which you want to enable incident management.
- Select the Instance of the app.
- Populate the app-specific information.
- Click Next.

- Step 6C varies based on the application chosen. This information is used to identify the data to monitor.
- For more information about creating an instance, reference How to Create Netskope API-Enabled Protection Instances.
- If using Microsoft Azure, populate the Azure storage account name. To locate the storage account name, log in to portal.azure.com. Go to All services > Storage > Storage Account. The page displays a list of storage accounts. Enter the Azure container name. Netskope uploads the forensic file in this container. To locate the container name, log in to portal.azure.com. Go to All services > Storage > Storage Account. The page displays a list of storage accounts. Click a storage account name and then go to Blob service > Blobs. The page displays a list of containers.
- Before setting up a forensic profile for Microsoft 365 OneDrive app, the owner should log in to the Microsoft 365 account and set up the OneDrive app.
- Populate the Forensic Profile Name and then click Create Forensic Profile.
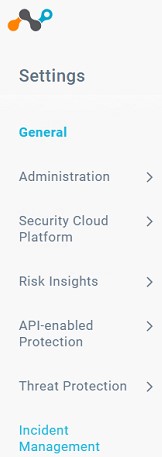
- Click Settings.
- Click Incident Management.
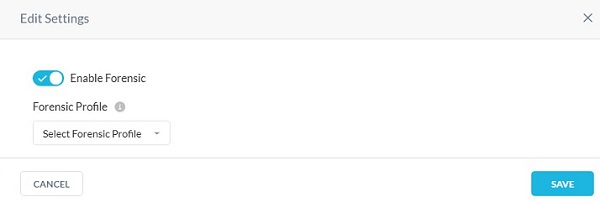
- From the Edit Settings menu:
- Click to Enable Forensic.
- Select a Forensic Profile.
- Click Save.
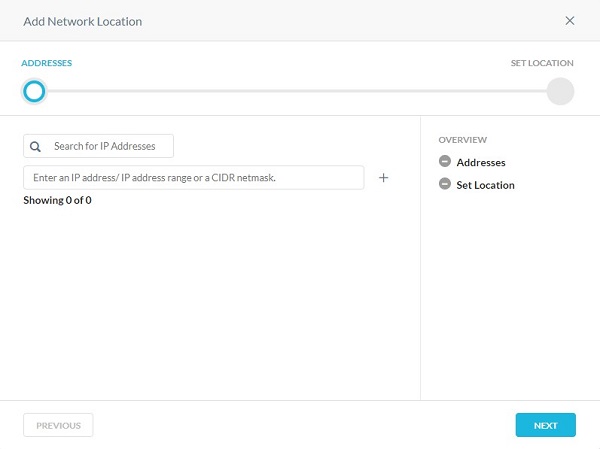
You can add a single object or multiple object network location.
- From the Addresses menu:
- Populate either an IP address, IP address range, or a classless inter-domain routing (CIDR) netmask.
- Click the + to the right.
- Click Next.
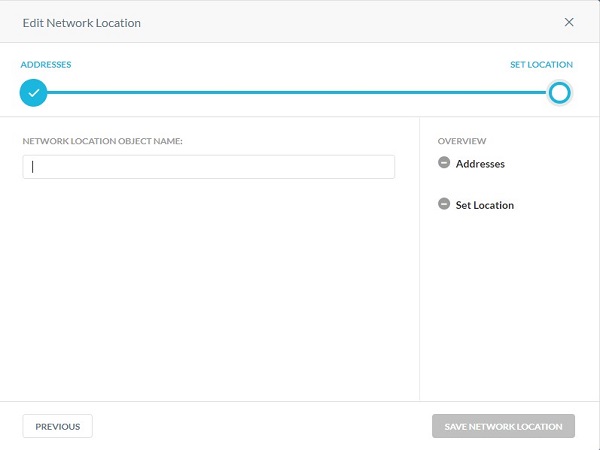
- Populate a Network Location Object Name, and then click Save Network Location.
To contact support, reference Dell Data Security International Support Phone Numbers.
Go to TechDirect to generate a technical support request online.
For additional insights and resources, join the Dell Security Community Forum.
Información adicional
Videos
Propiedades del artículo
Producto comprometido
Netskope
Fecha de la última publicación
20 dic 2022
Versión
11
Tipo de artículo
Solution