如何在 Alienware 系统上装有 Intel Optane 时安装 Windows 10?
Summary: 关于如何在 Alienware PC 上使用 Optane 时安装 Win10 操作系统的说明
This article applies to
This article does not apply to
This article is not tied to any specific product.
Not all product versions are identified in this article.
Symptoms
 |
描述 | 安装有 Intel Optane 时如何安装 Windows 10? |
支持的系统:
Alienware安装有 Intel Optane 时从 DVD/USB 安装 Windows 10
 注意: 注:系统使用 Intel Optane 配置后,BIOS 中的“SATA Operation Mode”(SATA 操作模式)需要设置为“RAID“或“Intel Rapid Response ”。
Windows 10
- 要运行安装光盘或安装USB,将Windows安装光盘或USB插入系统。
- 关闭计算机
- 按计算机的电源按钮并等待戴尔/Alienware 徽标显示。
- 出现徽标时,按F12键加载Boot(“引导”)菜单。
- 如果此菜单没有出现,请再次尝试重新启动计算机,并在出现戴尔徽标时多次按F12。
- “Boot”(启动)菜单打开后,选择带有 Windows 安装介质的光驱或 USB 驱动器,然后按 Enter。
- 如果使用 UEFI 请确保选择正确的引导选项(例如:UEFI-USB 存储设备
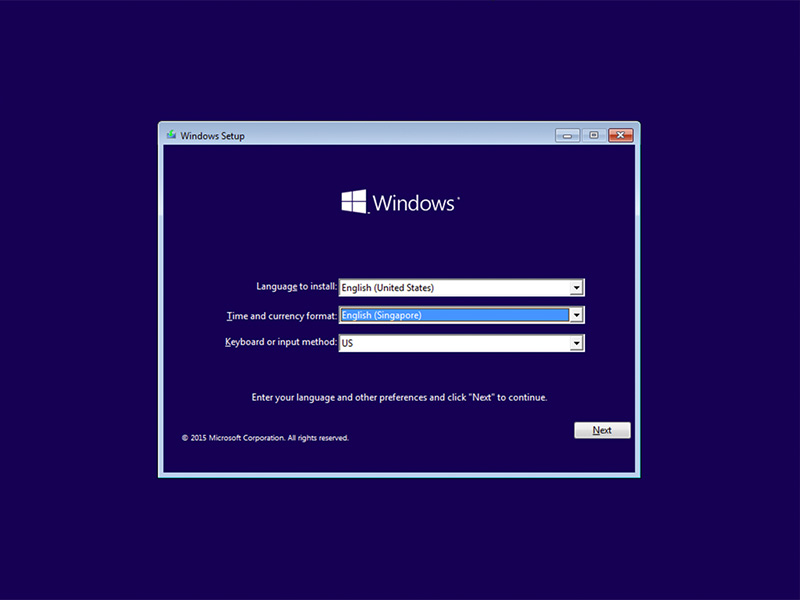
- 出现Windows 10 Setup(“Windows 10设置”)时,请确认Language(“语言”)、Time(“时间”)、Currency(“货币”)和Keyboard Method(“键盘方法”)字段是否显示正确的设置。
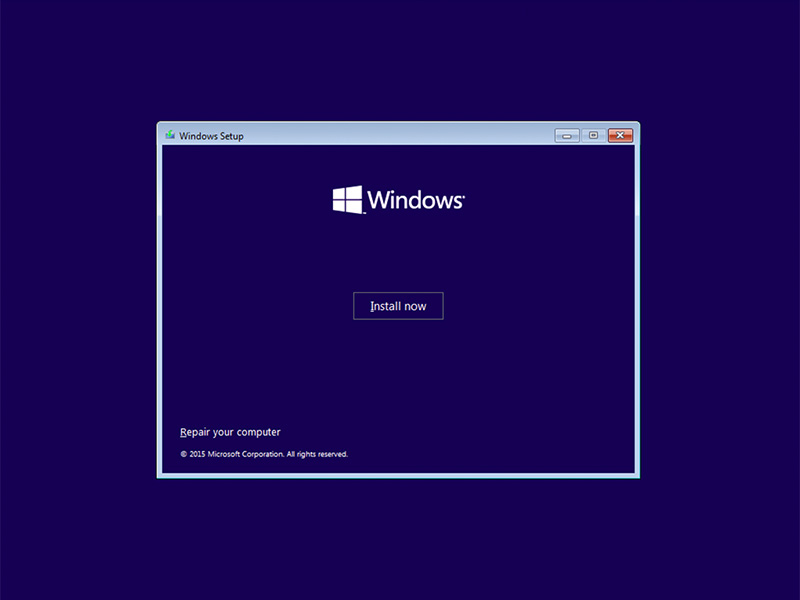
- 在“Windows 10 Installation”(Windows 10安装)对话框上,单击Install Now(立即安装)。
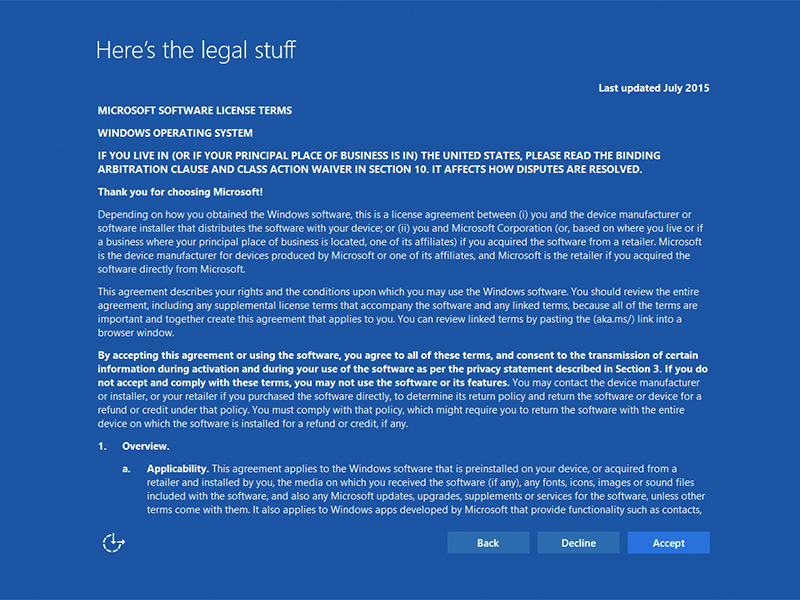
- 查看许可协议,然后单击I accept the license terms(我接受许可条款)。
- 在“Which type of installation do you want?”(您希望哪种安装类型)窗口中,单击“Custom (advanced)”(自定义[高级])。
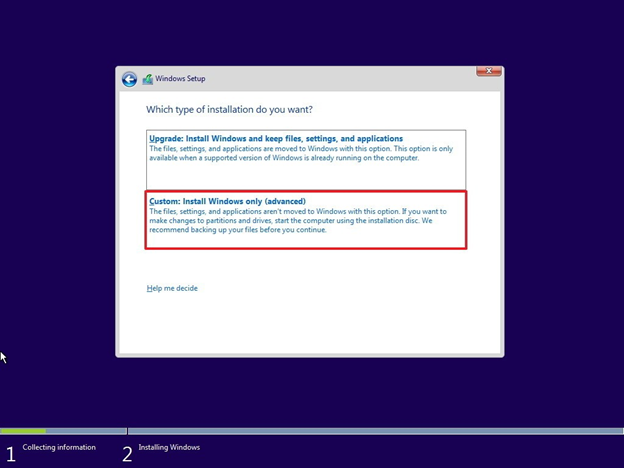
- 单击Drive options (advanced)[驱动器选项(高级)]。
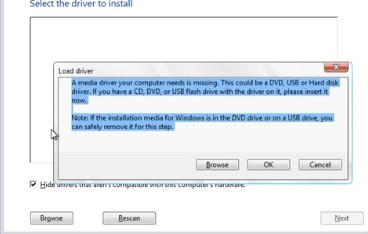
注:Optane注:如果检测不到驱动器,则需要安装Intel Rapid Storage Technology驱动程序(F6驱动程序)。 单击“Load Driver”(载入驱动程序),并按照说明从可移动介质安装驱动程序。对于 Optane 驱动器,请找到并下载相应的 IRST 驱动程序。
- 选择新格式化的分区,然后单击Next(下一步)继续进行操作系统安装。请记住选择机械硬盘,而非SSD。

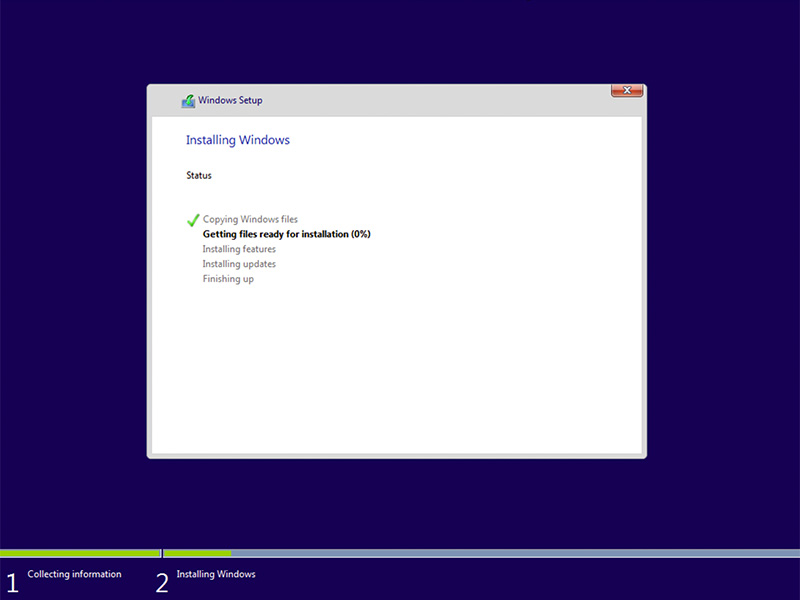
- Windows 准备就绪后,请继续安装 Intel Rapid Storage 软件,并遵循以下配置:
- 从开始菜单磁贴中打开Intel Rapid Storage Technology (IRST) UI(Intel快速存储技术(IRST)用户界面)。(图1.)
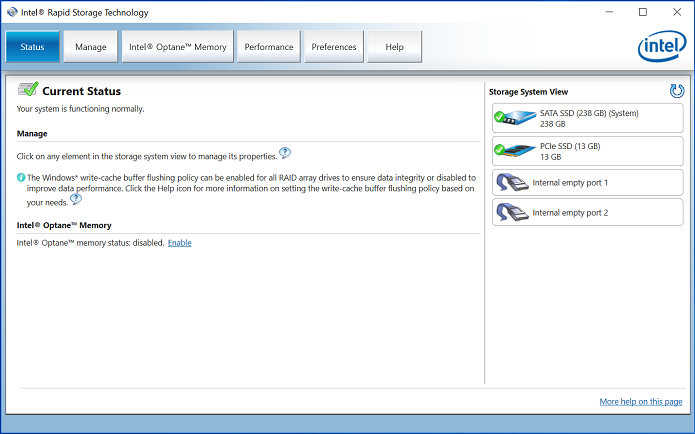
图1.- Intel Rapid Storage Technology (IRST)(Intel快速存储技术(IRST))启动屏幕。
- 单击“Intel Optane Memory Button”(Intel Optane内存按钮),以访问Optane配置选项。(图2.)
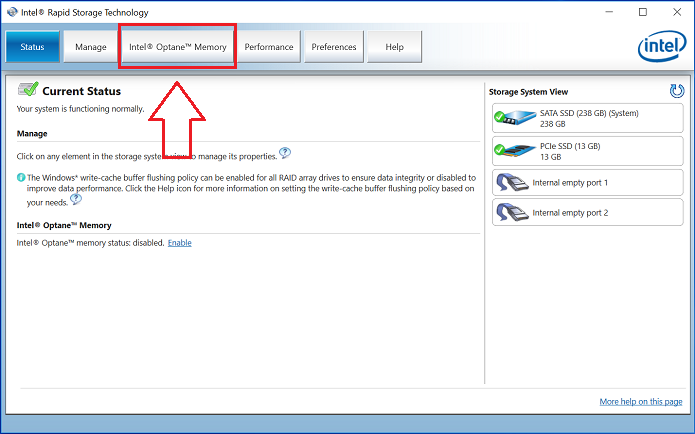
图2.- 选择Optane Memory(Optane内存)选项卡
- 单击IRST界面中的“Enable”(启用)超链接,将Optane模块与SATA 3驱动器配对。(图3.)
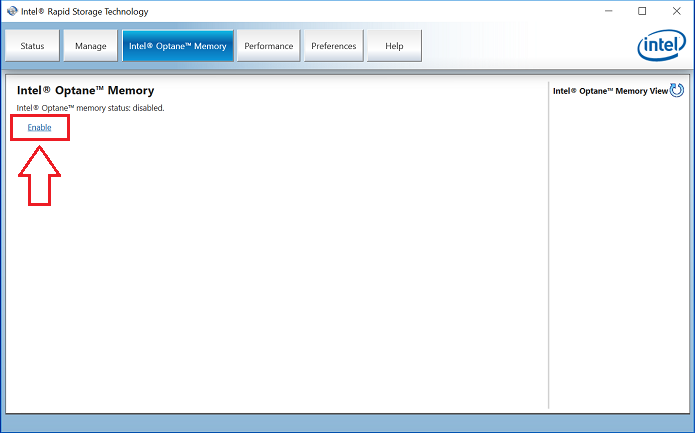
图3.- 在Optane Memory(Optane内存)选项卡上启动Optane Array Creation(Optane阵列创建)
- 您将看到一个弹出窗口,其中显示Optane设备及与之配对的系统驱动器,然后单击“Yes”(是)。(图4.)
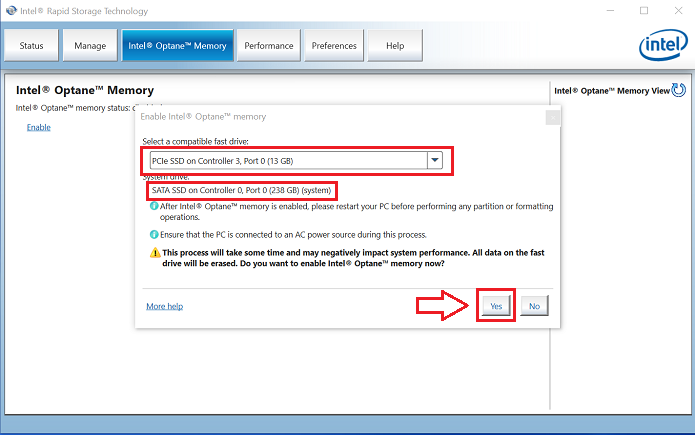
图4.- 单击YES(是)以配对驱动器并创建Optane阵列。
- 配对完成后,单击“Reboot”(重新启动)按钮以完成Optane配置。您还会注意到,SATA 驱动器和 Optane 设备此时显示为 Optane Memory Array(Optane 内存阵列)。(图5.)
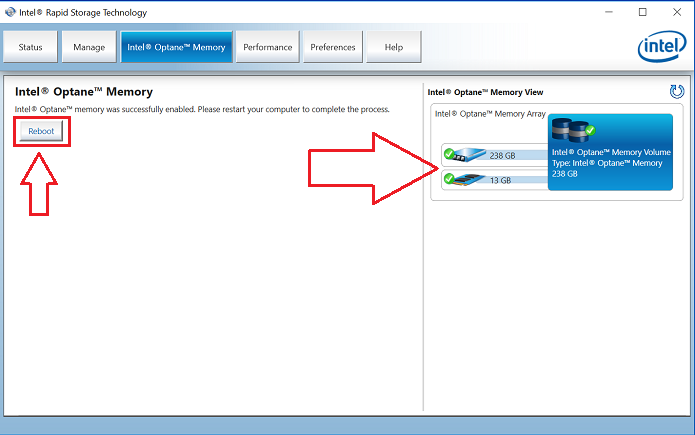
图5.- 完成Optane设置。
- 系统重新启动后,您可以从开始菜单的顶部打开Intel Rapid Storage Technology(Intel快速存储技术)应用程序。如果单击Intel Optane Memory(Intel Optane内存)选项卡,您将看到超链接选项现在为“Disable”(禁用),表示Optane已启用。(图6.)
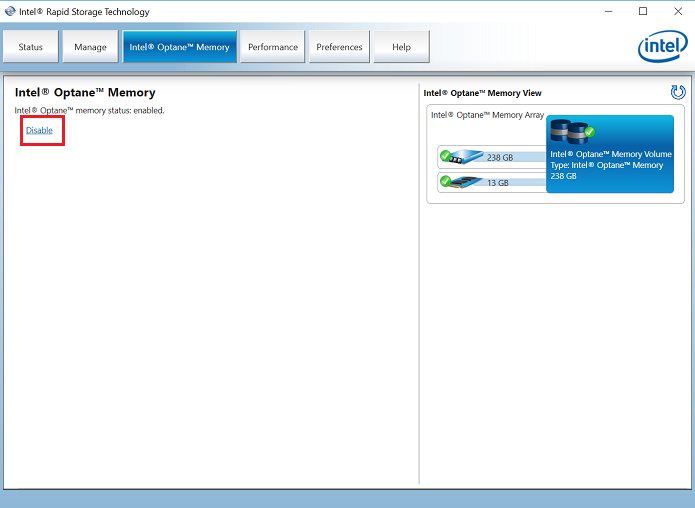
图6.- Optane设置已完成。
Cause
|
|
 |
 |
 |
 |

Resolution
 超出保修期?如果没有问题,
Affected Products
Alienware 15 R4, Alienware 17 R5, Alienware Area-51 R4 and R5, Alienware Aurora R6, Alienware Aurora R7Article Properties
Article Number: 000178070
Article Type: Solution
Last Modified: 10 Apr 2021
Version: 5
Find answers to your questions from other Dell users
Support Services
Check if your device is covered by Support Services.