Article Number: 000156379
How to Revert ChromeOS Back to a Previous Installed Version
Summary: Information about how to reinstall a previous version of ChromeOS.
Article Content
Symptoms
Cause
No cause information is available.
Resolution
How to Revert the ChromeOS Back to a Previous Installed Version
If a Customer must revert ChromeOS back to a previous version, provide them with the following steps.
For Unmanaged Systems (Stand Alone)
Note: This will powerwash the system, meaning it sets it back to factory conditions.
Note: The Chromebook must be unenrolled or deprovisioned for this feature to show up.
- Go to the User Login screen (Figure 1).
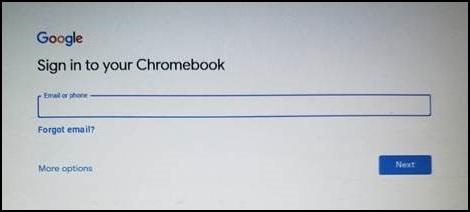
Figure 1
- Press Ctrl + Alt + Shift + R to bring up the Powerwash option (Figure 2).
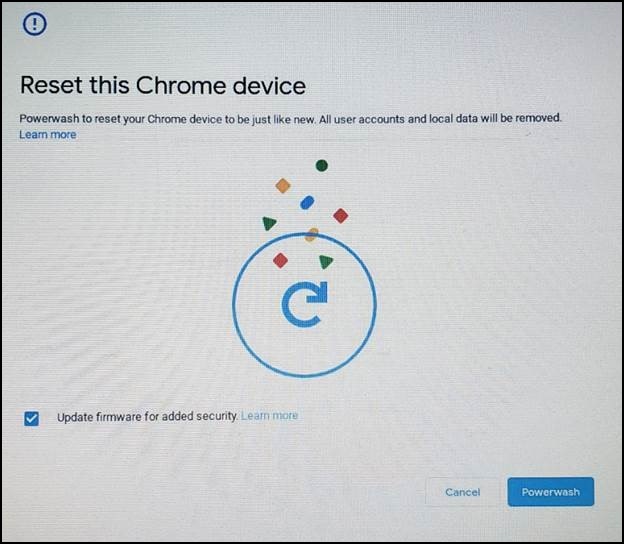
Figure 2
- Press Ctrl + Alt + Shift + R again, then select Powerwash and Revert, and follow the on-screen prompts (Figure 3).
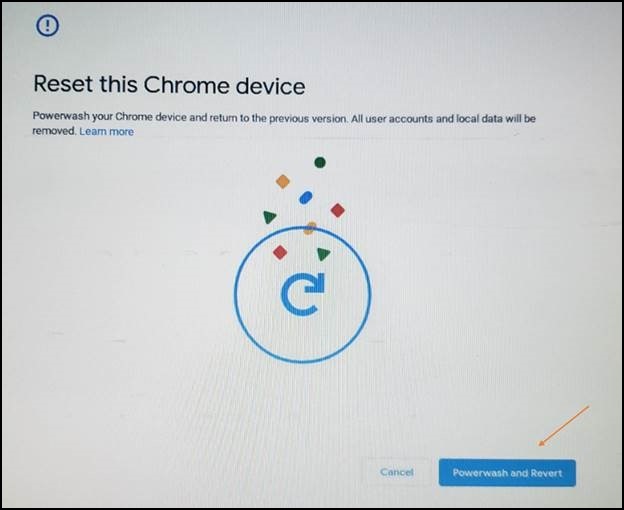
Figure 3
- The Powerwash will start and roll back your Chromebook to the previous stable build.
Managed (using the Google Admin Console)
Turn on rollback.
In the Google Admin Console, use the Rollback to target version setting together with the Target version setting to specify the ChromeOS version that you want devices to roll back to.
- Sign in to your Google Admin Console.
Sign in using your administrator account (does not end in @gmail.com). - In the Admin Console, go to Menu > Devices > Chrome Settings > Device Settings.
- To apply the setting to all devices, leave the top organizational unit selected. Otherwise, select a child organizational unit.
- Go to Device update settings.
- Click Auto-update settings.
- For Allow devices to automatically update OS version, select Allow updates.
- For the Target version, select a ChromeOS version.
- For Rollback to target version, select Rollback OS.
- Click Roll back OS.
- Click Save.
Verify that the Device is Rolled Back
You can check users' devices to make sure they successfully rolled back.
- Sign into a managed ChromeOS device. Make sure that it belongs to the organizational unit where you turned on rollback.
- At the bottom right, click the Time.
- Click Settings.
- To check the OS version:
- At the bottom of the left panel, click About ChromeOS.
- Under Google ChromeOS, you will find which ChromeOS version the device uses.
Article Properties
Affected Product
Chromebook
Last Published Date
29 May 2024
Version
6
Article Type
Solution