Netskopeレポートをセットアップおよびスケジュールする方法
Summary: Netskopeレポートは、次の手順で作成およびスケジュール設定できます。
Symptoms
この記事では、Netskopeレポートを作成およびスケジュール設定する手順について説明します。
対象製品:
Netskope
Cause
適用されません。
Resolution
テンプレート レポートをセットアップしてスケジュール設定する手順:
- Webブラウザーで、Netskope Webコンソールに移動します。
- 米国データセンター:https://[TENANT].goskope.com/
- 欧州連合データセンター:https://[TENANT].eu.goskope.com/
- フランクフルト データセンター:https://[TENANT].de.goskope.com/
注:[TENANT] = お使いの環境内のテナント名
- Netskope Webコンソールにログインします。
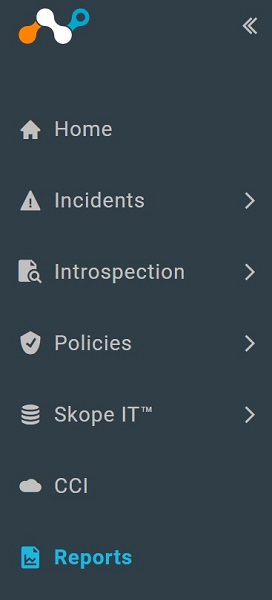
- [Reports]をクリックします。
- [Template Library]をクリックします。
![[Template Library]](https://supportkb.dell.com/img/ka06P000000Y4uFQAS/ka06P000000Y4uFQAS_ja_3.jpeg)
- 適切なテンプレートを選択して、[USE TEMPLATE]をクリックします。
![[USE TEMPLATE]](https://supportkb.dell.com/img/ka06P000000Y4uFQAS/ka06P000000Y4uFQAS_ja_4.jpeg)
- 必要に応じて、[Add Widget]をクリックしてウィジェットをレポートに追加します。終了したら、[Next]をクリックします。
![[ADD WIDGET]](https://supportkb.dell.com/img/ka06P000000Y4uFQAS/ka06P000000Y4uFQAS_ja_5.jpeg)
- [Create Schedule]メニューから、次の操作を実行します。
- [FREQUENCY]で、レポートを実行する頻度を選択します。
- [TIME]で、レポートを実行する時刻を選択します。
- [NOTIFY USERS]に、Eメール アドレスを入力します。
- 必要に応じて[Include PDF Run as attachment]を選択します。
- [作成]をクリックします。
![[Create Schedule]メニュー](https://supportkb.dell.com/img/ka06P000000Y4uFQAS/ka06P000000Y4uFQAS_ja_6.jpeg)
- [Done](完了)をクリックします。

サポートに問い合わせるには、「Dell Data Securityのインターナショナル サポート電話番号」を参照してください。
TechDirectにアクセスして、テクニカル サポート リクエストをオンラインで生成します。
さらに詳しい情報やリソースについては、「デル セキュリティ コミュニティー フォーラム」に参加してください。
Additional Information
Affected Products
NetskopeArticle Properties
Article Number: 000130775
Article Type: Solution
Last Modified: 19 Dec 2022
Version: 9
Find answers to your questions from other Dell users
Support Services
Check if your device is covered by Support Services.
Article Properties
Article Number: 000130775
Article Type: Solution
Last Modified: 19 Dec 2022
Version: 9
Find answers to your questions from other Dell users
Support Services
Check if your device is covered by Support Services.