How to configure Dell Data Protection Enterprise Edition and Virtual Edition Compliance Reporter
Summary: This article walks you through configuring the Dell Data Protection | Enterprise Edition and Virtual Edition Compliance Reporter.
Symptoms
Affected Products:
- Dell Data Protection | Enterprise Edition
- Dell Data Protection | Virtual Edition
Affected Versions:
- v8.3 to 9.2
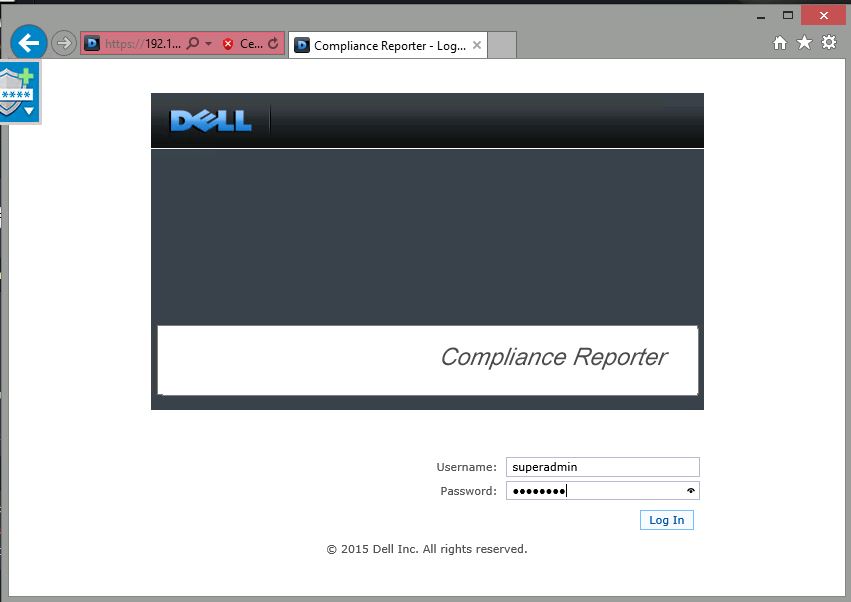
Figure 1: (English Only) Enterprise Server Compliance Reporter
Cause
Not Applicable
Resolution
To configure the Dell Compliance Reporter:
- In the left pane, click Monitor > Compliance Reporter.
- When Dell Compliance Reporter launches, log in using the default credentials of superadmin/changeit.
- Two different authentication methods are supported. To configure select either:
- SQL Authentication
- Windows Authentication
For Enterprise Edition:
- Stop all Dell Data Protection services:
- Reference the following article for service start order for Dell Data Protection | Enterprise Edition.
- Open the application.properties in
%ddp server installation directory%\security server\conf. - Locate the following line
reporter.server.url=.
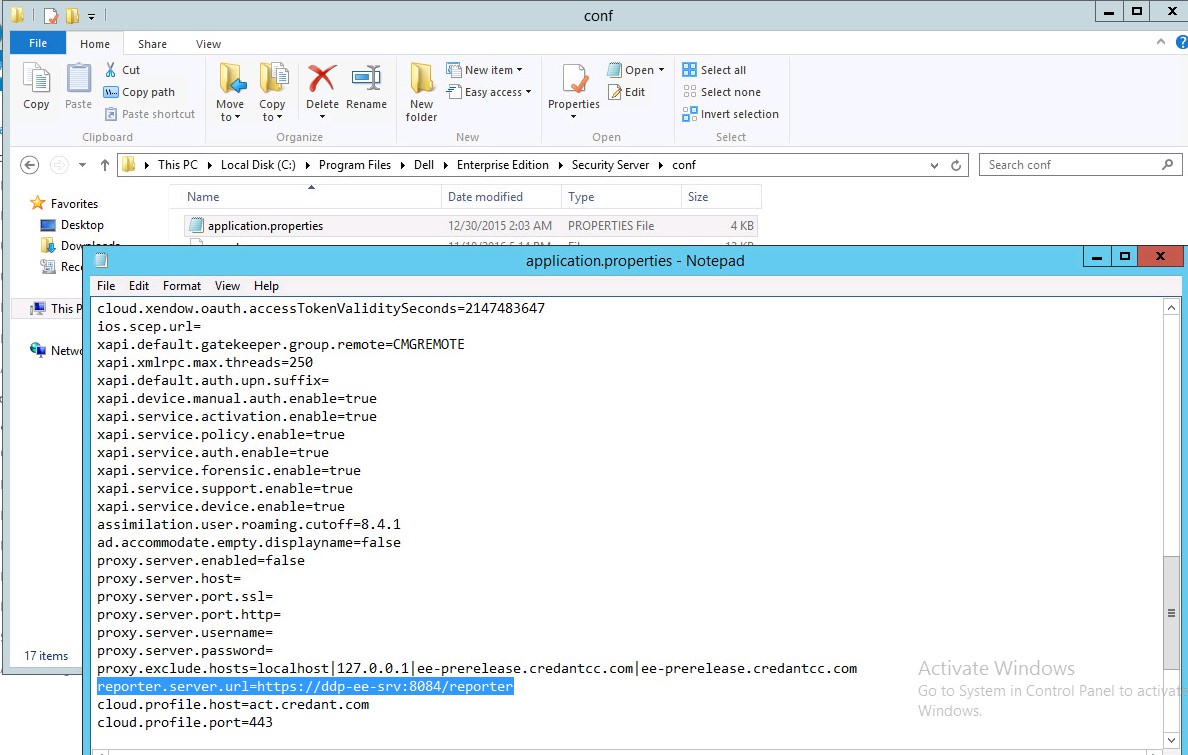
Figure 2: (English Only) Application.properties
- Make the correction and save the file.
- Start the Dell Data Protection services and confirm the change.
As of v8.1, the Data Source is preconfigured out-of-box. No configuration is needed. Use the steps below to change the Data Source, if needed.
- To set the Data Source, on the top menu, click Settings. In the left menu, click Data Source.
- Username to log in to the Dell database.
- Password to log in to the Dell database.
- Hostname to log in to the Dell database.
- Database Name to log in to the Dell database.
- Max Idle connections allowed (The default is 2).
- Max Connections (active) allowed (The default is 10).
- Max Wait (maximum number of milliseconds to wait for a connection). -1 is indefinitely.
- To verify the database URL and test the connectivity between the Dell Compliance Reporter and the Dell database, click Test Connection.
- Click Update. To discard the information, click Cancel.
As of v8.1, the Data Source is preconfigured out-of-box. No configuration is needed. Use the steps below to change the Data Source, if needed.
- Type the Username to log in to the Dell database.
- Leave the password blank. When the domain user logs in, their password is passed to the database.
- Hostname to log in to the Dell database.
- Database Name to log in to the Dell database.
- Max Idle connections allowed (The default is 2).
- Max Connections (active) allowed (The default is 10).
- Max Wait (maximum number of milliseconds to wait for a connection). -1 is indefinitely.
- To verify the database URL and test the connectivity between the Dell Compliance Reporter and the Dell database, click Test Connection.
- Click Update. To discard the information, click Cancel.
To update on the Virtual Appliance:
- Log in to the administration console and go to basic configuration and stop application.
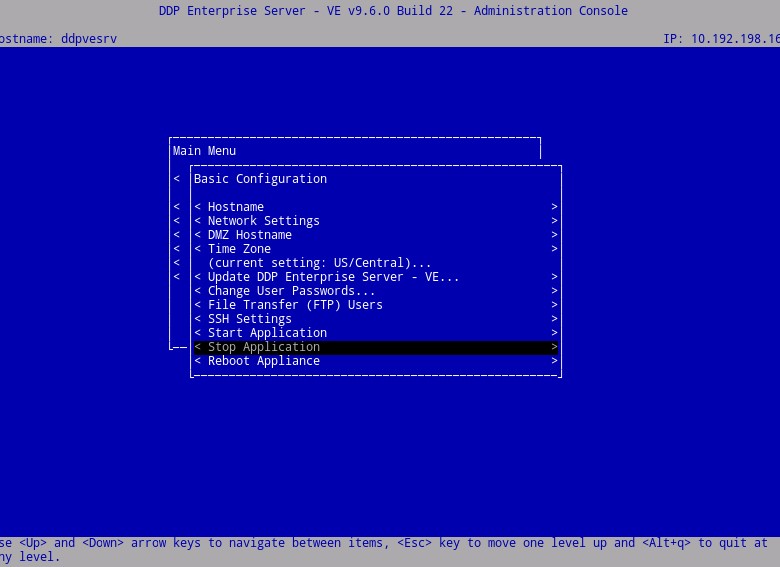
Figure 3: (English Only) Stop Application
- Press
ESCand go to launch shell.
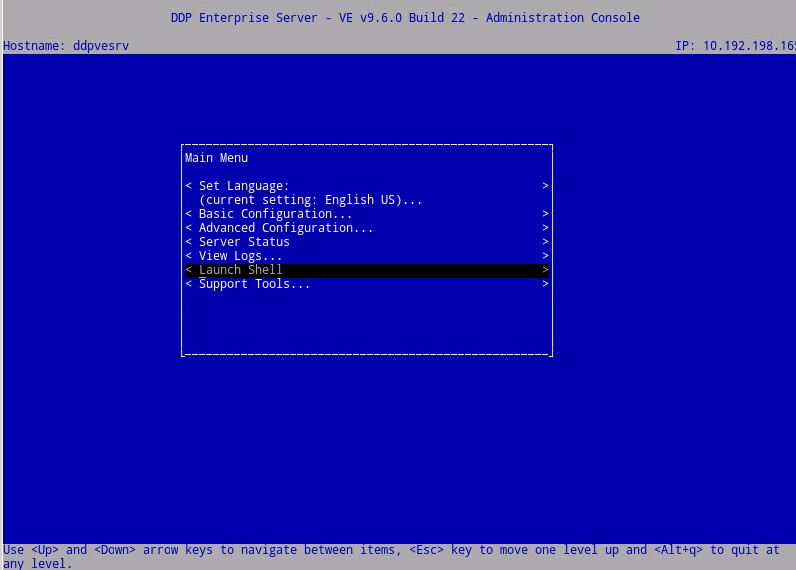
Figure 4: (English Only) Launch Shell
- Switch to the
ddpsupportuser by typingsu ddpsupport(default password isddpsupport). - Open the application.properties file for security server by typing:
sudo vi /opt/dell/server/security-server/conf/application.properties(TAB can be used for auto complete).

Figure 5: (English Only) sudo vi /opt/dell/server/security-server/conf/application.properties
- Use the down arrow keys until you reach the line that contains reporter.server.url= press
Ito enter insert mode so you can make the corrections.

Figure 6: (English Only) reporter.server.url=
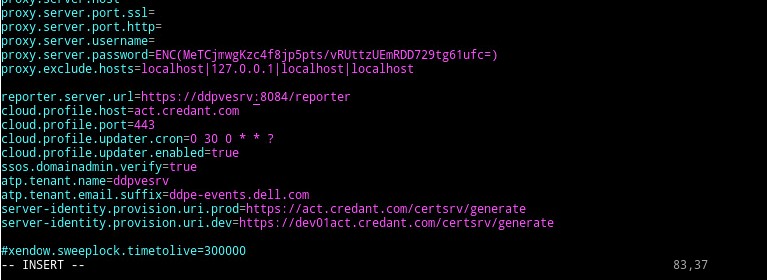
Figure 7: (English Only) Press I to enter insert
- Once you are finished with correcting the URL press
ESCfollowed by:wqto save the changes.
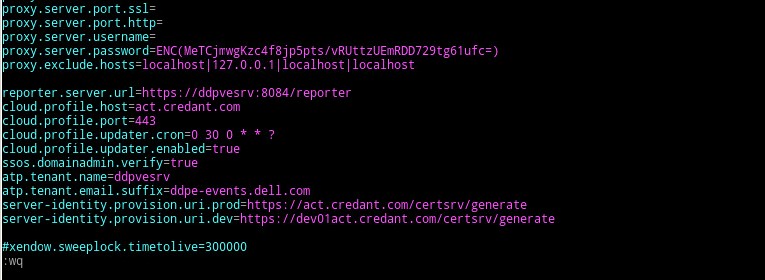
Figure 8: (English Only) Type :wq and press Enter
- Type
exitpress enter - Then type
exitfollowed by enter again to return to the administration console - Go to basic configuration and select start application.
As of v8.1, the Data Source is pre-configured out-of-box. No configuration is needed. Use the steps below to change the Data Source, if needed.
- To set the Data Source, on the top menu, click Settings. In the left menu, click Data Source.
- Username to log in to the Dell database.
- Password to log in to the Dell database.
- Hostname to log in to the Dell database.
- Database Name to log in to the Dell database.
- Max Idle connections allowed (The default is 2).
- Max Connections (active) allowed (The default is 10).
- Max Wait (maximum number of milliseconds to wait for a connection). -1 is indefinitely.
- To verify the database URL and test the connectivity between the Dell Compliance Reporter and the Dell database, click Test Connection.
- Click Update. To discard the information, click Cancel.
As of v8.1, the Data Source is pre-configured out-of -the-box. No configuration is needed. Use the steps below to change the Data Source, if needed.
- Type the Username to log in to the Dell database.
- Leave the password blank. When the domain user logs in, their password is passed to the database.
- Hostname to log in to the Dell database.
- Database Name to log in to the Dell database.
- Max Idle connections allowed (The default is 2).
- Max Connections (active) allowed (The default is 10).
- Max Wait (maximum number of milliseconds to wait for a connection). -1 is indefinitely.
- To verify the database URL and test the connectivity between the Dell Compliance Reporter and the Dell database, click Test Connection.
- Click Update. To discard the information, click Cancel.
Related Articles
To contact support, reference Dell Data Security International Support Phone Numbers.
Go to TechDirect to generate a technical support request online.
For additional insights and resources, join the Dell Security Community Forum.