How to connect to the iDRAC 7 after a System Board replacement on a 12G system
Summary: After replacing the motherboard on a PowerEdge server, the iDRAC is working in standard mode until the enterprise key is imported.
This article applies to
This article does not apply to
This article is not tied to any specific product.
Not all product versions are identified in this article.
Symptoms
The first step to do is to configure the network options of the iDRAC using the BIOS and allow connection on standard LOM (LAN on Motherboard) until the enterprise license key is imported/p>
If the network cable is plugged in the dedicated idrac port, the iDRAC interface cannot be accessed.
Warning: The iDRAC license key is associated with the service tag. With the motherboard change, if the tag hasn't been restored, the license cannot be installed.
Cause
-
Resolution
- Identify at the back of the server which network port is which and connect a network cable, in most cases the cable can be plugged in port 1.
Note: If port 1 and 2 are being used, plug the cable in port 3 or port 4.
- Power on the server and press F2 to enter "Setup" during the boot.
- Select "IDRAC settings"
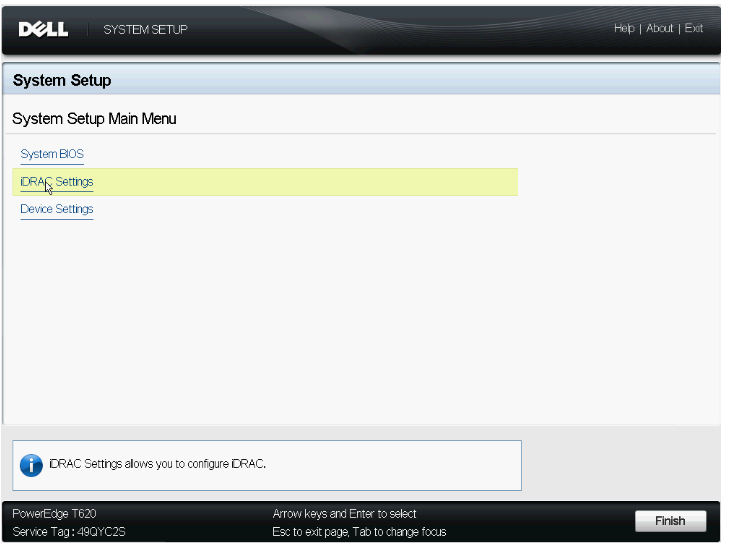
Figure 1: System Setup Main menu showing iDRAC settings
- Click "Network"
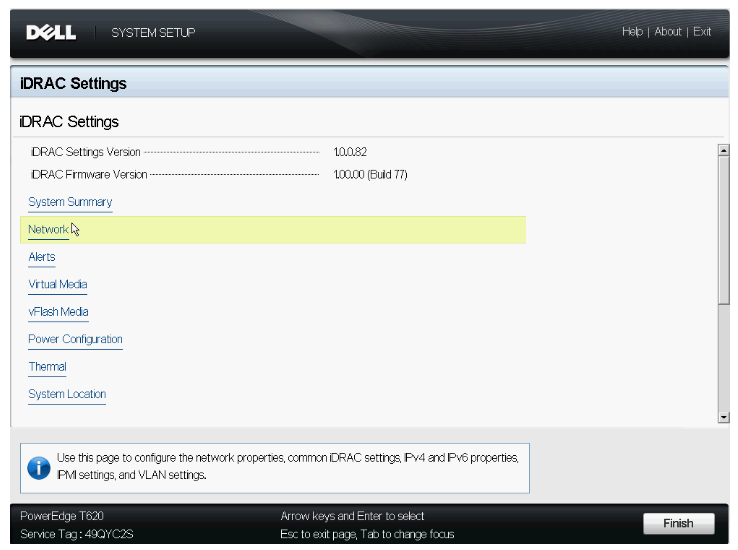
Figure 2: iDRAC menu showing the Network option
- Click "Enable NIC"

Figure 3: Set Enable NIC to Enabled
- Set NIC Selection to one of the LOM ports that are available to be setup: LOM 1, 2, 3, 4
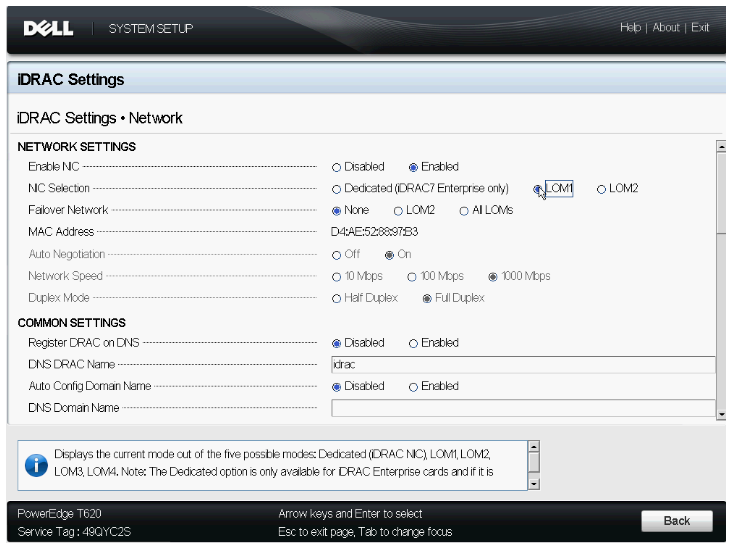
Figure 4: Set NIC Selection to the (LOM) port you plugged the cable in to
- Enable IPV4
- Set the IP Address on the LOM Selected
- Click Back
- Choose to Finish
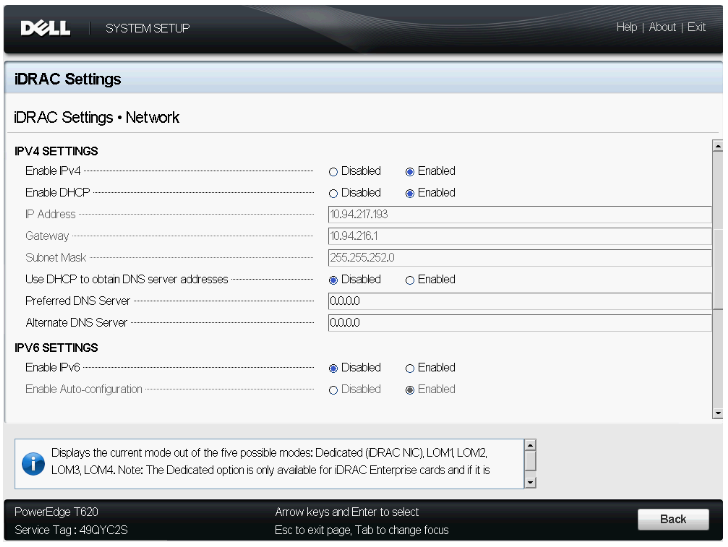
Figure 5: Enabling IPv4
- You will be prompted to save your settings
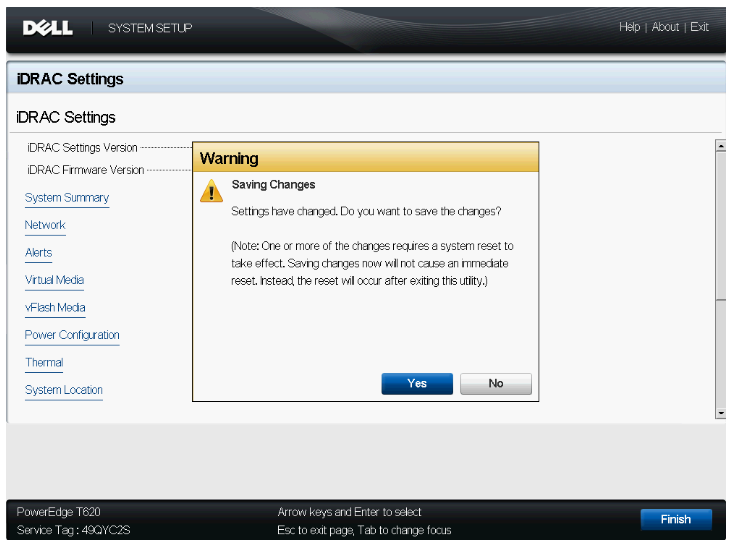
Figure 6: Save changes dialogue after pressing finish
- Move the LAN cable from iDRAC LAN port to the LOM port you set up in step 6.
- Reboot the server- then try to access iDRAC GUI from another system
- To access the GUI, launch an internet navigator and enter the IP address of the iDRAC.
If the iDRAC GUI is not accessible at this point, try the following troubleshooting steps:
- Reset IDRAC to Defaults in iDRAC settings in the BIOS
- Reseat the NDC
- Make sure the motherboard has the correct service TAG.
Additional Information
Videos
Affected Products
PowerEdge R220, PowerEdge R320, PowerEdge R420, PowerEdge R420XR, PowerEdge R520, PowerEdge R620, PowerEdge R720, PowerEdge R720XD, PowerEdge R820, PowerEdge R920, PowerEdge T320, PowerEdge T420, PowerEdge T620Article Properties
Article Number: 000124271
Article Type: Solution
Last Modified: 17 Sep 2021
Version: 6
Find answers to your questions from other Dell users
Support Services
Check if your device is covered by Support Services.