How to Download and Install the My Dell Application
Summary: This article covers how to download and install the My Dell application for Windows.
Instructions
Affected Products:
- My Dell
My Dell improves the computer experience by centralizing key Dell applications and features into one user interface (UI).
System Requirements:
- Operating System:
- Windows 10 v17134.0 or later
- Platforms:
- Inspiron
- G Series
- XPS
- Vostro
Warning: Dell Power Manager should be uninstalled before installing the My Dell application.
To install My Dell:
- Click Install.

Figure 1: (English Only) Click Install
Note: The install button is not present if the computer is not compatible for installation.
- On installation, click Open.

Figure 2: (English Only) Click Open
- Click Yes or No Thanks to data sharing.
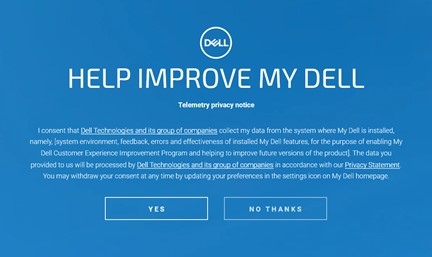
Figure 3: (English Only) Help Improve My Dell
- Watch or Skip the My Dell application walkthrough.

Figure 4: (English Only) Click Skip
- In the registration UI, either:
- Populate your registration information and then click ALL DONE.
- Click REMIND ME LATER.
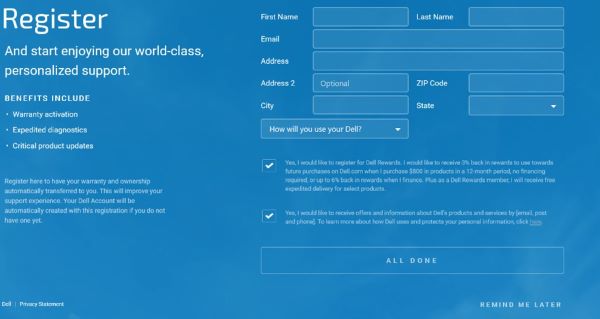
Figure 5: (English Only) Register
- Click UPDATE to enable the latest product features.
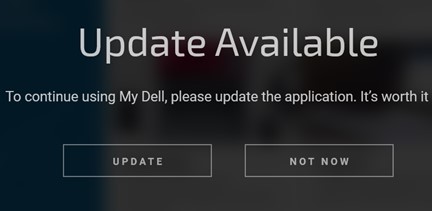
Figure 6: (English Only) Click Update
Note: To enable User Presence Detection features of My Dell, reference My Dell 2.0 User Presence Detection.
Additional Information
Recommended Articles
Here are some recommended articles related to this topic that might be of interest to you.