WindowsでのPCIeカードの取り付け: 包括的なガイド
Summary: WindowsシステムへのPCIeカードの取り付け方法について説明します。PCIeスロット、アダプター オプション、および簡単なステップバイステップのインストール手順に関するヒントが記載されています
Instructions
お使いのDell製システムにPCIeカードを追加する場合は、次の手順に従ってインストールを完了します。
- サイド カバーを取り外します。取り外し方法がわからない場合は、 Dellサポート ページを参照してシステム マニュアルを入手してください。
- PCIeカードがPCIeスロットに追加されます。(図1を参照)
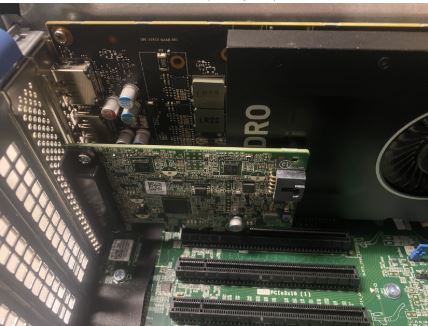
(図1 - PCIeスロット)
- PCIeカードIDが追加されたら、次の手順を実行します。PCIeカードのディスプレイ ポートからグラフィックス カードのディスプレイ ポートに接続するには、ディスプレイ ポートからディスプレイ ポートへのケーブルが必要です。(図2を参照)。
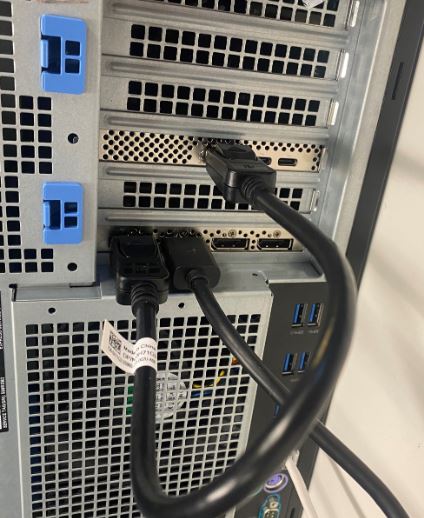
(図2 - DP - DPケーブル)
- Thunderbolt PCIeカードの場合は、カードを取り付けた後、最新のThunderboltコントローラー ドライバーをアップデートする必要があります。ドライバー サイトにアクセスして、お使いのシステムに一致するドライバーを検索してください。Thunderboltコントローラー ドライバーは、[チップセット]にあります。(図3を参照)
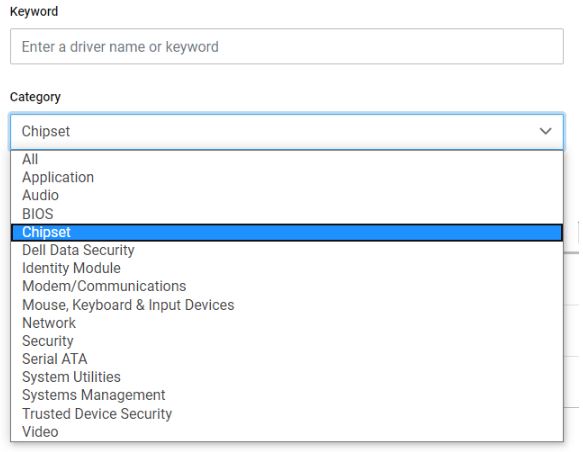
(図3 - [Dellドライバー]カテゴリー)
このドライバーのインストールを完了してシステムを再起動すると、PCIeスロットをPCIeカード機能で使用できるようになります。
Additional Information
推奨記事
ここでは、このトピックに関連した役立つ可能性のある推奨記事をいくつか紹介します。
Article Properties
Article Number: 000126038
Article Type: How To
Last Modified: 03 Apr 2024
Version: 8
Find answers to your questions from other Dell users
Support Services
Check if your device is covered by Support Services.
Article Properties
Article Number: 000126038
Article Type: How To
Last Modified: 03 Apr 2024
Version: 8
Find answers to your questions from other Dell users
Support Services
Check if your device is covered by Support Services.