Netskope 관리자를 추가하는 방법
Summary: Netskope의 관리자 계정은 다음 지침에 따라 구성할 수 있습니다.
This article applies to
This article does not apply to
This article is not tied to any specific product.
Not all product versions are identified in this article.
Symptoms
이 문서에서는 추가 Netskope 관리자를 생성하는 방법에 대해 설명합니다.
영향을 받는 제품:
Netskope
영향을 받는 운영 체제:
Windows
Mac
Linux
Cause
해당 사항 없음.
Resolution
위임된 관리자를 생성하려면 다음을 수행합니다.
- 웹 브라우저에서 Netskope 웹 콘솔로 이동합니다.
- 미국 데이터 센터: https://[TENANT].goskope.com/
- 유럽 연합 데이터 센터: https://[TENANT].eu.goskope.com/
- 프랑크푸르트 데이터 센터: https://[TENANT].de.goskope.com/
참고: [TENANT] = 사용자 환경의 테넌트 이름
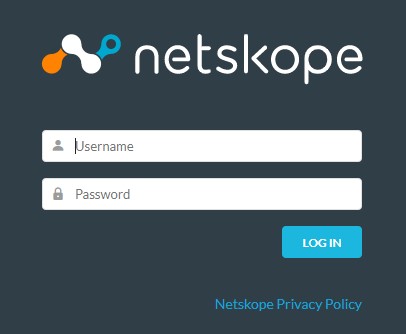
- Netskope 웹 콘솔에 로그인합니다.
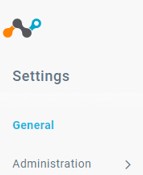
- Settings를 클릭합니다.

- Administration을 클릭합니다.
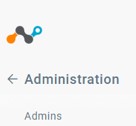
- Admins를 클릭합니다.
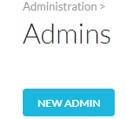
- New Admin을 클릭합니다.
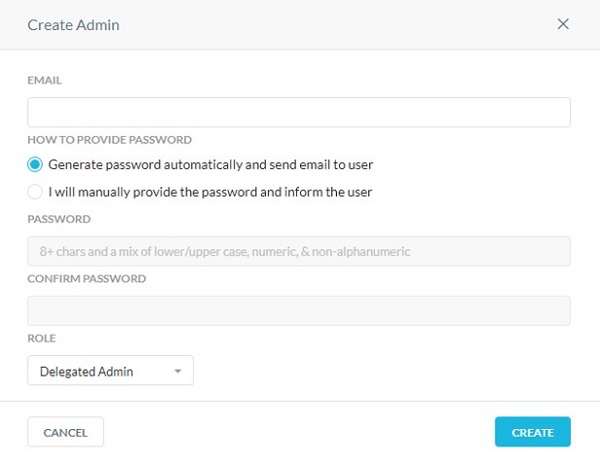
- Create Admin 메뉴에서 다음을 수행합니다.
- 이메일 주소를 입력합니다.
- 암호 입력 방법을 선택합니다. 비밀번호를 수동으로 입력하는 경우 비밀번호를 입력하고 Confirm Password을 누릅니다. 그렇지 않은 경우에는 7C단계로 진행합니다.
- Role을 선택합니다.
- Create를 클릭합니다.
지원 부서에 문의하려면 Dell Data Security 국제 지원 전화번호를 참조하십시오.
온라인으로 기술 지원 요청을 생성하려면 TechDirect로 이동하십시오.
추가 정보 및 리소스를 보려면 Dell 보안 커뮤니티 포럼에 참여하십시오.
Additional Information
Videos
Affected Products
NetskopeArticle Properties
Article Number: 000130750
Article Type: Solution
Last Modified: 10 Apr 2023
Version: 10
Find answers to your questions from other Dell users
Support Services
Check if your device is covered by Support Services.