如何创建启用 API 的 Netskope 保护实例
Summary: 了解如何按照以下说明创建启用了 API 的 Netskope 保护实例。
This article applies to
This article does not apply to
This article is not tied to any specific product.
Not all product versions are identified in this article.
Instructions
本文提供在 Netskope 中创建启用 API 的保护实例的步骤。
受影响的产品:
- Netskope 管理员平台
- 在网页浏览器中,导航到 Netskope Web 控制台:
- 美国数据中心:https://[TENANT].goskope.com/
- 欧盟数据中心:https://[TENANT].eu.goskope.com/
- 法兰克福数据中心:https://[TENANT].de.goskope.com/
提醒:[TENANT] = 您的环境中的租户名称 - 登录到 Netskope Web 控制台。
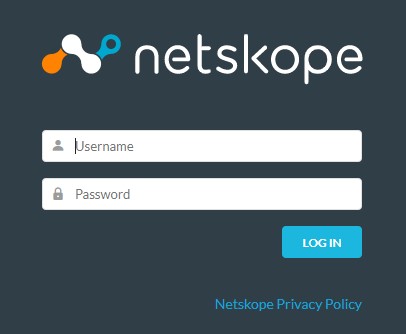
- 在 Netskope 主屏幕中,单击 Settings。

- 从 Settings 页面中,单击 API-enabled Protection。

- 在 “API-enabled Protection ”页面中,单击 SaaS。

- 选择要配置的提供程序,然后单击 Setup Instance。
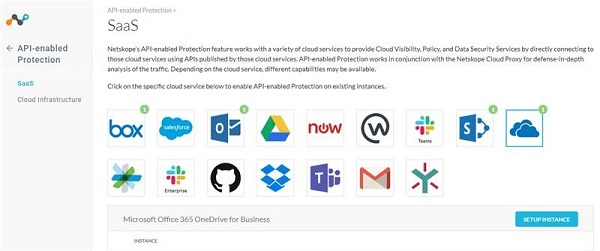
有关要配置的启用 API 的保护实例的更多信息,请单击相应的选项。
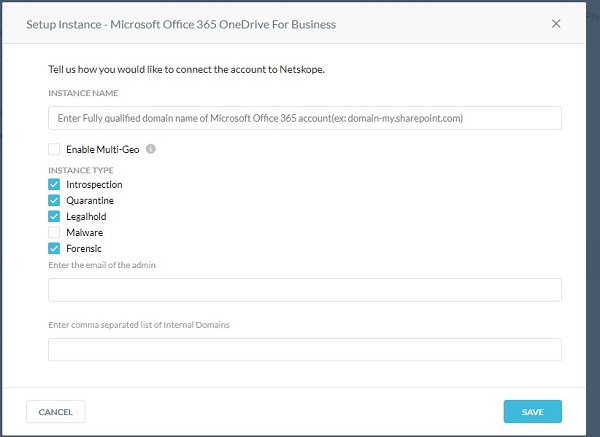
- 从“Setup Instance”菜单中:
- 填充 Microsoft Office 365 帐户的 fully qualified domain name (FQDN)。
- (可选)如果您的组织支持 Microsoft Office 365 多地理区域,请单击 Enable Multi-Geo。
- 选择所有需要的 Instance Types。
- 填充 Office 365 管理员电子邮件地址。
- (可选)填充以逗号分隔的内部域列表。
- 单击 Save。
提醒:
- 要查找 Microsoft Office 365 帐户的完全限定域名 (FQDN),请登录 Microsoft Office 365 帐户,然后转至 Microsoft 365 admin center、Home 和 Domains。
- 跨内部域共享的任何文件都被视为内部共享。
- 单击 Grant Access。

- 使用全局管理员用户名和密码进行登录。
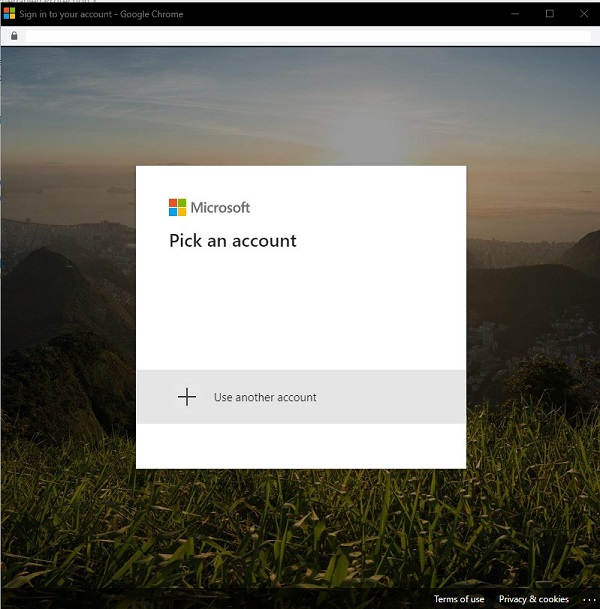
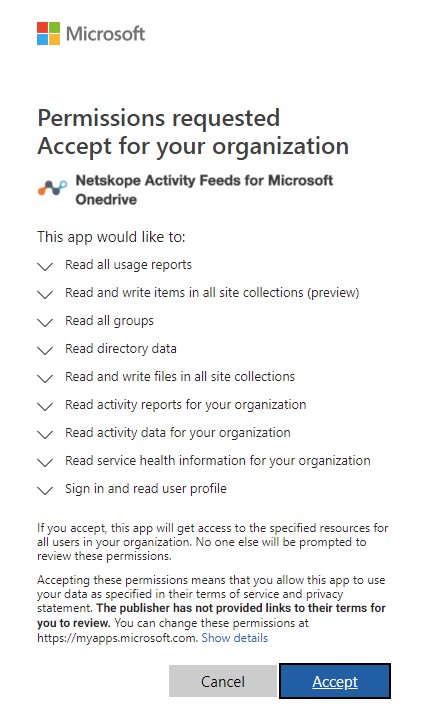
- 接受权限。
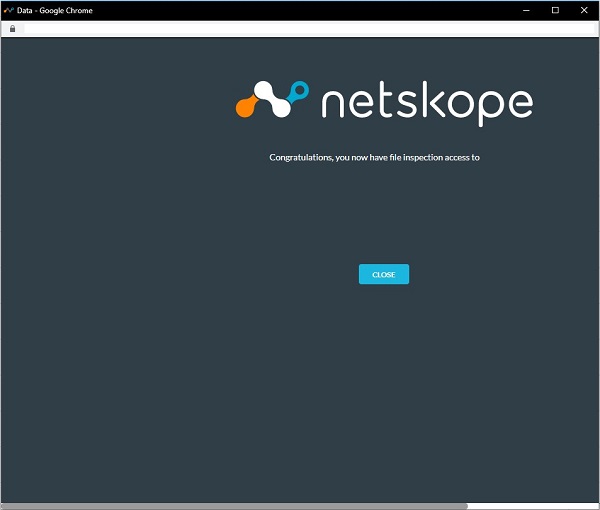
- 单击 Close。
目前,戴尔没有有关所有可用的启用 API 的保护实例选项的分步说明。需要具有所选任何云服务的帐户。如果需要进一步的帮助来配置启用 API 的保护实例,请参阅如何获取 Netskope 支持。
要联系支持部门,请参阅 Dell Data Security 国际支持电话号码。
转至 TechDirect,在线生成技术支持请求。
要获得更多见解和资源,请加入戴尔安全社区论坛。
Additional Information
Videos
Affected Products
NetskopeArticle Properties
Article Number: 000130518
Article Type: How To
Last Modified: 22 Oct 2024
Version: 10
Find answers to your questions from other Dell users
Support Services
Check if your device is covered by Support Services.