My Dell 애플리케이션 다운로드 및 설치 방법
Summary: 이 문서에서는 Windows용 My Dell 애플리케이션을 다운로드하고 설치하는 방법에 대해 설명합니다.
This article applies to
This article does not apply to
This article is not tied to any specific product.
Not all product versions are identified in this article.
Instructions
참고: 이 애플리케이션은 대체되었으며 더 이상 지원되지 않습니다. 자세한 내용은 새로운 MyDell 소개를 참조하십시오.
My Dell은 주요 Dell 애플리케이션 및 기능을 하나의 UI(User Interface)로 중앙 집중화하여 컴퓨터 환경을 개선합니다.
시스템 요구 사항:
- 운영 체제:
- Windows 10 v17134.0 이상
- 플랫폼:
- Inspiron
- G Series
- XPS
- Vostro
주의: My Dell 애플리케이션을 설치하기 전에 Dell Power Manager를 제거해야 합니다.
My Dell을 설치하려면 다음을 수행합니다.
- Microsoft Store-My Dell Download
로 이동합니다.
- Install을 클릭합니다.

그림 1: (영어로만 제공) 설치를 클릭합니다.
참고: 컴퓨터가 설치와 호환되지 않는 경우 설치 버튼이 표시되지 않습니다.
- 설치 시 Open을 클릭합니다.

그림 2: (영어로만 제공) 열기를 클릭합니다.
- 데이터 공유에 대해 Yes 또는 No Thanks를 클릭합니다.

그림 3: (영어로만 제공) Help Improve My Dell.
- My Dell 애플리케이션 단계별 안내를 시청하거나 건너뜁니다.

그림 4: (영어로만 제공) 건너뛰기를 클릭합니다.
- 등록 UI에서 다음 중 하나를 수행합니다.
- 등록 정보를 입력한 다음 ALL DONE을 클릭합니다.
- REMIND ME LATER를 클릭합니다.
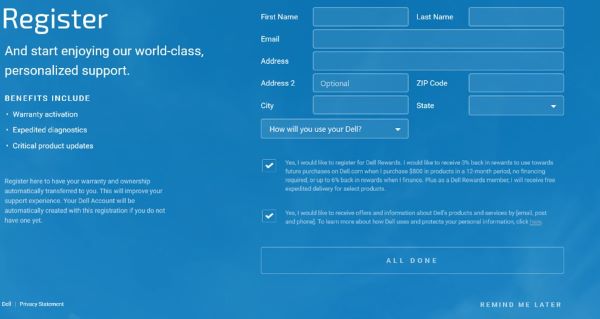
그림 5: (영어로만 제공) 등록
- UPDATE를 클릭하여 최신 제품 기능을 활성화합니다.
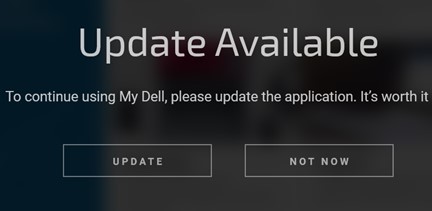
그림 6: (영어로만 제공) Update를 클릭합니다.
참고: My Dell의 사용자 탐지 기능을 활성화하려면 My Dell 2.0 사용자 감지 기능을 참조하십시오.
Additional Information
권장 문서
다음은 사용자가 관심 있을 만한, 이 주제와 관련된 몇 가지 권장 문서입니다.
Article Properties
Article Number: 000200388
Article Type: How To
Last Modified: 08 Jan 2025
Version: 10
Find answers to your questions from other Dell users
Support Services
Check if your device is covered by Support Services.