Dell Data Security ServerのAdvanced Threat Prevention証明書をバックアップおよび復元する方法
Summary: Advanced Threat Prevention 証明書は、次の手順に従って Dell Data Security または Dell Data Protection サーバからバックアップできます。
This article applies to
This article does not apply to
This article is not tied to any specific product.
Not all product versions are identified in this article.
Symptoms
この記事では、Dell Data Security(旧Dell Data Protection)サーバーでAdvanced Threat Preventionの証明書をバックアップおよびリストアする手順について説明します。この証明書には、Dell Security Management Serverが登録されている現在登録済みのAdvanced Threat Prevention SaaSベースの環境の登録情報が含まれています。何らかの理由でこのデータベースが失われた場合、またはAdvanced Threat Prevention環境への接続が何らかの形で破損した場合、この証明書により、既存のAdvanced Threat Prevention SaaS環境に対して別のDell Security Management Server(またはDell Security Management Server Virtual)を設定できます。
対象製品:
- Dell Security Management Server
- Dell Data Protection | Enterprise Edition Server
- Dell Security Management Server Virtual
- Dell Data Protection |Virtual Editionサーバー
影響を受けるバージョン:
- v9.2以降
Cause
該当なし
Resolution
管理者は、Advanced Threat Prevention 証明書を Dell Data Security サーバに バックアップ および 復元 できます。詳細については、該当するタスクをクリックしてください。
バックアップ
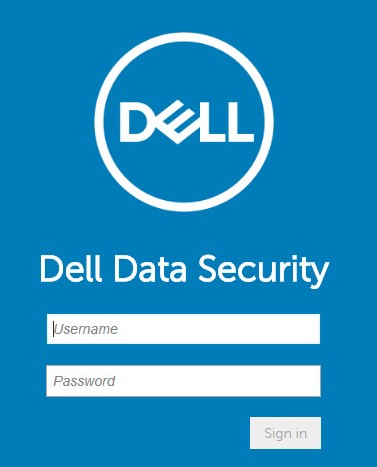
- Dell Data Security管理コンソールにサイン インします。
注:詳細については、「Dell Data Security/Dell Data Protection Server管理コンソールにアクセスする方法」を参照してください。
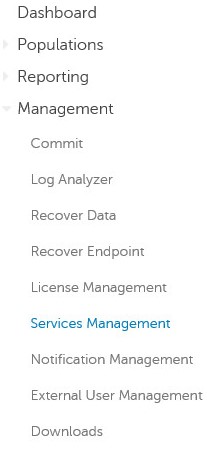
- 左側のメニュー ペインで、[Management]をクリックしてから[Services Management]をクリックします。
- [Advanced Threats]タブで、[Back Up Certificate]をクリックします。
![[Back Up Certificate]](https://supportkb.dell.com/img/ka06P000000slwLQAQ/ka06P000000slwLQAQ_ja_3.jpeg)
- [Download Existing Certificate]をクリックします。
![[Download Existing Certificate]](https://supportkb.dell.com/img/ka06P000000slwLQAQ/ka06P000000slwLQAQ_ja_4.jpeg)
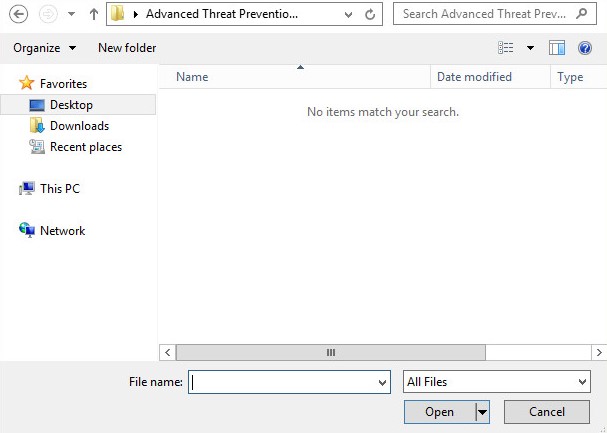
- provisionData.pfxファイルを保存します。
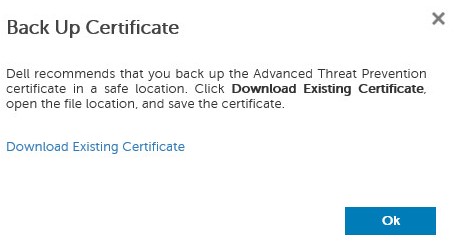
- 「OK」をクリックします。
修復
- Dell Data Security管理コンソールにサイン インします。
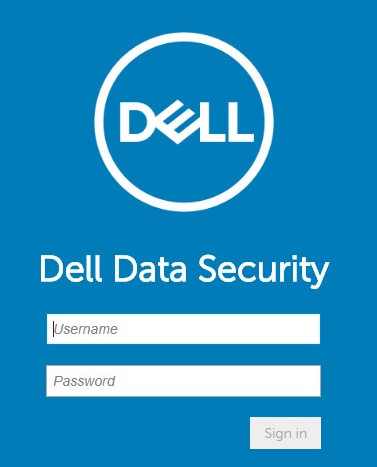
注:詳細については、「Dell Data Security/Dell Data Protection Server管理コンソールにアクセスする方法」を参照してください。
- 左側のメニュー ペインで、[Management]をクリックしてから[Services Management]をクリックします。
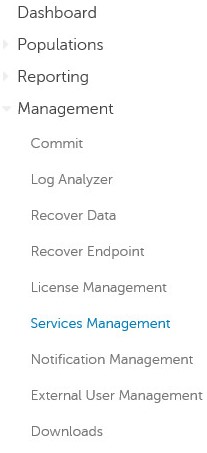
- [Advanced Threats]タブで、[Recover Advanced Threat Prevention Service]をクリックします。
![[Recover Advanced Threat Prevention Service]](https://supportkb.dell.com/img/ka06P000000slwLQAQ/ka06P000000slwLQAQ_ja_9.jpeg)
- 「参照」をクリックします。

- 以前にバックアップしたprovisionData.pfx証明書ファイル(手順5でのバックアップ)に移動し、[Open]をクリックします。
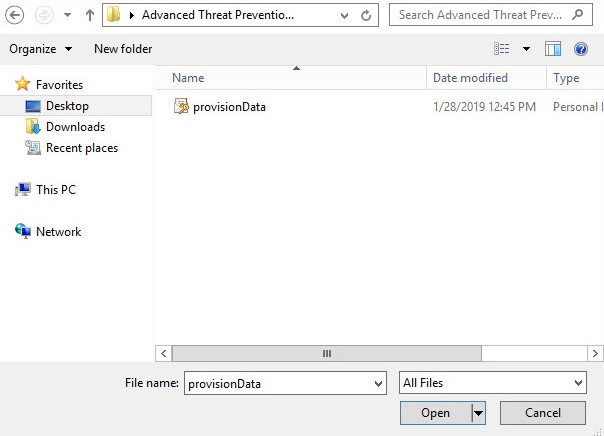
- [アップロード]をクリックします。

- [次へ]をクリックします
![[Service Recovery]](https://supportkb.dell.com/img/ka06P000000slwLQAQ/ka06P000000slwLQAQ_ja_13.jpeg)
- 地域を選択してから、[Next]をクリックします。
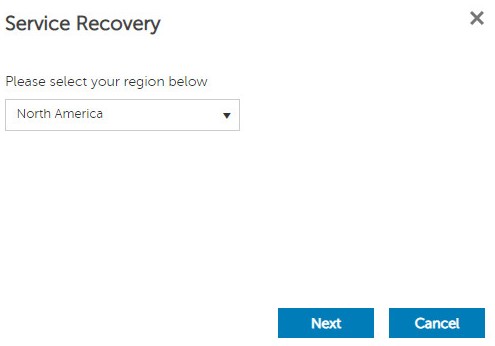
- [Service Recovery]メニューで、次の手順を実行します。
- [Company Name]に入力します。
- [Contact Name]に入力します。
- [Contact Email Address]に入力します。
- [Country]に入力します。
- [次へ]をクリックします
![[Service Recovery]の連絡先情報](https://supportkb.dell.com/img/ka06P000000slwLQAQ/ka06P000000slwLQAQ_ja_15.jpeg)
注:会社と連絡先情報の例は、お使いの環境によって異なります。
- 「OK」をクリックします。
![[Recovery Complete]](https://supportkb.dell.com/img/ka06P000000slwLQAQ/ka06P000000slwLQAQ_ja_16.jpeg)
サポートに問い合わせるには、「Dell Data Securityのインターナショナル サポート電話番号」を参照してください。
TechDirectにアクセスして、テクニカル サポート リクエストをオンラインで生成します。
さらに詳しい情報やリソースについては、「デル セキュリティ コミュニティー フォーラム」に参加してください。
Additional Information
Videos
Affected Products
Dell EncryptionArticle Properties
Article Number: 000125205
Article Type: Solution
Last Modified: 19 Oct 2023
Version: 10
Find answers to your questions from other Dell users
Support Services
Check if your device is covered by Support Services.