Article Number: 000147380
Introduction to Windows Server 2012 Essentials Client Restore
Summary: Windows Server 2012 Essentials includes a feature called Client Restore, that allows the user to perform a bare metal restore of their client computer
Article Content
Symptoms
Cause
Resolution
1. Open the Essential Dashboard and navigate to "Devices", under the Device task section click on "Customize Computer Backup and File history settings"

Figure 1: Essential Dashboard
2. Click on the Tools tab and then click the "Create key" button under Computer recovery

Figure 2: Computer recovery
3. In the Create a bootable USB Flash drive Insert a formatted USB Flash Drive into the Server, preferably a 1GB or greater drive and click Next
4. In the Prepare the USB Flash drive screen, select the USB Flash drive that you connected from the dropdown list.
5. Once the correct Flash drive is selected, check the below box that says "I understand…" and click the Next button.

Figure 3: Bootable USB Flash drive
6. The next screen will start to prepare the flash drive and this operation will take some time, so please wait.

Figure 4: Prepare the flash drive
7. You will see the message "Bootable USB Flash drive was created successfully", this means the Client recovery key has been copied to the Flash drive.

Figure 5: Bootable USB Flash drive was created successfully
8. Navigate to the USB Flash drive and see if the below files have been copied successfully.

Figure 6: USB Flash drive
This now complete the process of creating the Client recovery key on a USB Flash Drive. Next we will see how to boot a client system with this key and restore it to a working backup.
9. Connect the USB Flash Drive into a client system and boot into the BIOS to set the Removable media as the first boot device or press the F11 Key at POST on a Dell system to load the BIOS Boot manager.
10. In the Boot manager screen, select the USB Flash Device (Seen as Removable Media) and press Enter.
11. Wait for the "Windows Boot manager" screen to load, here select the restore image that you want to boot into. Either x86 or x64 based on the OS type already installed on the system.

Figure 7: Windows Boot manager
12. Wait till the system boots into the Recovery Image, this will take some time.

Figure 8: System boots into the Recovery Image
13. Once you boot into the recovery image, the first screen you will see is the Language selection screen. Here select the language of your choice.
 Note: Once a language is selected you cannot change to a different language. If you need to change, restart and boot back into the recovery image again.
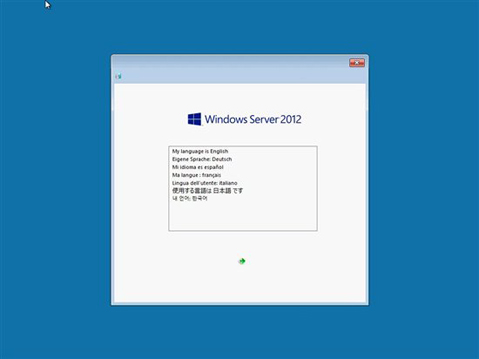
Figure 9: Language selection
14. System will start to initialize the restore media and will open the System restore wizard.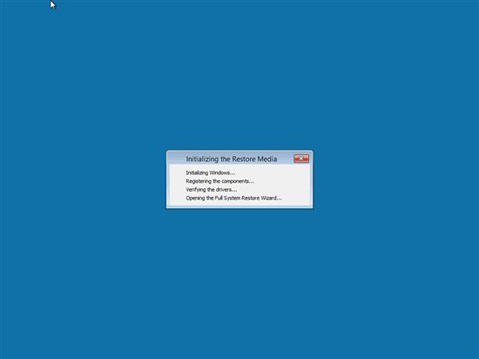
Figure 10: Initialize the restore media
15. Choose your region and keyboard settings and click Contiune.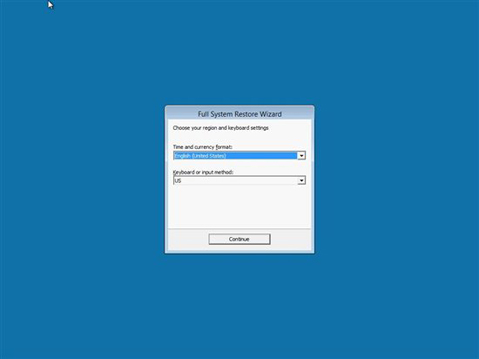
Figure 11: Region and keyboard settings
16. Click Continue to proceed further.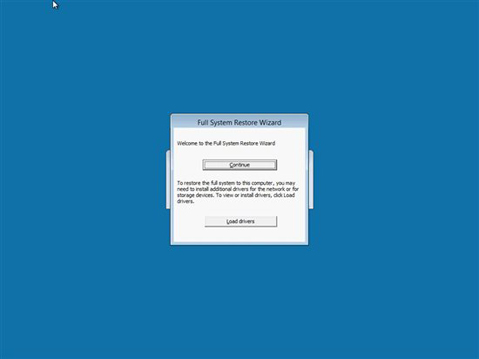
Figure 12: Click Continue to proceed further
17. Click next in the "Full System Restore Wizard" screen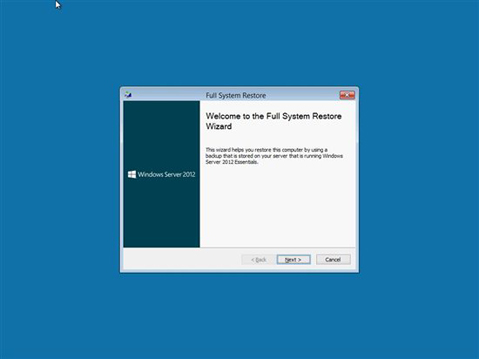
Figure 13: Full System Restore Wizard
18. The next screen list all the Windows Server 2012 Essentials server that are available in your network. From the drop down, choose the server that holds your client backup and click Next.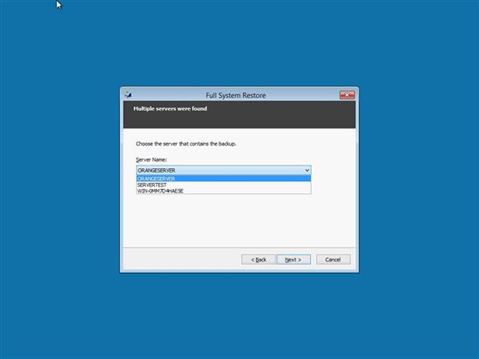
Figure 14: Windows Server 2012 Essentials server
19. Enter your username and password and click Next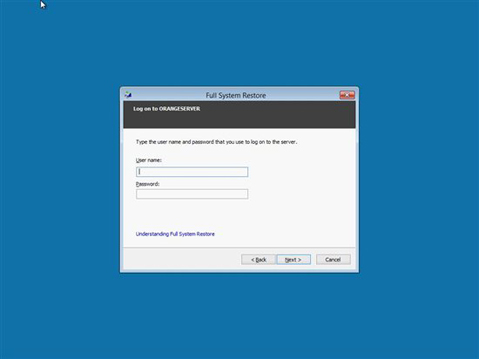
Figure 15: Enter your username and password
20. Once your username and password is validated you will be asked to select your computer that you want to restore, choose the computer from the list and click Next.
Figure 16: Choose the computer from the list
21. The next screen shows all the successful backup available for the selected computer, choose the backup that you want to restore and click next.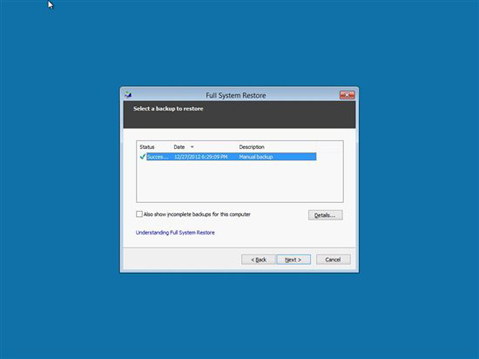
Figure 17: Choose the backup that you want to restore
22. This screen allows you to do a full restore or select a volumes that you want to restore, choose the option you need and click next.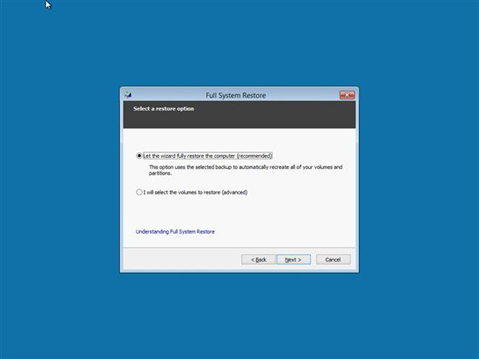
Figure 18: Full restore or select a volumes that you want to restore
23. This screen shows the volumes that you had selected, confirm and click next to start the restore operation.
24. Full system restore has started, this operation will take some time depending on the size of the restore image.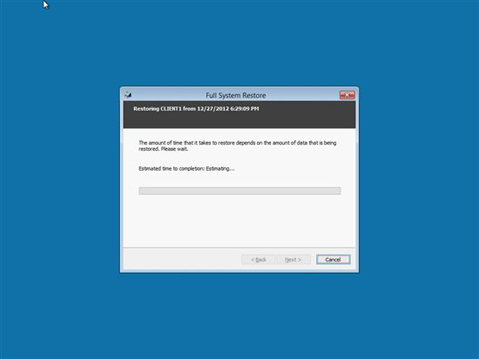
Figure 19: Full system restore
25. System restore is complete, you can now click on finish and the client computer will reboot and boot back into the restored OS image.
26. If for some reason the system fails to restore this backup, then reboot back into the restore media and choose another backup from the list and proceed. 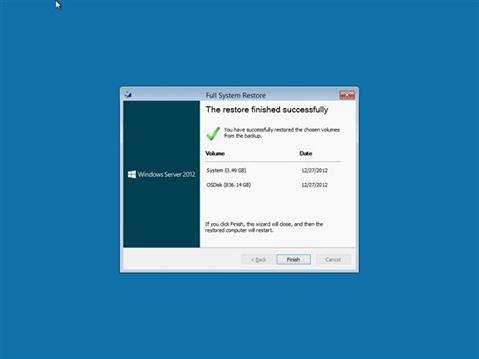
Figure 20: System restore is complete
Article Properties
Affected Product
Microsoft Windows 2012 Server
Last Published Date
09 Jul 2024
Version
4
Article Type
Solution