Article Number: 000130775
Netskope 보고서 설정 및 예약 방법
Summary: Netskope 보고서는 다음 지침에 따라 생성하고 예약할 수 있습니다.
Article Content
Symptoms
이 문서에서는 Netskope에 대한 보고서를 만들고 예약하는 단계를 설명합니다.
영향을 받는 제품:
Netskope
Cause
해당 사항 없음.
Resolution
템플릿 보고서를 설정하고 예약하려면 다음을 수행합니다.
- 웹 브라우저에서 Netskope 웹 콘솔로 이동합니다.
- 미국 데이터 센터: https://[TENANT].goskope.com/
- 유럽 연합 데이터 센터: https://[TENANT].eu.goskope.com/
- 프랑크푸르트 데이터 센터: https://[TENANT].de.goskope.com/
참고: [TENANT] = 사용자 환경의 테넌트 이름
- Netskope 웹 콘솔에 로그인합니다.
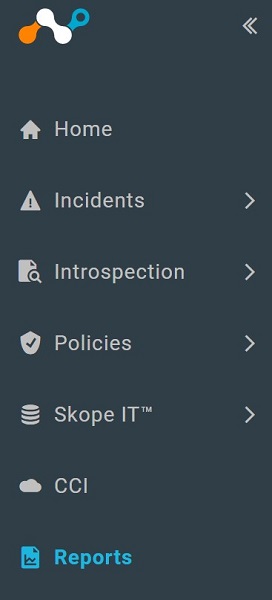
- Reports를 클릭합니다.
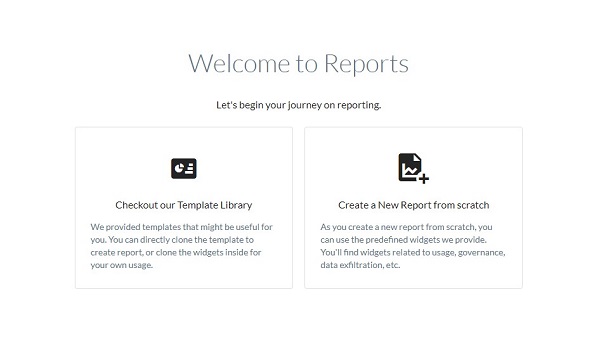
- Template Library를 클릭합니다.
- 해당 템플릿을 선택한 다음 USE TEMPLATE을 클릭합니다.
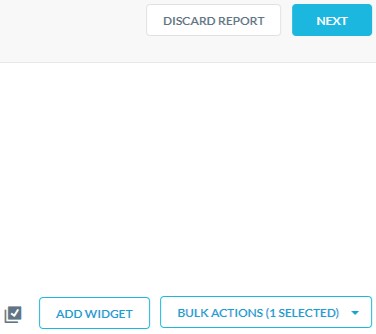
- 선택 사항으로 Add Widget을 클릭하여 보고서에 위젯을 추가합니다. 완료되면 Next를 클릭합니다.
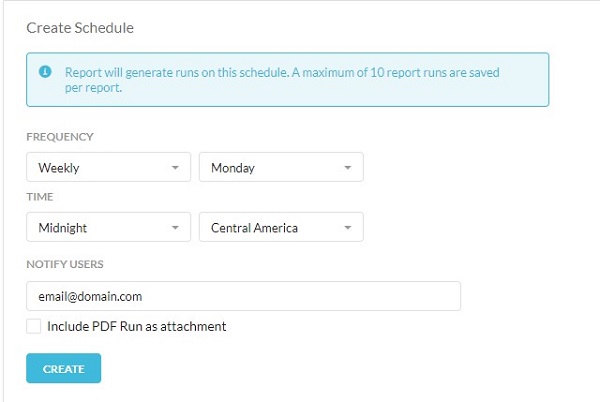
- Create Schedule 메뉴에서 다음을 수행합니다.
- 보고서를 실행할 빈도를 선택합니다.
- 보고서를 실행할 시간을 선택합니다.
- Notify Users 이메일 주소를 입력합니다.
- 선택 사항으로 Include PDF Run as attachment를 선택합니다.
- Create를 클릭합니다.
- Done을 클릭합니다.
지원 부서에 문의하려면 Dell Data Security 국제 지원 전화번호를 참조하십시오.
온라인으로 기술 지원 요청을 생성하려면 TechDirect로 이동하십시오.
추가 정보 및 리소스를 보려면 Dell 보안 커뮤니티 포럼에 참여하십시오.
Additional Information
Videos
Article Properties
Affected Product
Netskope
Last Published Date
19 Dec 2022
Version
9
Article Type
Solution