Article Number: 000187624
CloudIQ: General Procedures to Onboard PowerFlex Systems to CloudIQ
Summary: This Knowledgebase Article describes the onboarding process for PowerFlex Systems to CloudIQ.
Article Content
Instructions
CloudIQ Overview
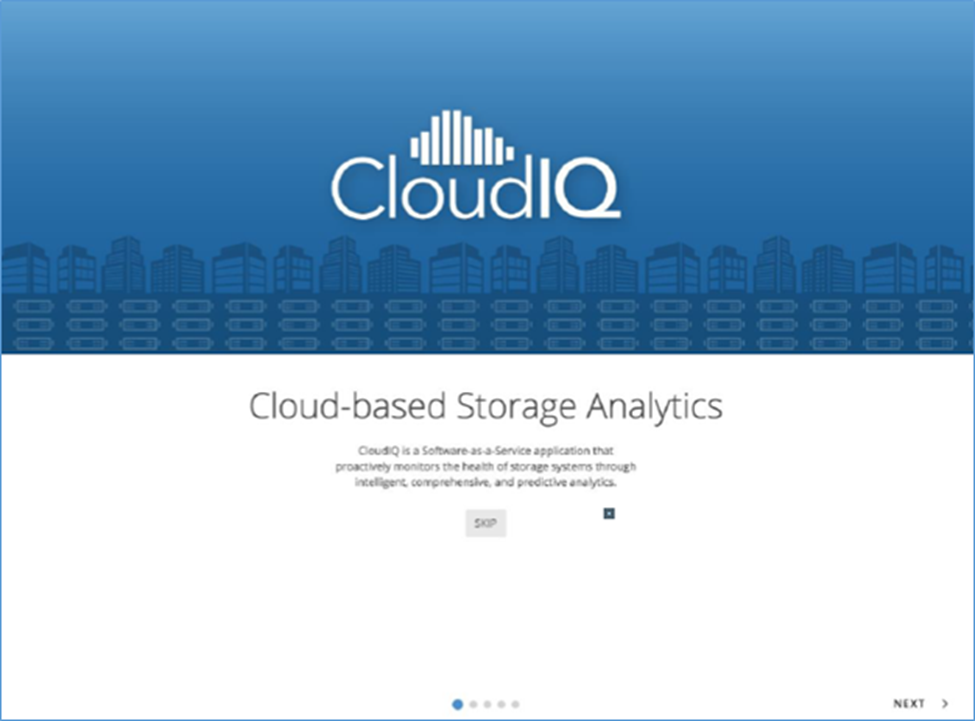
CloudIQ is a cloud-based application that leverages machine learning to proactively monitor and measure the overall health of Dell IT infrastructure systems through intelligent, comprehensive, and predictive analytics.
This article covers CloudIQ connectivity for the PowerFlex software or Ready Node solution using the PowerFlex Gateway, as well as the PowerFlex appliance using PowerFlex Manager.
Prerequisites – PowerFlex Software or Ready Node using PowerFlex Gateway
- Minimum Secure Remote Services version - 3.46.00.04
- Minimum PowerFlex version – 3.6
NOTE: CloudIQ does not support a PowerFlex 3.6 Gateway with older versions of PowerFlex software components. For CloudIQ support, PowerFlex OS must be 3.6 or later.
- Operating system Packages
- Same operating system dependencies used by Gateway today
- Operating system package to create .zip files
- Configurations
- PowerFlex Gateway LockBox must be configured.
- PowerFlex system license must be configured.
- System must be registered to Secure Remote Services Gateway.
- Support for Upload of Large Files
- Some older systems use only a single 1 GbE network interface for Gateway management connectivity. Depending on the scale of the system, uploading of CloudIQ data may inhibit or slow down other Gateway operations.
- A 10 GbE or bonded 1 GbE interface is recommended.
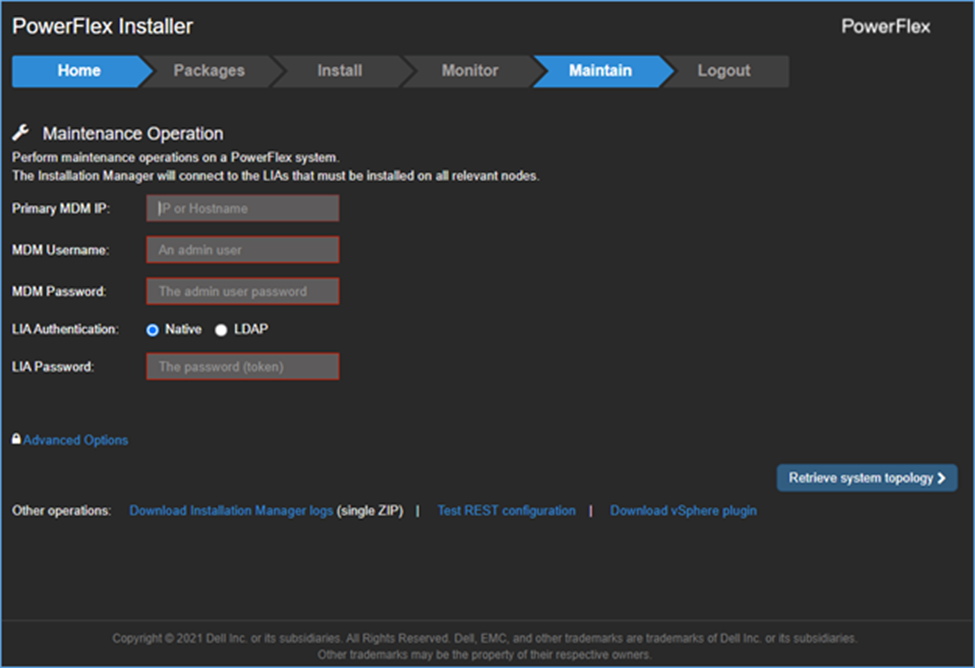
- Log in to PowerFlex Installer. From a web browser, enter the IP address of the PowerFlex Gateway and log in to the PowerFlex Installer.
- Go to the Maintain tab and enter the following information:
- Primary MDM IP address
- MDM admin username and password
- LIA authentication type
- LIA password
- Click Retrieve system topology.
- On the Maintain tab, select System Logs & Analysis
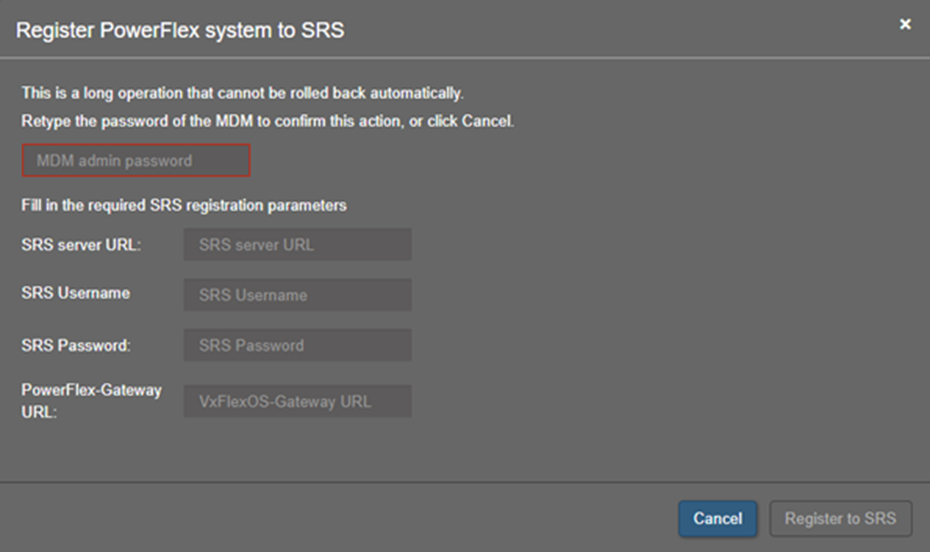
- Verify that PowerFlex is registered to Secure Remote Services. If not, select Register PowerFlex system to Secure Remote Services and enter Secure Remote Services gateway information.
NOTE: Dell user account passwords should contain no special characters. This is a-one time event and the users password can be changed back to a more secure password once the PowerFlex system has been registered to SRS.
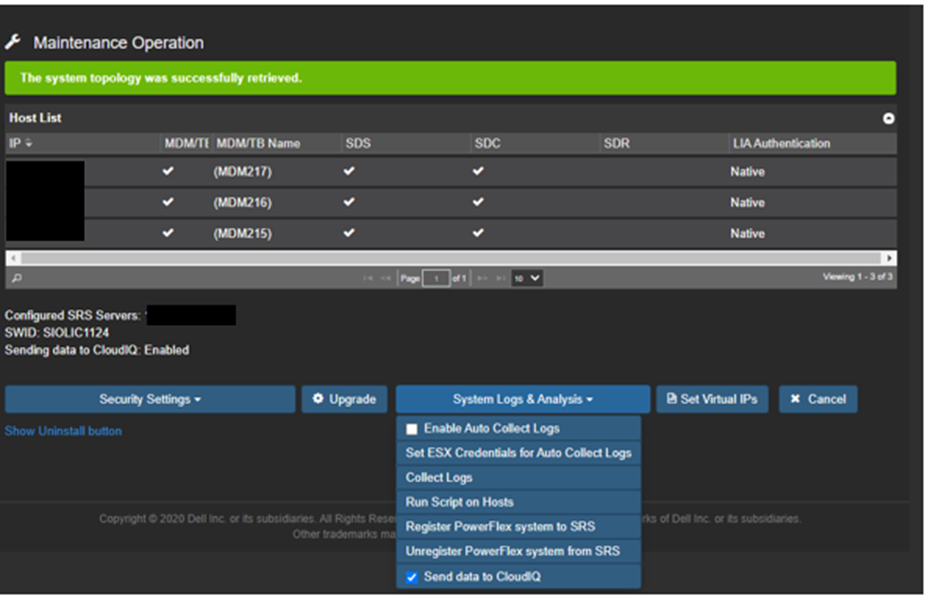
- Once PowerFlex is registered with Secure Remote Services, verify the Send data to CloudIQ button is selected. This button is enabled by default.
Prerequisites – PowerFlex Appliance using PowerFlex Manager
- Minimum Secure Remote Services version - 3.46.00.04
- Minimum PowerFlex version – 3.6
- Minimum PowerFlex Manager – 3.7
- Configurations
- PowerFlex system license must be configured
- System must be registered with Secure Remote Services Gateway
Onboarding – PowerFlex Appliance using PowerFlex Manager
-
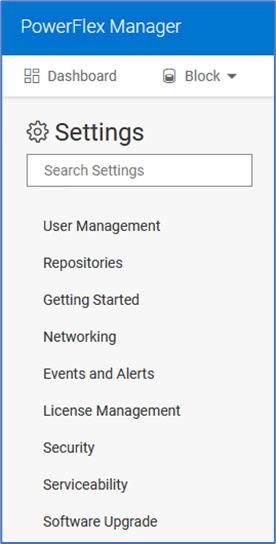
- Log in to PowerFlex Manager.
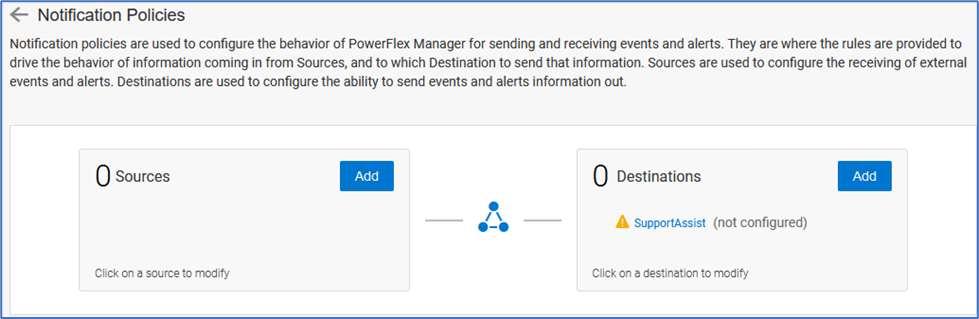
- From PowerFlex Manager, navigate to Settings > Events and Alerts.
- 3. Click Notification Policies.

- 4. Click SupportAssist
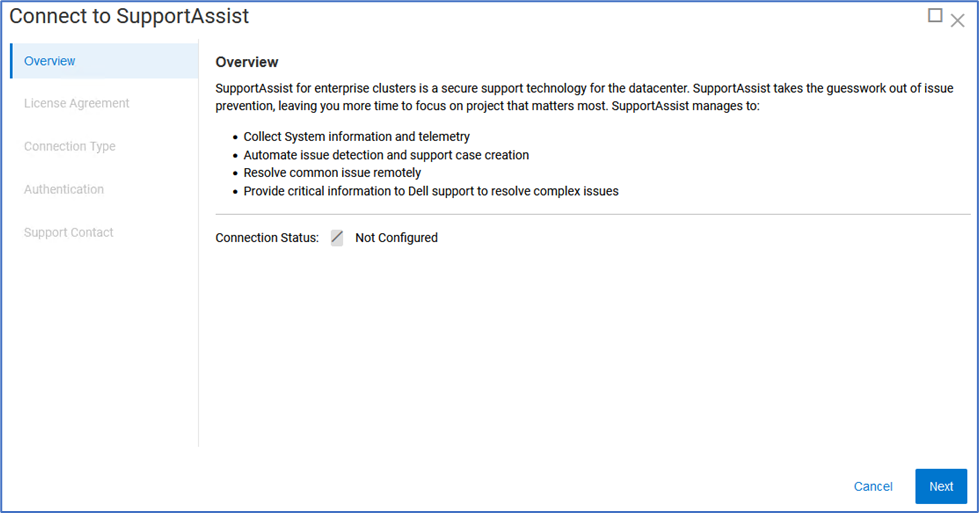
- 5. On the Overview screen, click Next.
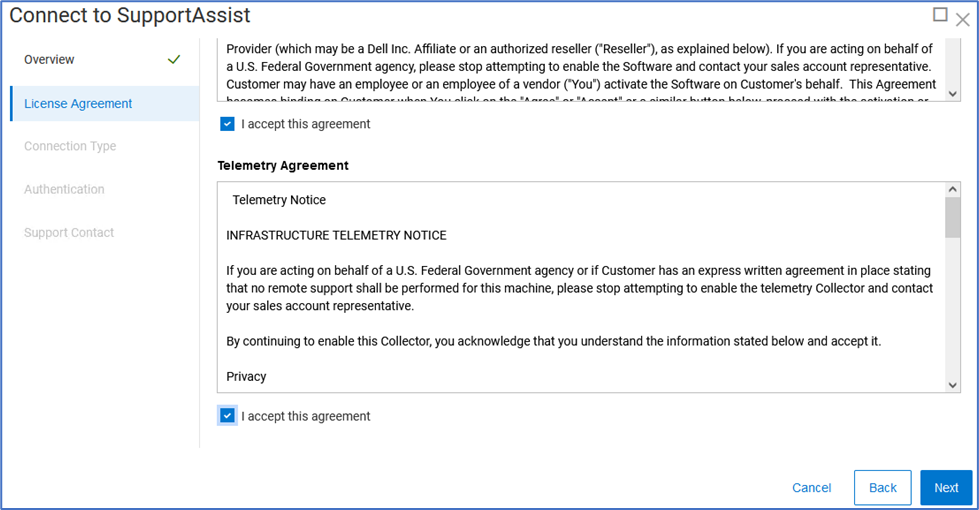
- 6. On the License Agreement screen, accept the License Agreement and Telemetry Agreement and click Next.
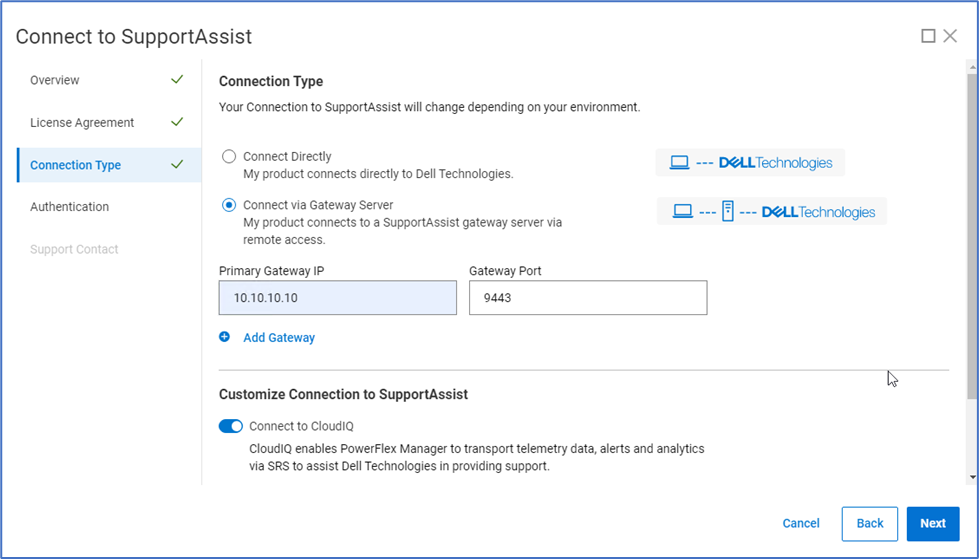
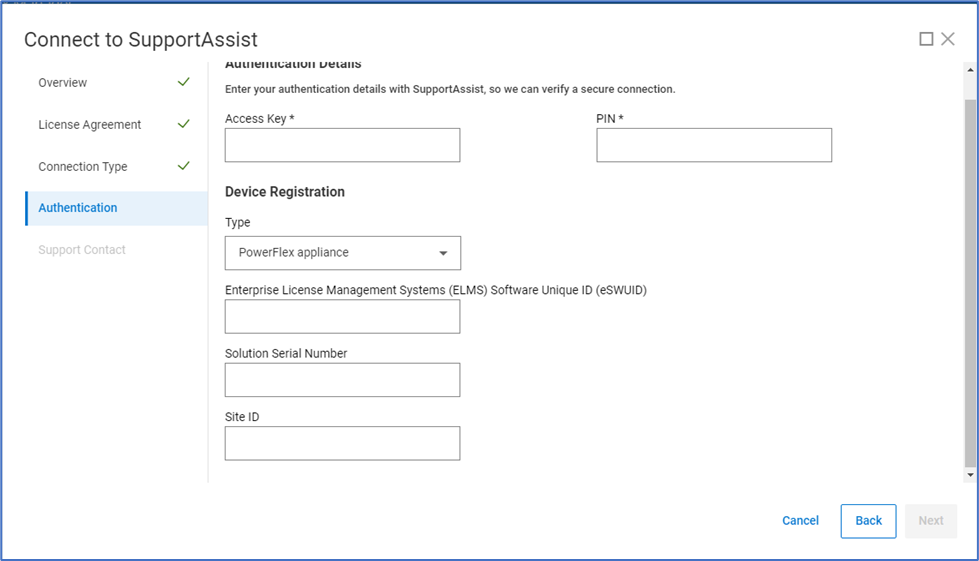
- 7. On the Connection type screen, select Connect Directly if using embedded ESE or Connect via Gateway Server if using centralized Secure Connect Gateway. When selecting Connect via Gateway Server, enter Secure Connect Gateway IP address.
- 8. On the Authentication screen, enter Access Key and Pin, Device Type, ELMS software unique ID, solution serial number, and site ID. Only Access Key and PIN are required for a Device Type of PowerFlex software.
- 9. On the Support Contact screen, enter contact information for the primary support contact.
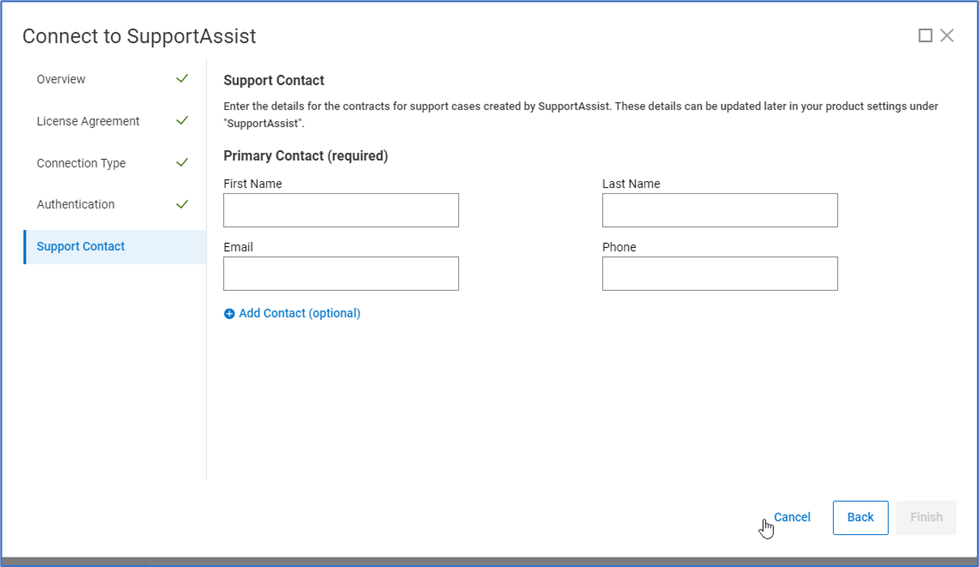
- 10. Click Finish to complete the configuration.
Accessing CloudIQ
- Log in to CloudIQ at https://cloudiq.dell.com/ using your Dell ProSupport credentials.
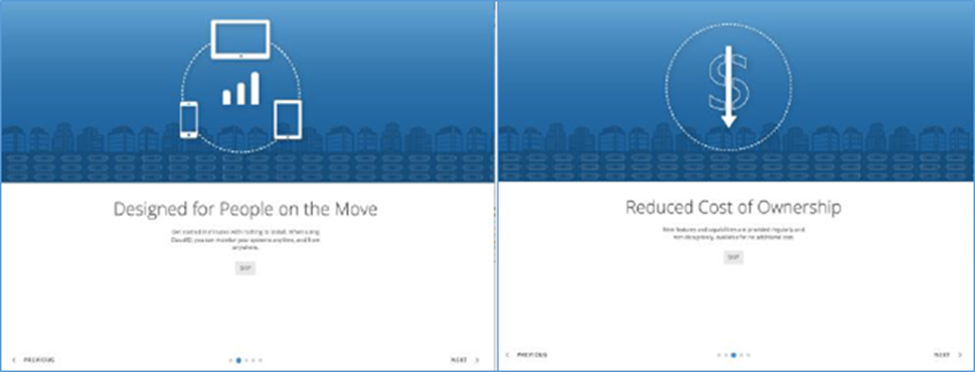
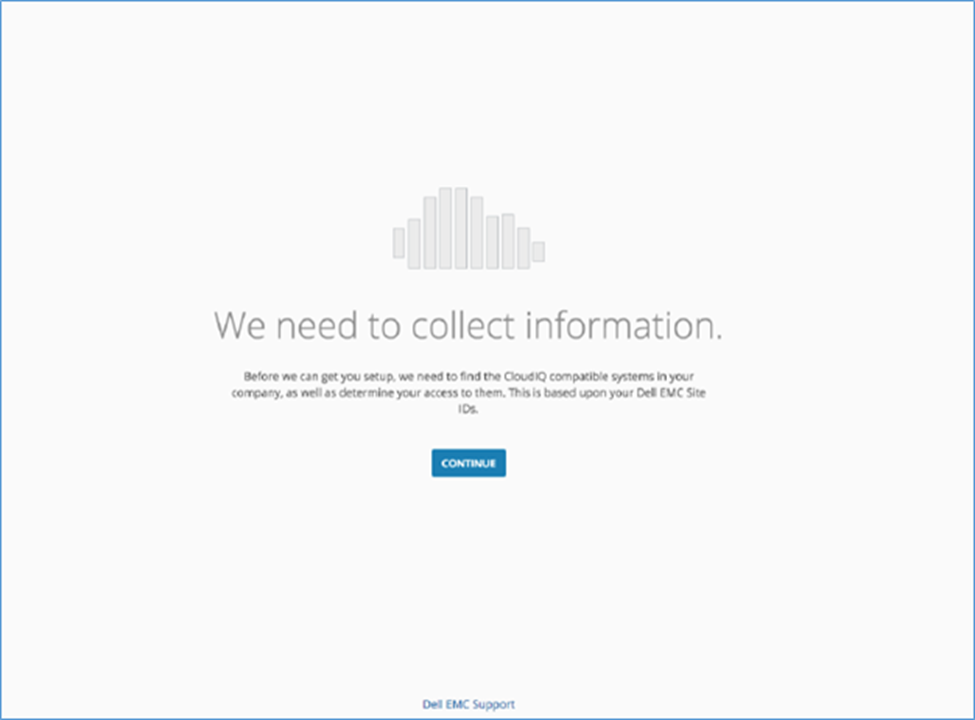
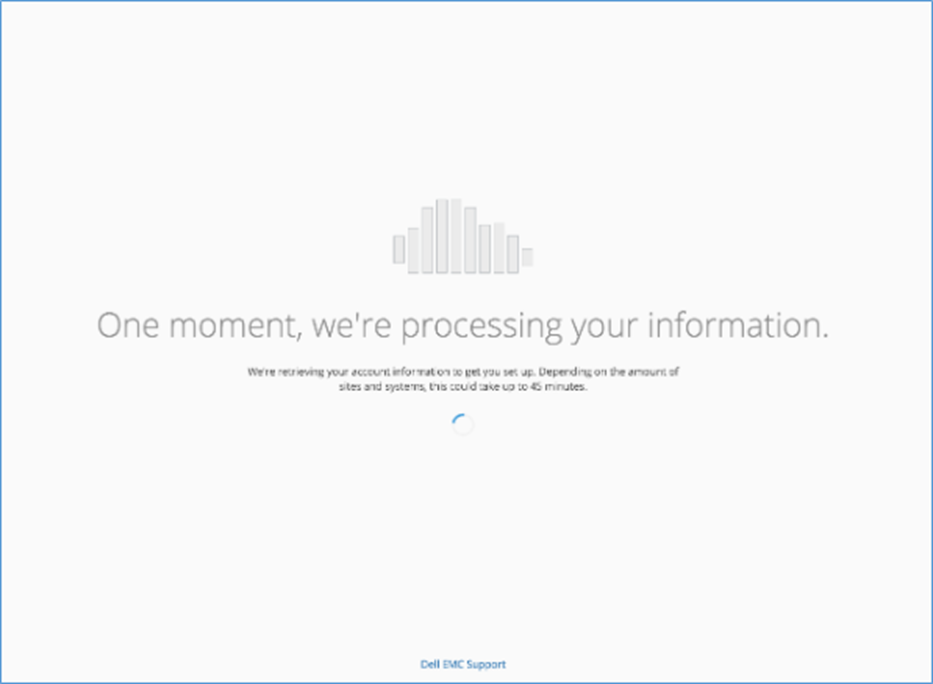
- When a new user logs in to CloudIQ, they step through the following onboarding screens:
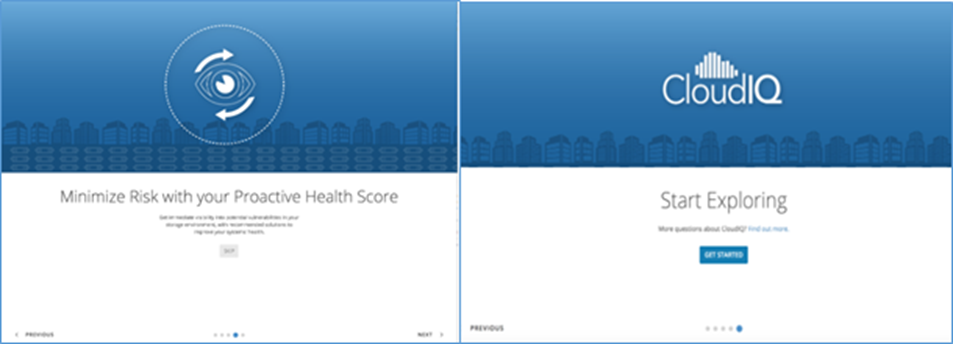
- CloudIQ retrieves the systems that are associated to the user's site IDs based on their support credentials:
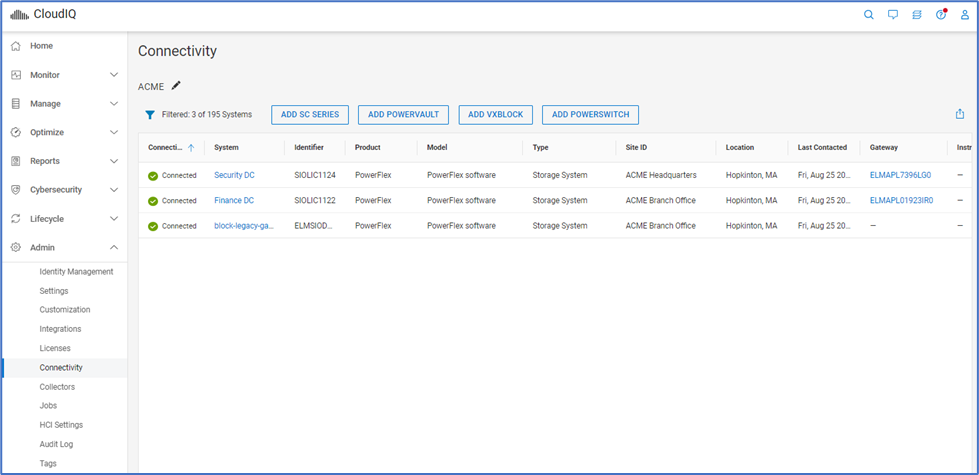
- Upon logging in to CloudIQ, the user sees all systems that are successfully sending data to CloudIQ. In situations where the user has not successfully configured systems to send data to CloudIQ, they are directed to the Connectivity page in the CloudIQ UI. The Connectivity page is where they see their CloudIQ compatible systems.
Article Properties
Last Published Date
21 Sept 2023
Version
15
Article Type
How To