Pobieranie i instalowanie Foxit PDF Editor lub Foxit PhantomPDF z firmy Dell
Summary: W tym artykule opisano sposób pobierania i instalowania Foxit PDF Editor (dawniej Foxit PhantomPDF) sprzedawanego wraz z komputerami firmy Dell.
This article applies to
This article does not apply to
This article is not tied to any specific product.
Not all product versions are identified in this article.
Instructions
Produkt, którego dotyczy problem:
Międzynarodowej:
- Foxit PDF Editor
- Foxit PDF Editor Pro
- Foxit PhantomPDF
- Foxit PhantomPDF Pro
Tylko USA:
- Foxit PDF Editor z asystentem AI
- Foxit PDF Editor Pro z asystentem AI
Dotyczy platform:
- Windows
Foxit PDF Editor i Foxit PDF Editor Pro umożliwiają tworzenie, przeglądanie, edytowanie, zarządzanie, udostępnianie i zabezpieczanie dokumentów PDF. Foxit PDF Editor można zakupić podczas zamawiania nowego komputera Firmy Dell z systemem Windows.
Uwaga: przed pobraniem i instalacją Foxit PDF Editor:
- Zaloguj się od systemu Windows, używając konta z uprawnieniami administratora.
- Pobierz i zainstaluj narzędzie Dell Digital Delivery.
- Aby uzyskać więcej informacji: Jak pobrać i zainstalować Dell Digital Delivery
Aby pobrać i zainstalować:
- W menu Start Windows zlokalizuj, a następnie kliknij Dell Digital Delivery (Rysunek 1).
Rysunek 1
Uwaga:- Jeśli brakuje aplikacji Dell Digital Delivery, zobacz: Jak pobrać i zainstalować Dell Digital Delivery
- Ikona Dell Digital Delivery odzwierciedla najnowszą wersję i może się różnić w zależności od komputera.
- W narzędziu Dell Digital Delivery kliknij kartę Dostępne.
- Odszukaj program Foxit PDF Editor lub Foxit PDF Editor Pro , a następnie kliknij przycisk Pobierz (Rysunek 2 i 3).


Wykres 2
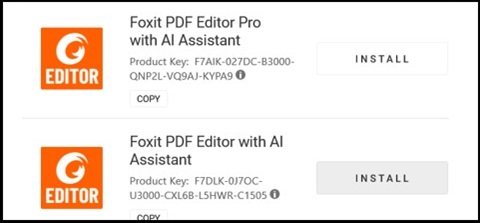
Wykres 3
Uwaga:- jeśli Foxit PDF Editor nie znajduje się na liście, może to oznaczać problemy z łącznością lub oprogramowanie nie jest powiązane z kontem Dell Digital Delivery. W takich sytuacjach należy skontaktować się z działem pomocy technicznej.
- Aby uzyskać więcej informacji: Jak uzyskać pomoc techniczną dotyczącą produktów firmy Foxit sprzedawanych przez firmę Dell
- Na powyższych zrzutach ekranu klucz licencyjny został usunięty.
- jeśli Foxit PDF Editor nie znajduje się na liście, może to oznaczać problemy z łącznością lub oprogramowanie nie jest powiązane z kontem Dell Digital Delivery. W takich sytuacjach należy skontaktować się z działem pomocy technicznej.
- Dell Digital Delivery automatycznie pobiera i instaluje oprogramowanie (Rysunek 4 i 5).

Wykres 4
Wykres 5
- Po pomyślnym zainstalowaniu kliknij dwukrotnie skrót na pulpicie Foxit PDF Editor, aby uruchomić aplikację.
- Po uruchomieniu potwierdź numer licencji stałej , a następnie kliknij przycisk Aktywuj (Rysunek 6).
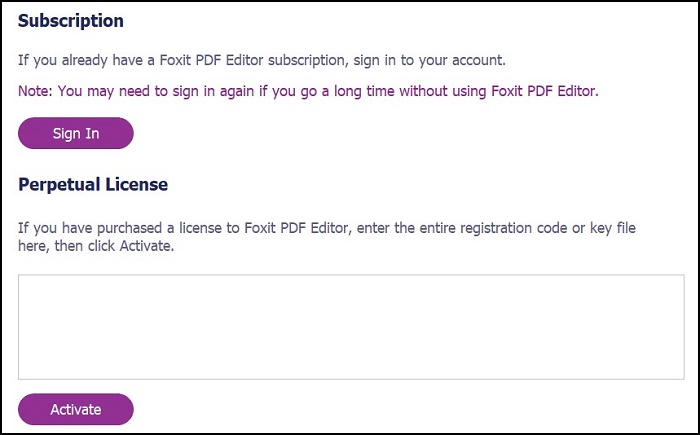
Rysunek 6
Uwaga: licencja wieczysta została pominięta na powyższym zrzucie ekranu. - Wypełnij pole nazwą użytkownika , a następnie kliknij przycisk Activate (Rysunek 7).
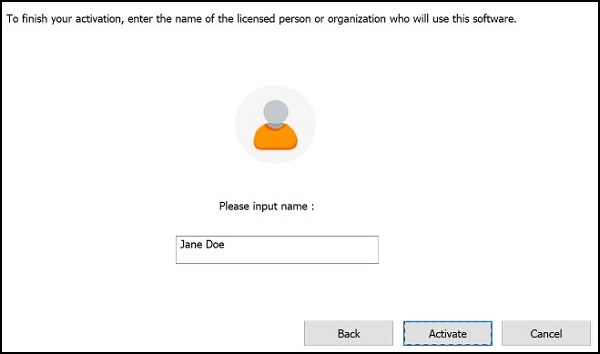
Rysunek 7
- Po aktywacji kliknij przycisk OK (Rysunek 8).
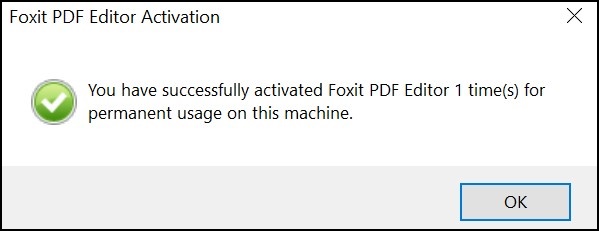
Rysunek 8
- Wybierz, czy chcesz skonfigurować program Foxit jako domyślną przeglądarkę plików PDF (Rysunek 9).
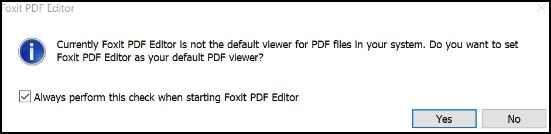
Rysunek 9
- Po skonfigurowaniu program Foxit automatycznie pobiera i instaluje najnowsze aktualizacje (Rysunek 10).

Rysunek 10
Additional Information
Polecane artykuły
Poniżej przedstawiono niektóre polecane artykuły dotyczące tego tematu, które mogą Cię zainteresować.
- Jak uzyskać pomoc techniczną dotyczącą produktów firmy Foxit sprzedawanych przez firmę Dell
- Foxit PhantomPDF: Często zadawane pytania (FAQ)
- Dell Digital Delivery: Najczęściej zadawane pytania, instalacja, rozwiązywanie problemów
- Jak pobrać i zainstalować Dell Digital Delivery
- Rozwiązywanie problemów z aplikacją Dell Digital Delivery
Article Properties
Article Number: 000191688
Article Type: How To
Last Modified: 23 Apr 2024
Version: 11
Find answers to your questions from other Dell users
Support Services
Check if your device is covered by Support Services.