How to Install Wyse Management Suite (Private Cloud)
Summary: Learn how to install Wyse Management Suite (Private Cloud) by following these instructions.
This article applies to
This article does not apply to
This article is not tied to any specific product.
Not all product versions are identified in this article.
Instructions
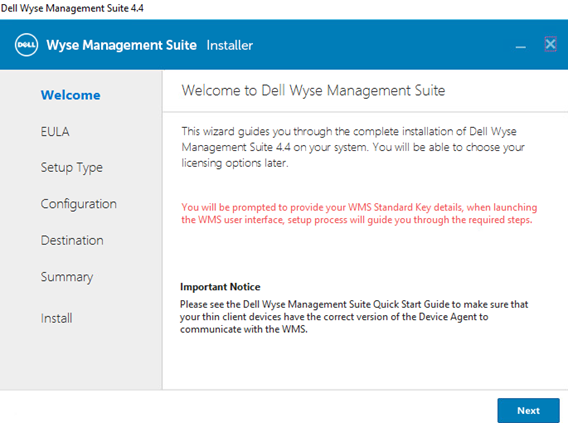
This article covers the basic installation process for Wyse Management Suite (Private Cloud).
Affected Products:
- Wyse Management Suite
Affected Versions:
- v4.4.211 and later
- Right-click
WMS_[X.X].exeand then select Run as administrator.
 Note:
Note:[X.X]= Version of Wyse Management Suite- For more information about how to download the server software, reference How to Download Wyse Management Suite for Private Cloud.
- Click Next.
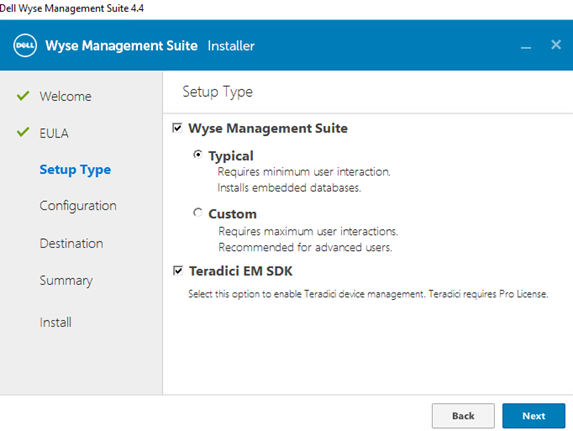
- From the Setup Type menu:
- Check Wyse Management Suite.
- With Wyse Management Suite checked, select either Typical or Custom.
- Optionally, check Teradici EM SDK.
- Click Next.
- If Wyse Management Suite with Typical was selected, go to Step 4.
- If Wyse Management Suite with Custom was selected, go to Step 5.
- Check Wyse Management Suite.
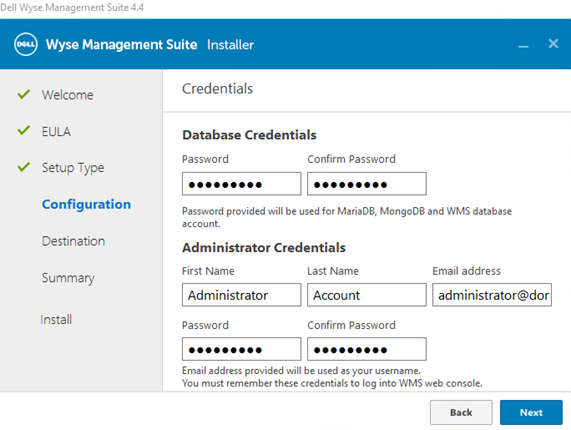
- From the Credentials menu:
- Populate and confirm a database Password.
- Populate an administrator First Name.
- Populate an administrator Last Name.
- Populate an administrator Email address.
- Populate and confirm an administrator Password.
- Click Next.
- Go to Step 9.
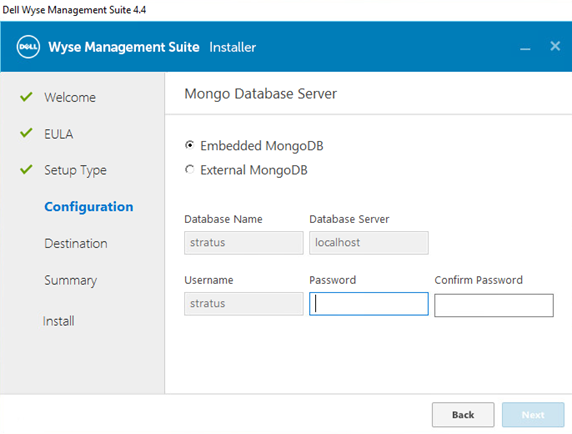
- From the Mongo Database Server Configuration menu:
- Select either Embedded MongoDB or External MongoDB.
- If Embedded MongoDB is selected, populate and confirm a Password.
- If External MongoDB is selected, populate the Database Server, Port, Username, and Password.
- Click Next.
- Select either Embedded MongoDB or External MongoDB.
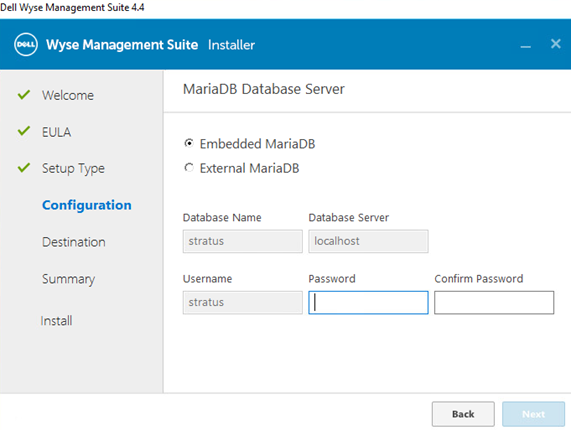
- From the MariaDB Database Server Configuration menu:
- Select either Embedded MariaDB or External MariaDB.
- If Embedded MariaDB is selected, populate and confirm a Password.
- If External MariaDB is selected, populate the Database Server, Port, Username, and Password.
- Click Next.
- Select either Embedded MariaDB or External MariaDB.
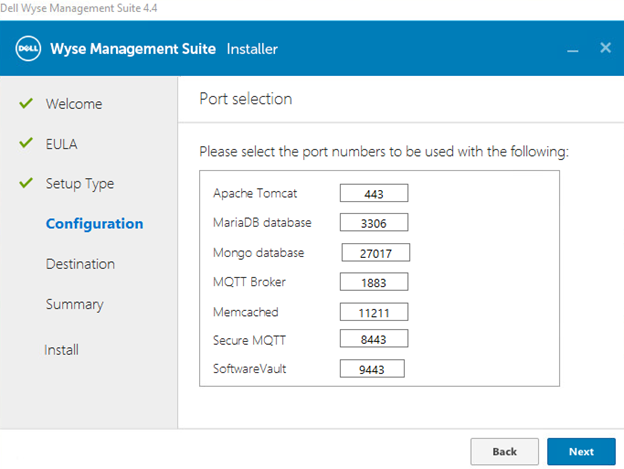
- From the Port selection Configuration menu:
- Optionally, change the port of:
- Apache Tomcat
- MariaDB database
- Mongo database
- MQTT Broker
- Memcached
- Secure MQTT
- Software Vault
- Click Next.
- Optionally, change the port of:
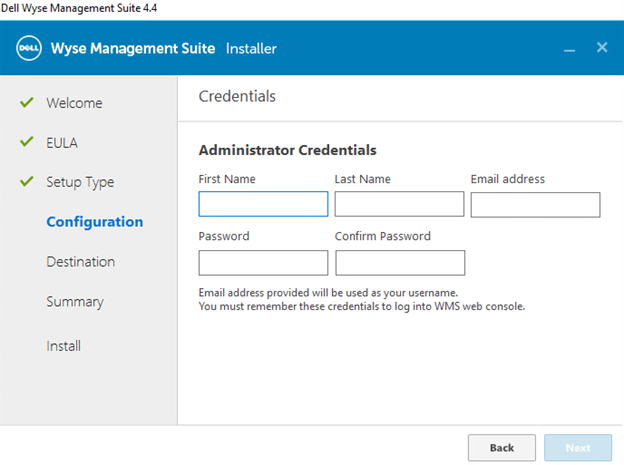
- From the Credentials Configuration menu:
- Populate an administrator First Name.
- Populate an administrator Last Name.
- Populate an administrator Email address.
- Populate and confirm an administrator Password.
- Click Next.
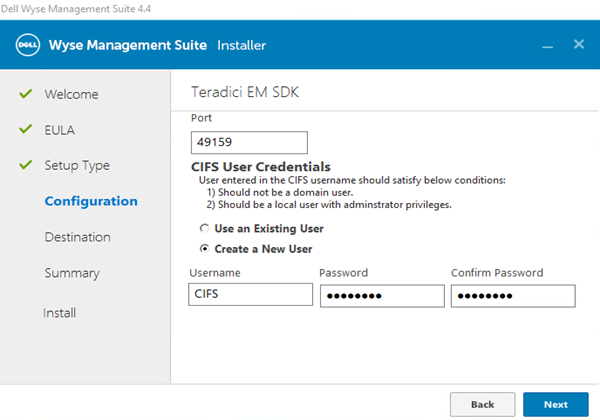
- From the Teradici EM SDK Configuration menu:
- Optionally, change the Port (only present if Teradici EM SDK was selected in Step 3).
- Select either Use an Existing User or Create a New User.
- If Use an Existing User is selected, populate a Username and Password.
- If Create a New User is selected, populate a Username, then populate and confirm the Password.
- Click Next.
Note:- If Teradici EM SDK was selected (Step 3), Configure CIFS User Credentials is not optional, and does not have a checkbox.
- If Teradici EM SDK was not selected (Step 3), Configure CIFS User Credentials is optional with a checkbox.
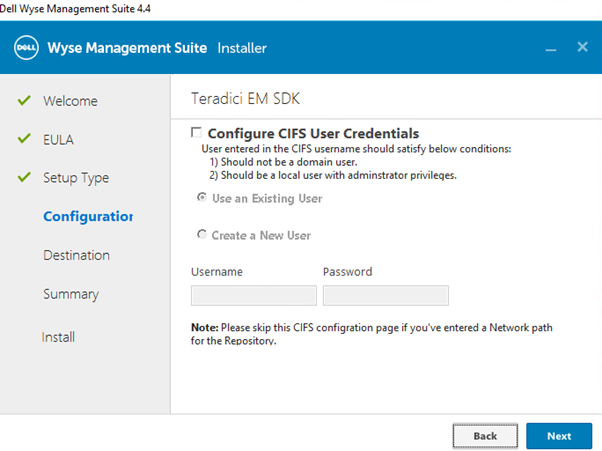
- Do not check Configure CIFS User Credentials if Teradici EM SDK was not selected (Step 3) and the repository will be installed to a network location (Step 13).
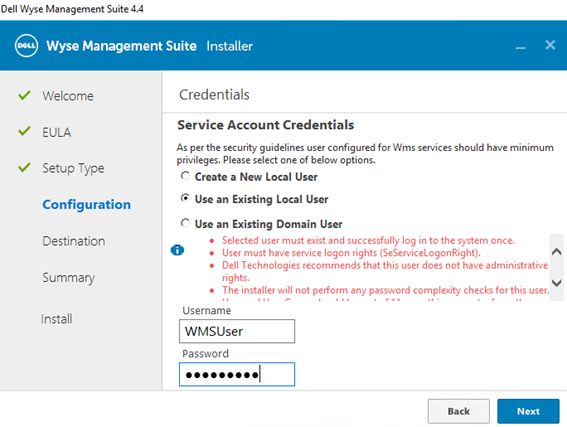
- From the Service Account Credentials menu:
- Select either Create a New Local User, Use an Existing Local User, or Use an Existing Domain User.
- Populate a Username and Password.
- Click Next.
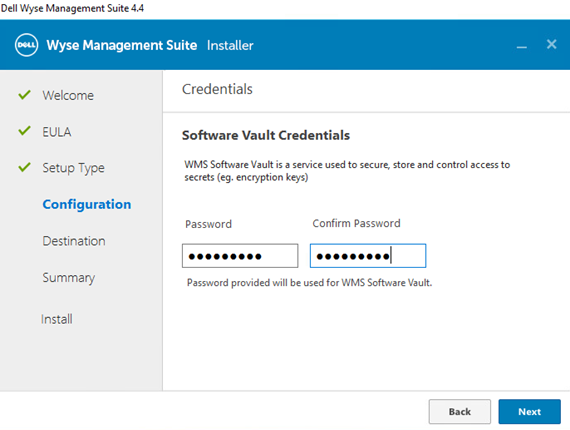
- From the Software Vault Credentials menu, configure a Password and then click Next.
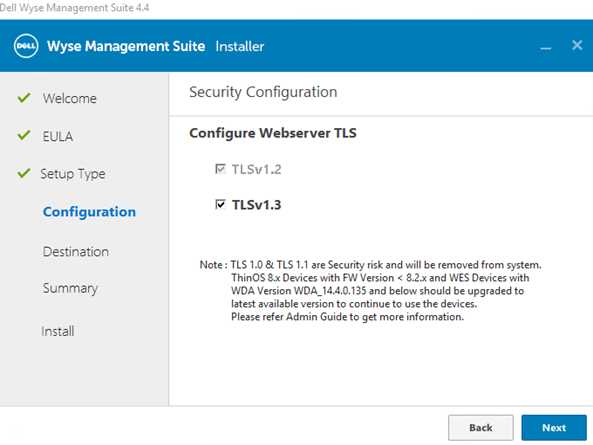
- From the Security Configuration - Configure Webserver TLS menu, optionally select TLSv1.3, then click Next.
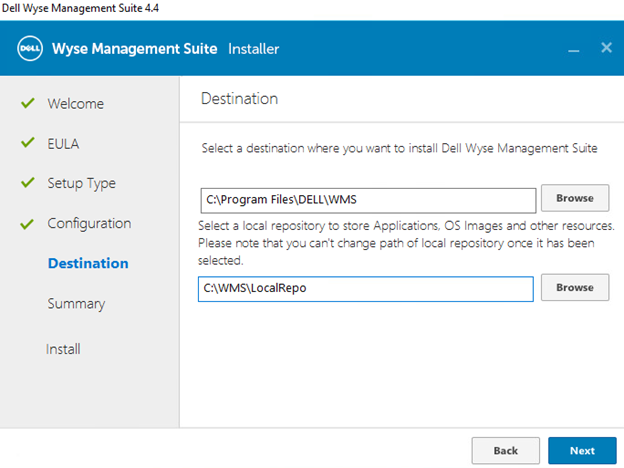
- From the Destination menu:
- Optionally, change the install directory.
- Optionally, change the repository directory.
- Click Next.
- From the Pre-Installation Summary, click Next.
 Note: The selections in the review will differ from what is pictured above based on selections that are made in the previous steps.
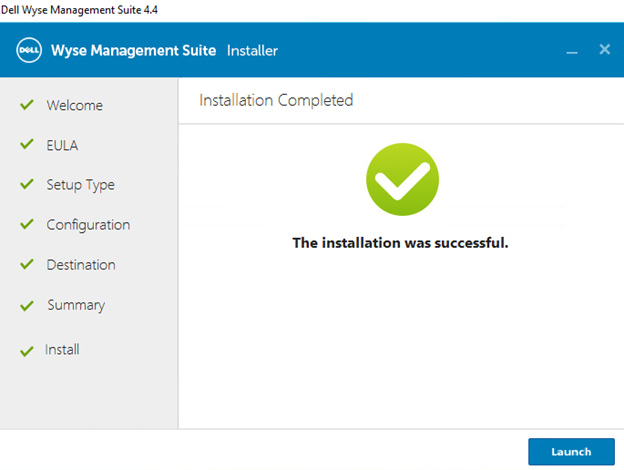
 - Click Launch to configure Wyse Management Suite.
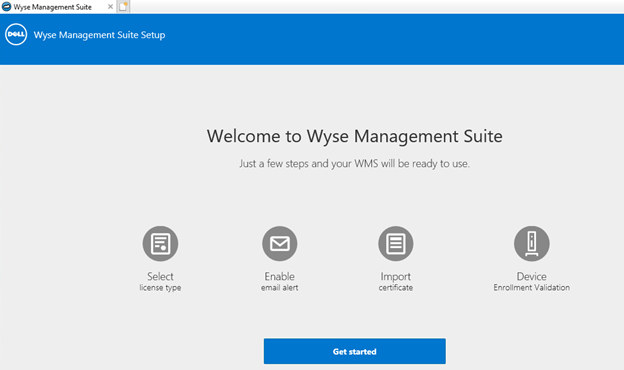
- Click the Get started button.
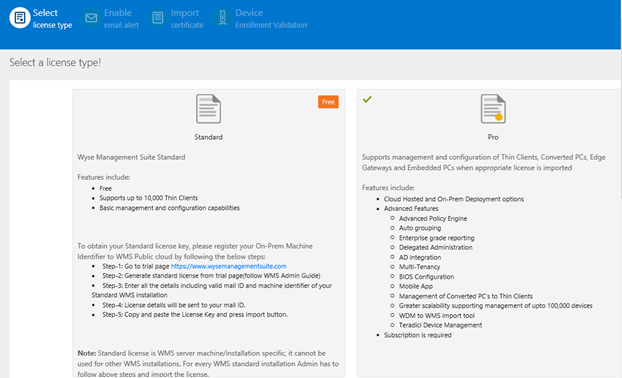
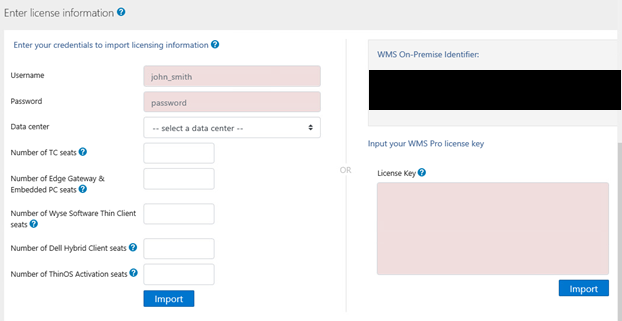
- From the License type menu:
- Select Standard or Pro.
- If Pro is selected, either enter your credentials to import licensing information or input your WMS Pro license key.
- If entering your credentials:
- Populate a Username.
- Populate a Password.
- Populate a Data center.
- Populate a Number of TC seats.
- Populate a Number of Edge Gateway & Embedded PC seats.
- Populate a Number of Wyse Software Thin Client seats.
- Populate a Number of Dell Hybrid Client seats.
- Populate a Number of ThinOS Activation seats.
- Click Import.
- If inputting your WMS Pro license key:
- Populate the license key from the Public Cloud.
- Click Import.
- If entering your credentials:
- Click Next.
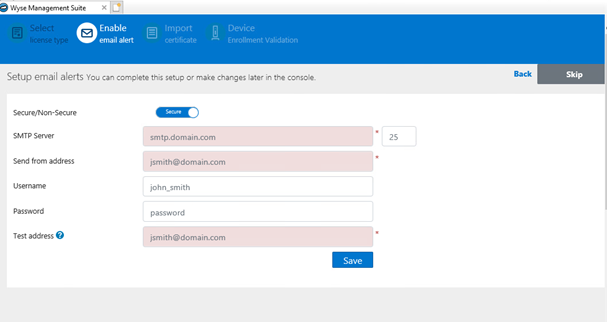
- From the Setup email alerts menu:
- Optionally, click Skip and go to Step 19.
- Populate the SMTP Server.
- Optionally, change the Port.
- Populate the Send from address.
- Populate the Username.
- Populate the Password.
- Populate the Test address.
- Click Save.
- Click Next.
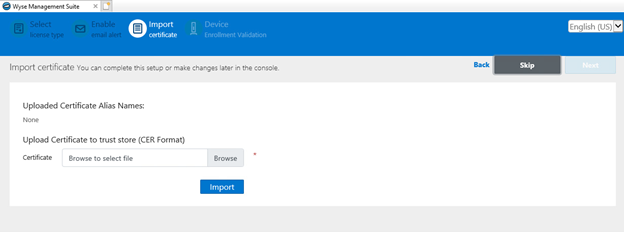
- From the Uploaded Certificate Alias Names menu:
- Optionally, click Skip and go to Step 20.
- Browse to and then select the certificate file.
- Click Next.
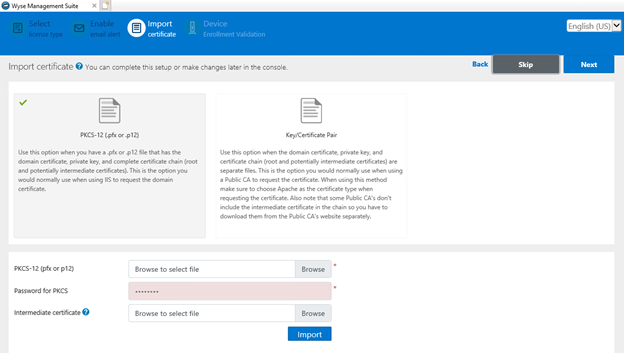
- From the Import certificate menu:
- Select either PKCS-12 (.pfx or .p12) or Key/Certificate Pair.
- If PKCS-12 (.pfx or .p12) is selected:
- Browse to the PKCS-12 and then click Open.
- Populate a Password for PKCS.
- Browse to the Intermediate certificate and then click Open.
- Click Import.
- If Key/Certificate Pair is selected:
- Browse to the Certificate and then click Open.
- Browse to the Intermediate certificate and then click Open.
- Browse to the Private key and then click Open.
- Populate the Password.
- Click Import.
- Click Next.
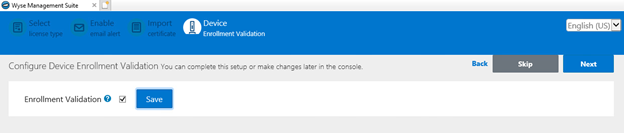
- From the Configure Device Enrollment Validation menu:
- Select the checkbox for Enrollment Validation.
- Click the Save button.
- Click Next.
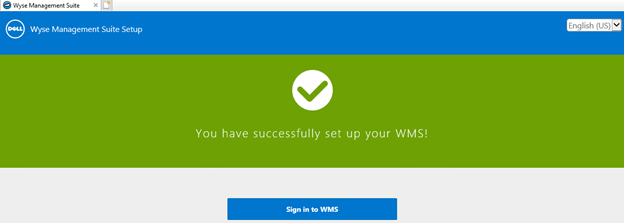
- Click Sign in to WMS to use Wyse Management Suite.
Affected Products
Wyse Management SuiteArticle Properties
Article Number: 000126147
Article Type: How To
Last Modified: 09 July 2024
Version: 6
Find answers to your questions from other Dell users
Support Services
Check if your device is covered by Support Services.