How to Resolve Internal Mic Cannot Be Selected or Missing in Device Manager
Shrnutí: The internal microphone is missing in Device Manager or cannot be selected in Device Manager.
Tento článek se vztahuje na
Tento článek se nevztahuje na
Tento článek není vázán na žádný konkrétní produkt.
V tomto článku nejsou uvedeny všechny verze produktu.
Pokyny
- Start up the computer. Ensure it is NOT connected to the Internet and log in as ADMIN.
- Go to Device Manager (Figure 1 [English only]) and check the following. Check to see if the Intel® Smart sound Technology (Intel® SST) Audio controller is installed and with no yellow bangs (As seen in below image). Check to see if the Intel® Smart Sound Technology (Intel® SST) OED is installed and with no yellow bangs. (As seen in below image) If there are any yellow bangs remove BOTH these devices, and if asked to remove the software as well, do that as well.
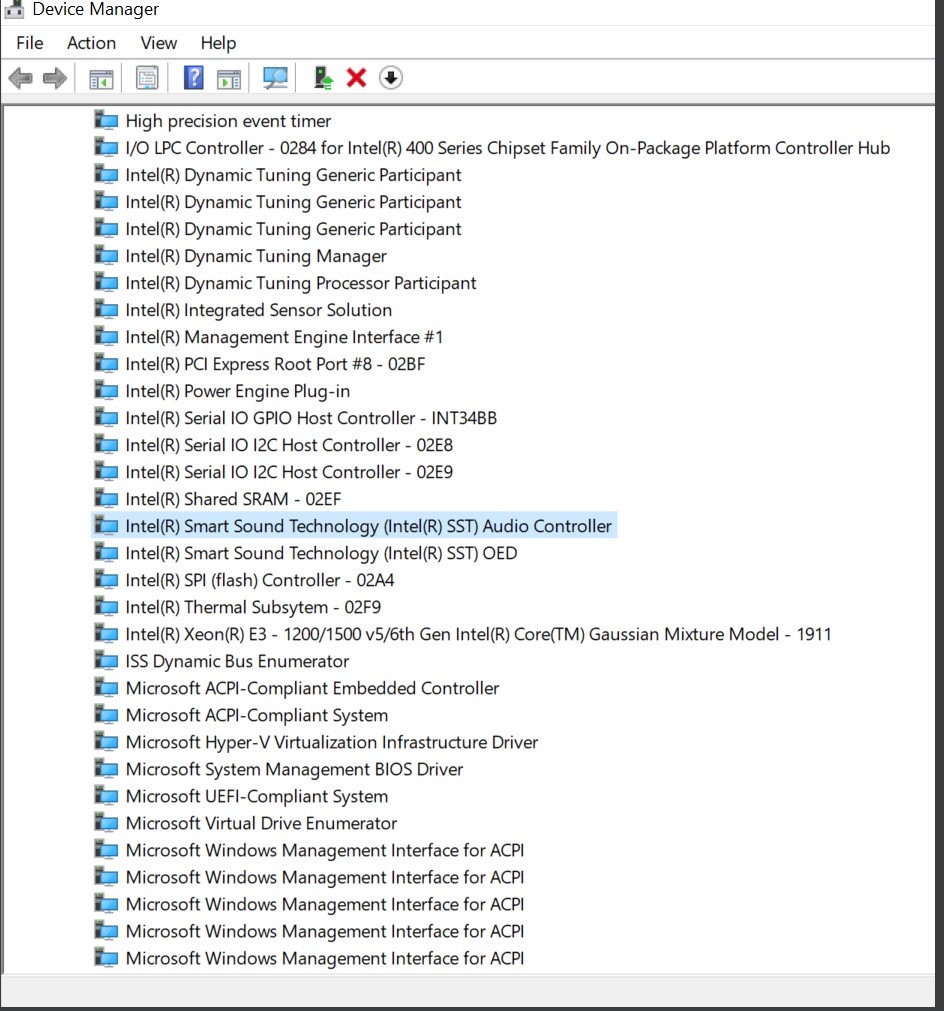
Figure 1 Device Manager - If these two (x2) devices above has been removed restart the computer, and log in as ADMIN.
- Connect to the Internet and check if ALL Microsoft updates have been done (Figure 2 [English only]).
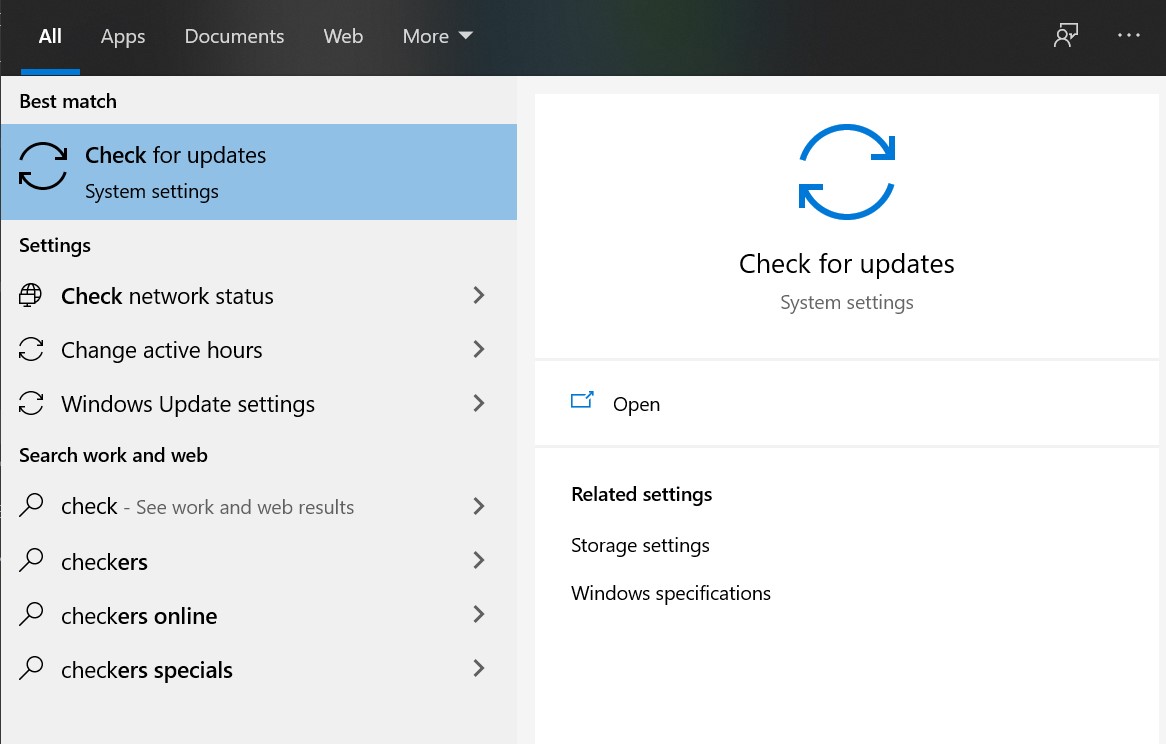
Figure 2 Check updates - Click the Check for updates, and if available check online for updates from Microsoft (Figure 3 [English only]).
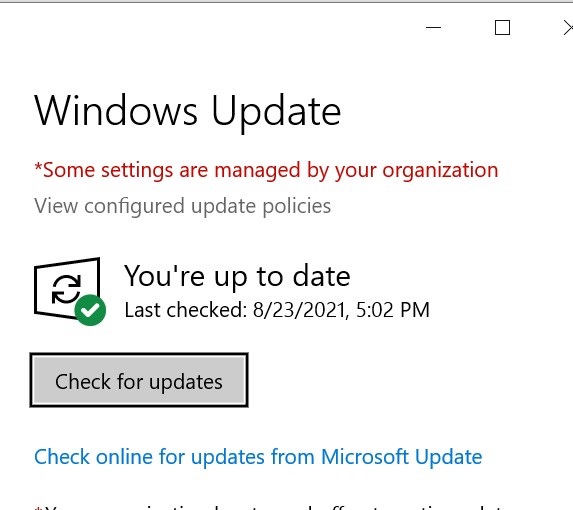
Figure 3 Windows Update - Let it check and install all updates.
- After all updates have been done, restart the computer.
- Login as ADMIN and check Device Manager again for the Intel® Smart sound Technology (Intel® SST) devices (Figure 4 [English only]).
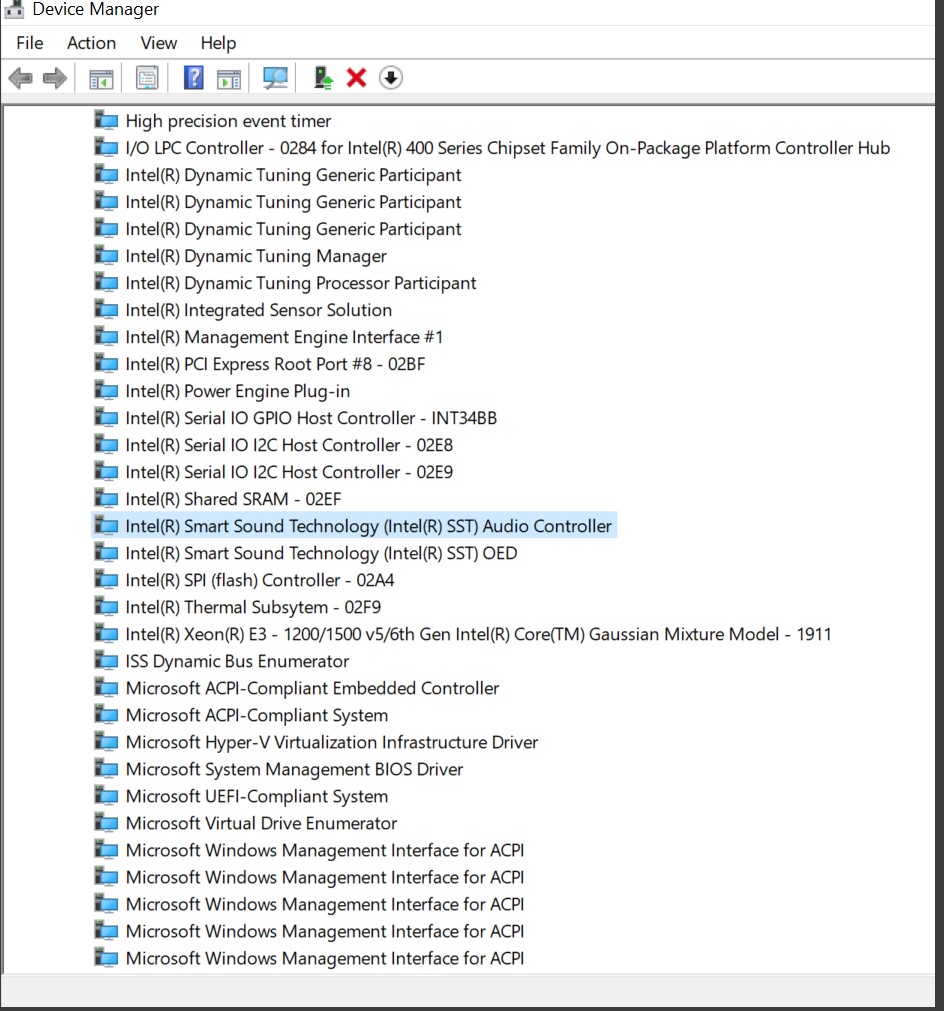
Figure 4 Intel Smart sound Technology - If these two (x2) devices (Figure 1 English only]) seem all good, check the Audio inputs and outputs in Device Manager (Figure 5 [English only]).

Figure 5 Audio inputs and output - Then check the Sound, Video and game controller, in Device Manager (Figure 6 [English only]).

Figure 6 Sound, video, and game controllers - After this go to Dell Support. In the search field type in the computers ServTag number, and click search (Figure 7 [English only]).
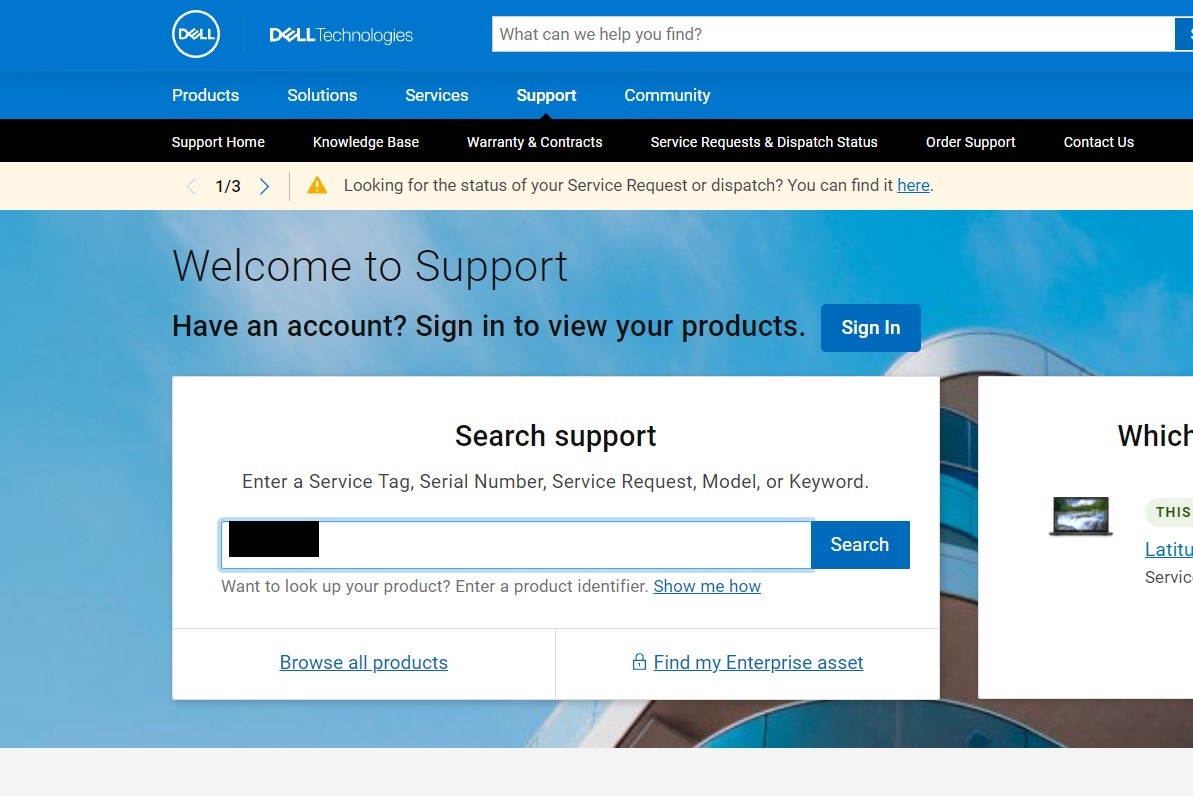
Figure 7 Dell Support - This should bring up the computers details. Go to the Drivers & Downloads tab and click Find Drivers (Figure 8 [English only]).
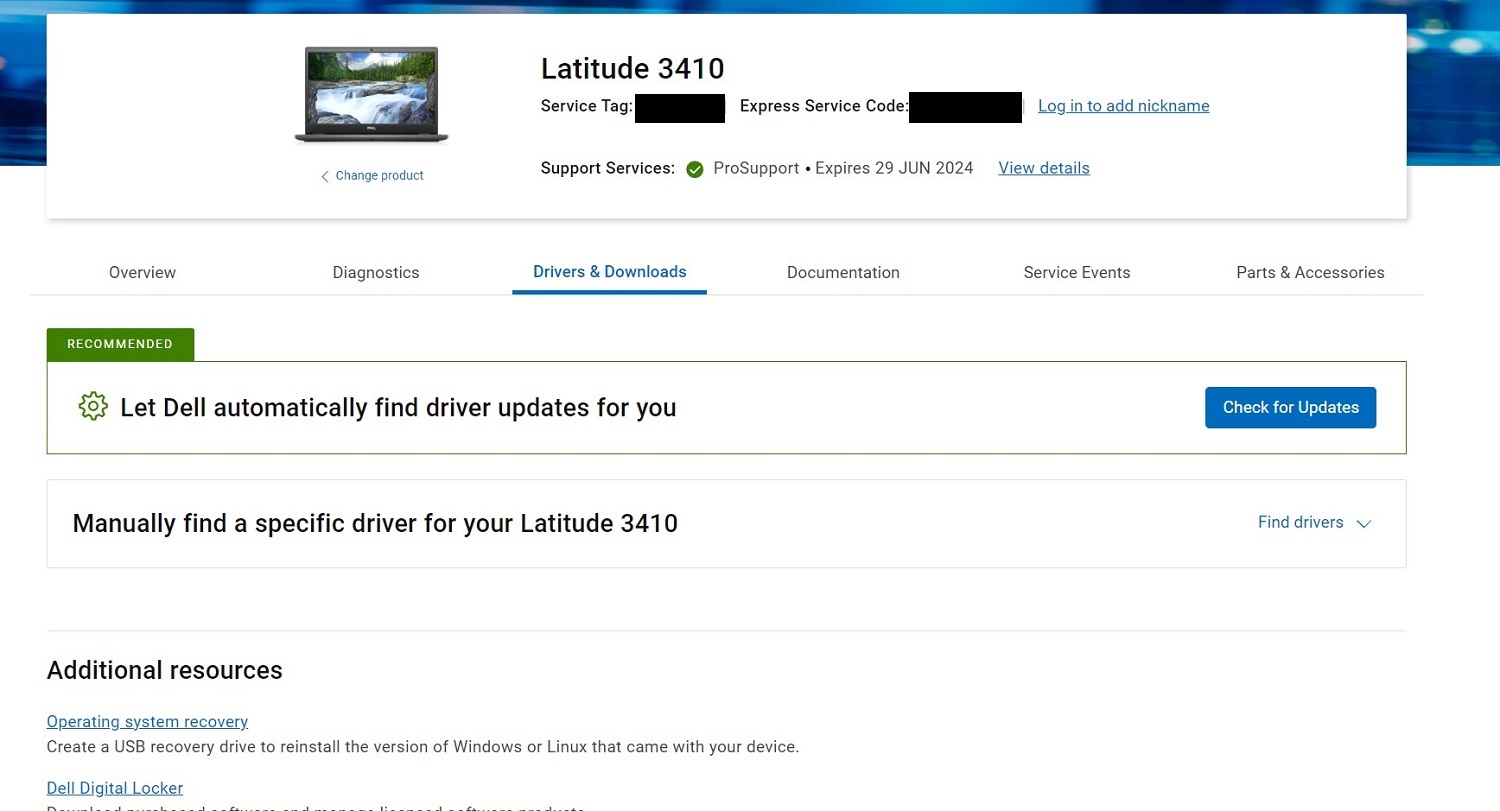
Figure 8 Drivers & Downloads - On the Manual download screen, select AUDIO in the category tab. Download all the AUDIO drivers and when done install them (Figure 9 [English only]).
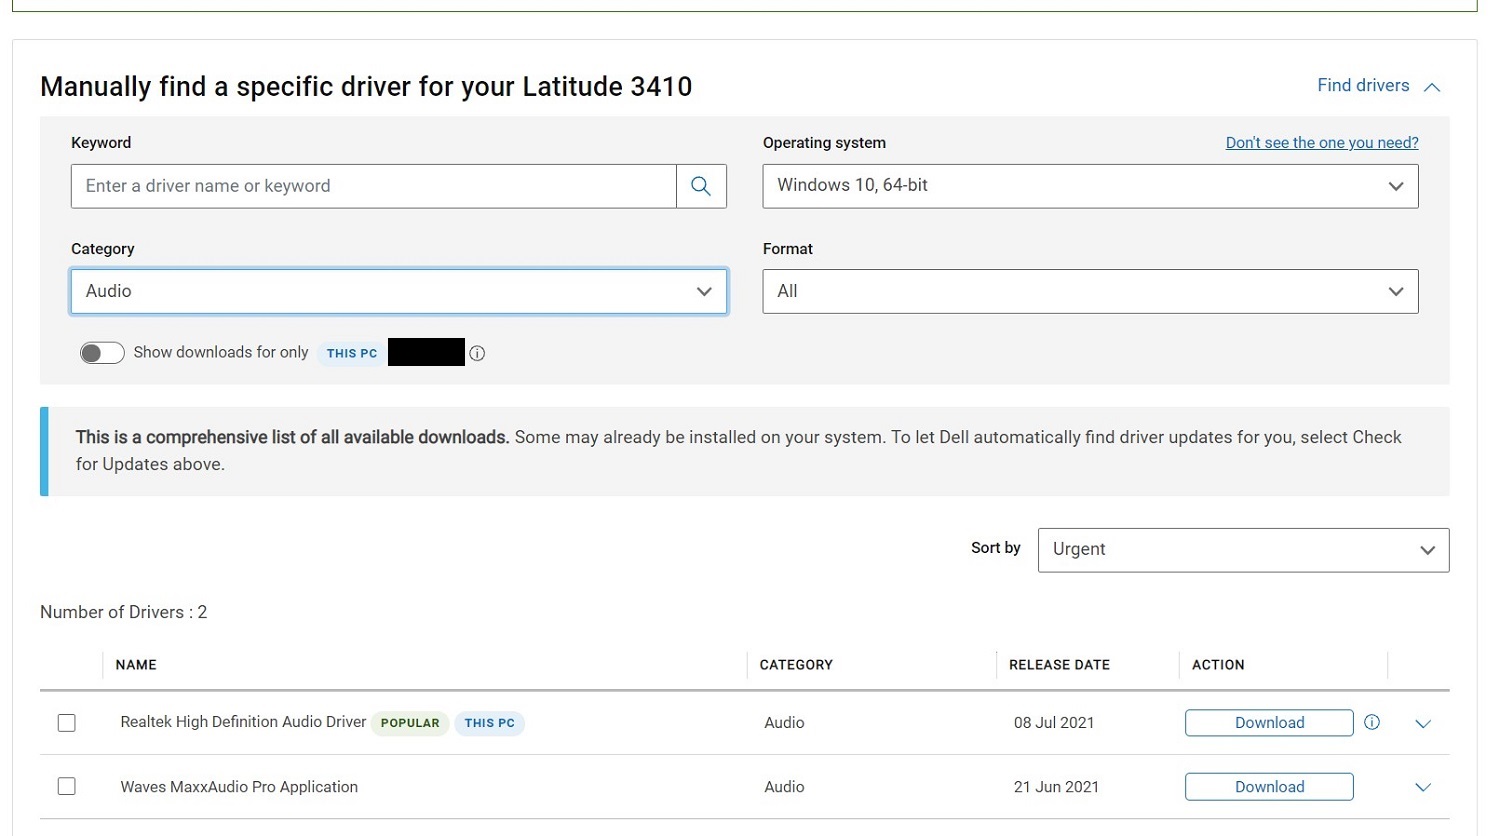
Figure 9 Manual download screen - When these drivers are installed, restart the computer.
- Login with ADMIN and check if MIC is working. In Windows sound, you should see the input device as Microphone Array (Figure 10 [English only]).
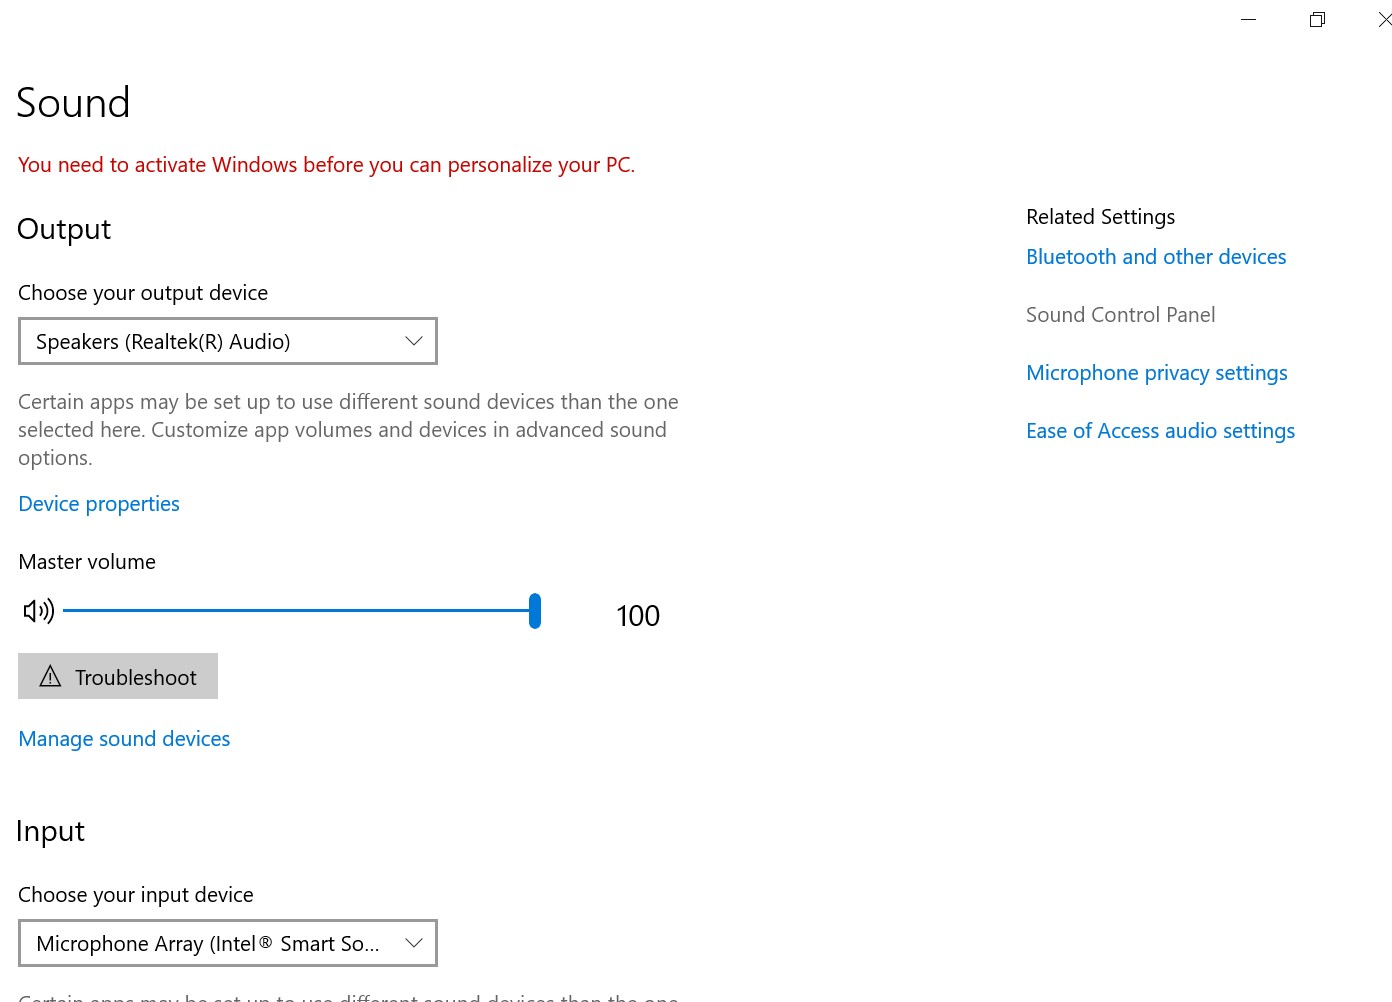
Figure 10 Microphone Array - Now you can open Windows voice recording to test the Microphone.
Další informace
Recommended Articles
Here are some recommended articles related to this topic that might be of interest to you.
Vlastnosti článku
Číslo článku: 000191990
Typ článku: How To
Poslední úprava: 22 Nov 2023
Verze: 5
Najděte odpovědi na své otázky od ostatních uživatelů společnosti Dell
Služby podpory
Zkontrolujte, zda se na vaše zařízení vztahují služby podpory.