How to Schedule Managed Reports for Dell Data Security Servers
Shrnutí: Managed reports may be scheduled on Dell Data Security servers by following these instructions.
Tento článek se vztahuje na
Tento článek se nevztahuje na
Tento článek není vázán na žádný konkrétní produkt.
V tomto článku nejsou uvedeny všechny verze produktu.
Příznaky
An administrator can schedule Managed Reports to be sent to a list of email recipients for Dell Data Security servers (Dell Security Management Server or Dell Security Management Server Virtual).
Affected Products:
- Dell Security Management Server
- Dell Security Management Server Virtual
Affected Versions:
- v10.1.0 and later
Příčina
Not applicable
Řešení
A New or Existing managed report may be scheduled to send to one or more email addresses. Click the appropriate task for more information.
Note:
- Email notifications require SMTP settings to be configured on the Dell Data Security server.
- For more information, reference How to Configure SMTP Settings for Dell Data Security Servers.
New
- Sign in to the Dell Data Security administration console.
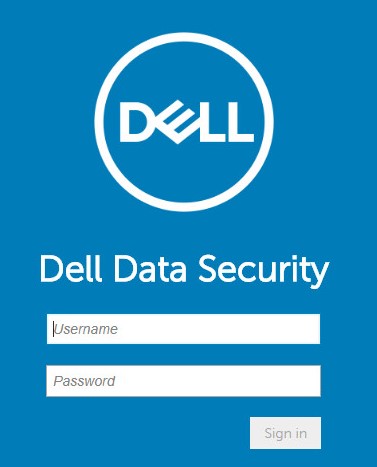
Note: For more information, reference How to Access the Dell Data Security Server Administration Console.
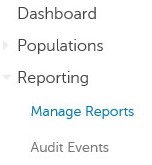
- From the left menu pane, click Reporting and then Manage Reports.
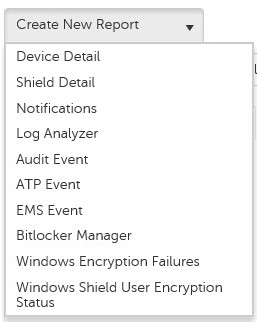
- Click the Create New Report drop-down and then select the appropriate report.
- Make any changes to the default report filters. Once finished, click Save As.

- From the Report - Save As menu:
- Populate a Report Name.
- Populate a Description.
- Optionally check Private.
- Click Save.
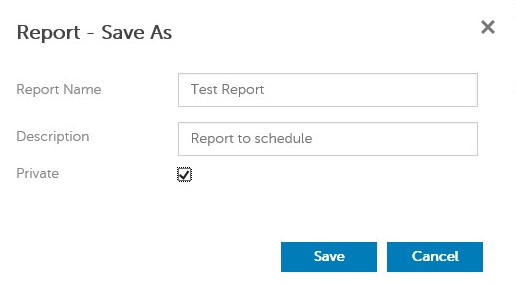
Note: Only the owner and report administrator have visibility to a Private report.
- Click Schedule.

- Click Add Schedule.

- From the Add Schedule menu:
- Populate an Email to receive the report.
- Select a Schedule for the report to run.
- Select a Time to run.
- Select a Locale.
- Click Save.
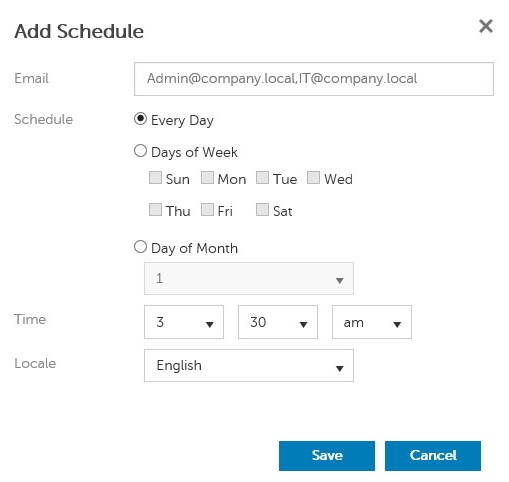
Note: Multiple email addresses may be separated by commas.
Existing
- Sign in to the Dell Data Security administration console.
Note: For more information, reference How to Access the Dell Data Security Server Administration Console.
- From the left menu pane, click Reporting and then Manage Reports.
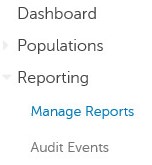
- Select the report to be scheduled.

Note: The report information (name, description, and report type) may differ in your environment.
- Click Schedule.

- Click Add Schedule.

- From the Add Schedule menu:
- Populate an Email to receive the report.
- Select a Schedule for the report to run.
- Select a Time to run.
- Select a Locale.
- Click Save.
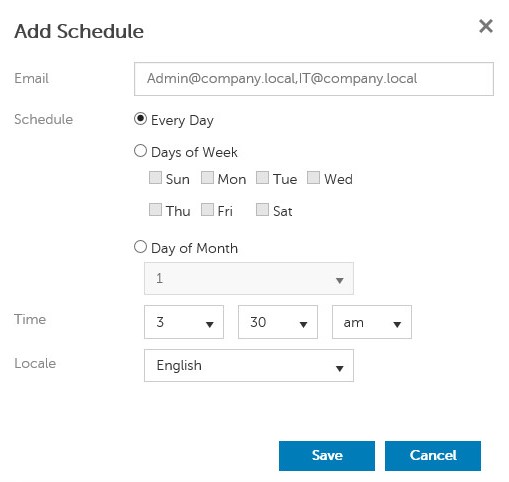
Note: Multiple email addresses may be separated by commas.
To contact support, reference Dell Data Security International Support Phone Numbers.
Go to TechDirect to generate a technical support request online.
For additional insights and resources, join the Dell Security Community Forum.
Dotčené produkty
Dell EncryptionVlastnosti článku
Číslo článku: 000125166
Typ článku: Solution
Poslední úprava: 23 Oct 2023
Verze: 8
Najděte odpovědi na své otázky od ostatních uživatelů společnosti Dell
Služby podpory
Zkontrolujte, zda se na vaše zařízení vztahují služby podpory.