DellからFoxit PDF EditorまたはFoxit PhantomPDFをダウンロードしてインストールする方法
Summary: この記事では、Dell PCで販売されたFoxit PDF Editor(旧Foxit PhantomPDF)をダウンロードしてインストールする方法について説明します。
This article applies to
This article does not apply to
This article is not tied to any specific product.
Not all product versions are identified in this article.
Instructions
対象製品:
インターナショナル:
- Foxit PDF Editor
- Foxit PDF Editor Pro
- Foxit PhantomPDF
- Foxit PhantomPDF Pro
米国のみ:
- Foxit PDF Editor(AIアシスタント付き)
- Foxit PDF Editor Pro(AIアシスタント付き)
影響を受けるプラットフォーム:
- Windows
Foxit PDF EditorおよびFoxit PDF Editor Proを使用すると、PDFドキュメントの作成、レビュー、編集、管理、共有、セキュリティ保護を行うことができます。Foxit PDF Editorは、新しいDell Windows PCを注文するときに購入できます。
注:Foxit PDF Editorをダウンロードしてインストールする前に、次の手順を実行します。
- 管理者権限を持つアカウントでWindowsにログインします。
- Dell Digital Deliveryをダウンロードしてインストールします。
ダウンロードしてインストールするには、次の手順を実行します。
- Windowsのスタート メニューで[Dell Digital Delivery]を見つけてクリックします(図1)。
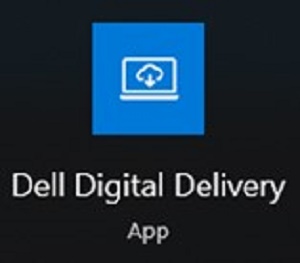
図1
注:- Dell Digital Deliveryがない場合は、次を参照してください。「Dell Digital Deliveryをダウンロードしてインストールする方法」
- Dell Digital Deliveryアイコンは最新バージョンを反映しており、お使いのPCとは異なる場合があります。
- Dell Digital Deliveryで[Available]タブをクリックします。
- Foxit PDF EditorまたはFoxit PDF Editor Proを見つけて、[ダウンロード]をクリックします(図2および3)。


図 2
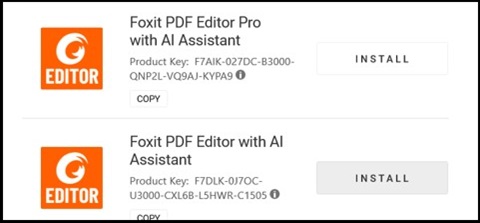
図 3
注:- Foxit PDF Editorが表示されていない場合は、接続に問題があるまたはこのソフトウェアがお使いのDell Digital Deliveryアカウントに関連付けられていない可能性があります。このような場合は、サポートに連絡してください。
- 詳細については、次を参照してください。Dellで販売されたFoxit製品のサポートを受ける方法
- 上記のスクリーンショットでは、ライセンス キーは省略されています。
- Foxit PDF Editorが表示されていない場合は、接続に問題があるまたはこのソフトウェアがお使いのDell Digital Deliveryアカウントに関連付けられていない可能性があります。このような場合は、サポートに連絡してください。
- Dell Digital Deliveryは、ソフトウェアを自動的にダウンロードしてインストールします(図4および5)。

図4
図5
- インストールが正常に完了したら、Foxit PDF Editorのデスクトップ ショートカットをダブルクリックして、アプリケーションを起動します。
- 起動時に永久 ライセンス 番号を確認し、[ Activate ]をクリックします(図6)。
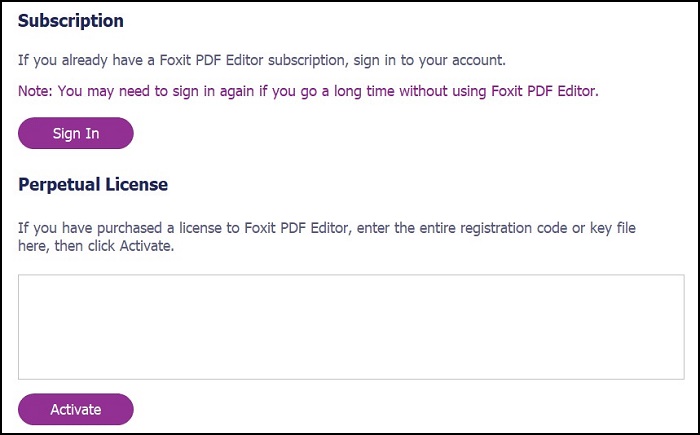
図6
注:上記のスクリーンショットでは、永久ライセンスは省略されています。 - ユーザー名を入力し、[Activate]をクリックします(図7)。
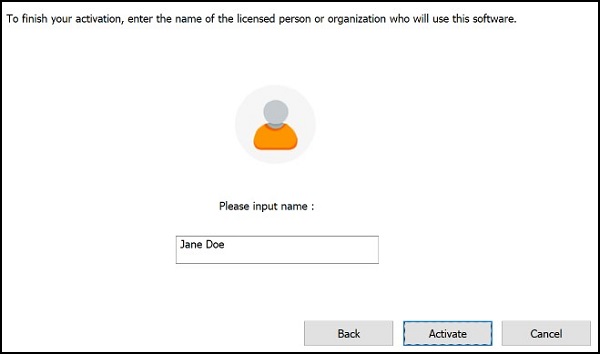
図7
- アクティブ化したら、[ OK ]をクリックします(図8)。
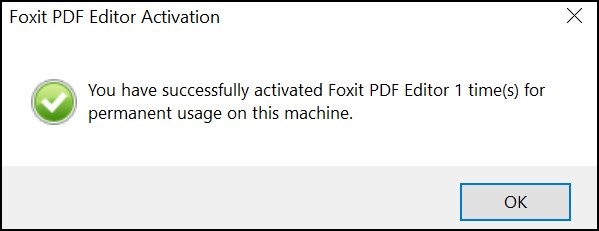
図8
- FoxitをPDFファイルのデフォルト ビューアーとして設定するかどうかを選択します(図9)。
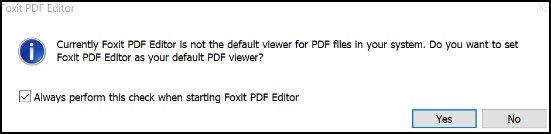
図9
- 設定時に、Foxitは最新のアップデートを自動的にダウンロードしてインストールします(図10)。
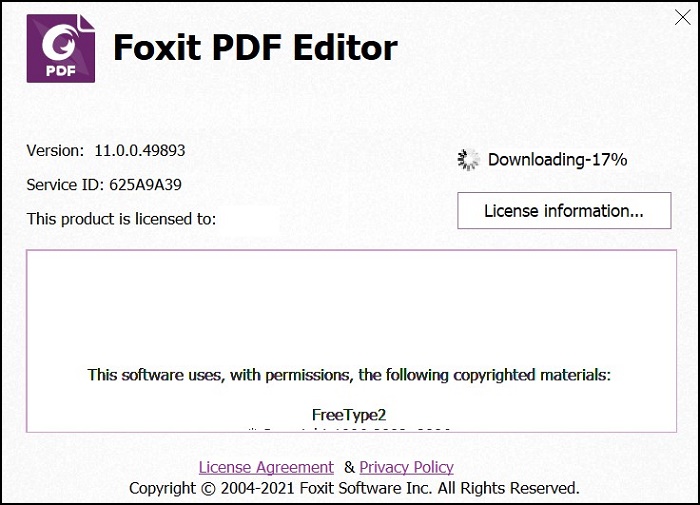
図10
Additional Information
推奨記事
ここでは、このトピックに関連した役立つ可能性のある推奨記事をいくつか紹介します。
Article Properties
Article Number: 000191688
Article Type: How To
Last Modified: 09 ديسمبر 2024
Version: 12
Find answers to your questions from other Dell users
Support Services
Check if your device is covered by Support Services.