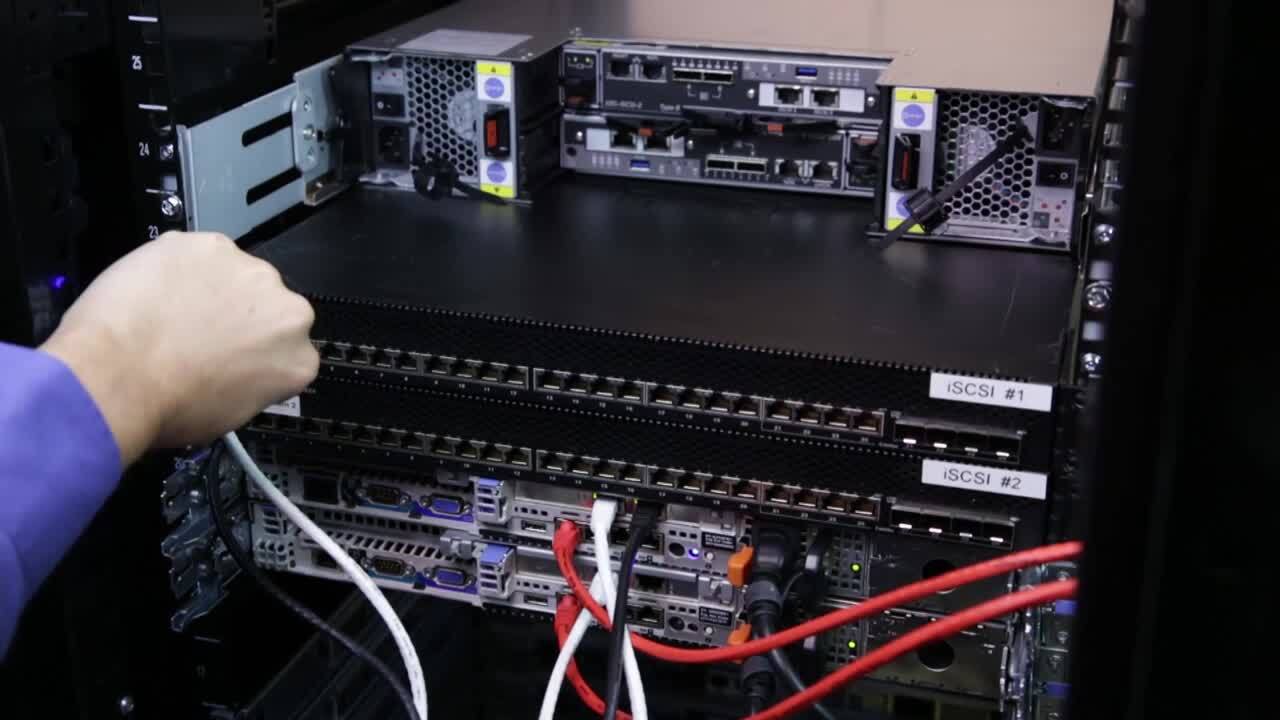
We start by connecting one network port on a server to a switch. In this example to the top switch, which we will call fault domain. One, we then connect the other network port on the same server to a second switch.
In this example to the bottom switch which we will call fault domain two, we will repeat the process for each additional server connecting the server to each switch. Note that we are also using a different color network cable to help differentiate between the two fault domains.
We will now connect the array to the ice Guzzi switches starting with port one of the top controller and connecting it to fault domain. One, we then connect port one on the bottom controller to the same switch for fault domain.
One make special note that the bottom controller is inverted. Both port ones are the innermost port on the controller. We will now cable port two on the top controller to the other switch for fault domain two repeating for the bottom controller.
Next we will cable the management ports on each controller. Next is cabling the SAS back end. If there are expansion enclosures, please refer to the deployment guide for detailed cabling directions.
In this example, there are no expansion enclosures and the controllers will be cabled together, connect each controller's a port to the B port of the other controller. Next plug in each power cord, be sure to secure the cable with the supplied clip.
Repeat for the other power cord, power on the power supply units with the switches wait at least five minutes before attempting to discover the array.


