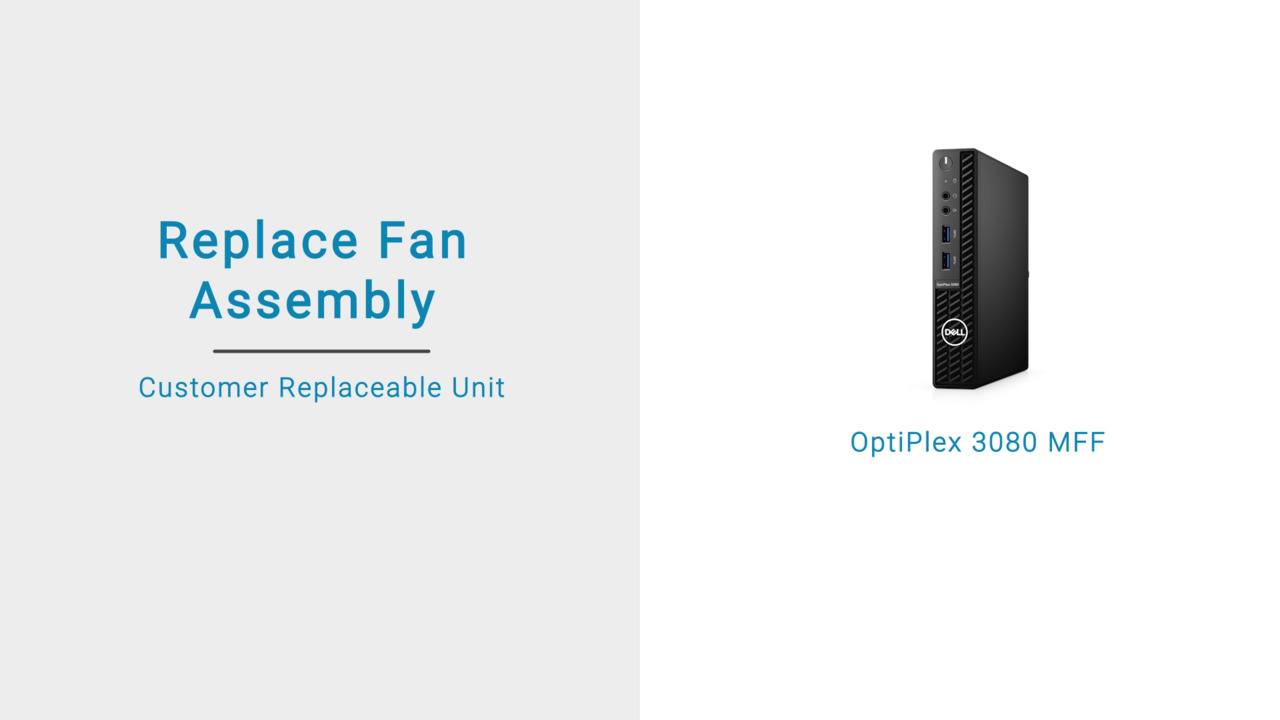
In this video, we’ll demonstrate how to replace the fan assembly. Before removing the fan assembly, read through the safety guidelines to protect your computer from potential damage and ensure your personal safety.
For more information about safety guidelines see the Service Manual at Dell.com/support. Before you begin, turn off your computer and disconnect all attached peripherals.
To get started, place the desktop on a flat surface and loosen the thumbscrew that secures the side cover to the system. Now, slide the side cover towards the front of the system and lift the cover. Now, let’s remove the fan assembly.
To begin, unroute the speaker cable from the routing guide on the fan assembly. Press the blue tabs on both sides of the fan assembly and slide to lift the fan to release it from the computer. Carefully turn the fan assembly over and disconnect the fan cable from the connector on the system board.
Now, lift the fan assembly out of the computer. You’ve successfully removed the fan assembly. Now, let’s see how to install the fan assembly. To begin, connect the fan cable to the connector on the system board and turn the fan assembly over. Now, press release tabs on both sides of the fan assembly and place it on the system until it clicks into place.
You can now route the speaker cable through the routing guide on the fan assembly. Align the side cover with the grooves on the chassis then slide the side cover towards the back of the system to install it and tighten the thumbscrew to secure the side cover to the system.
You’ve successfully replaced the fan assembly. You can now connect all the peripherals and turn on your computer. For more information see the Service Manual at Dell.com/support.