In this video, we saw to replace the right control panel on a poweredge R7625 before removing the right control panel, read through and follow the safety guidelines to protect your system from potential damage and ensure your personal safety. For more information about safety guidelines see the R7625 service manual at dell.com/support.
In order to remove the right control panel, you must first remove the cover air shroud fan assembly and side wall bracket to remove the cover. Use a screwdriver to rotate the lock counterclockwise to the unlocked position.
Next, lift the release latch until the system cover slides back, then lift the cover from the system to remove the air shroud, hold the edges of the air shroud and lift it out of the system to remove the fan cage assembly, lift the blue release levers then holding the release levers, lift it away from the system to remove the side wall bracket, press the tab to release it and lift it away from the system to remove the right control panel, disconnect the control panel cable and VG A cable from the system board using a screwdriver.
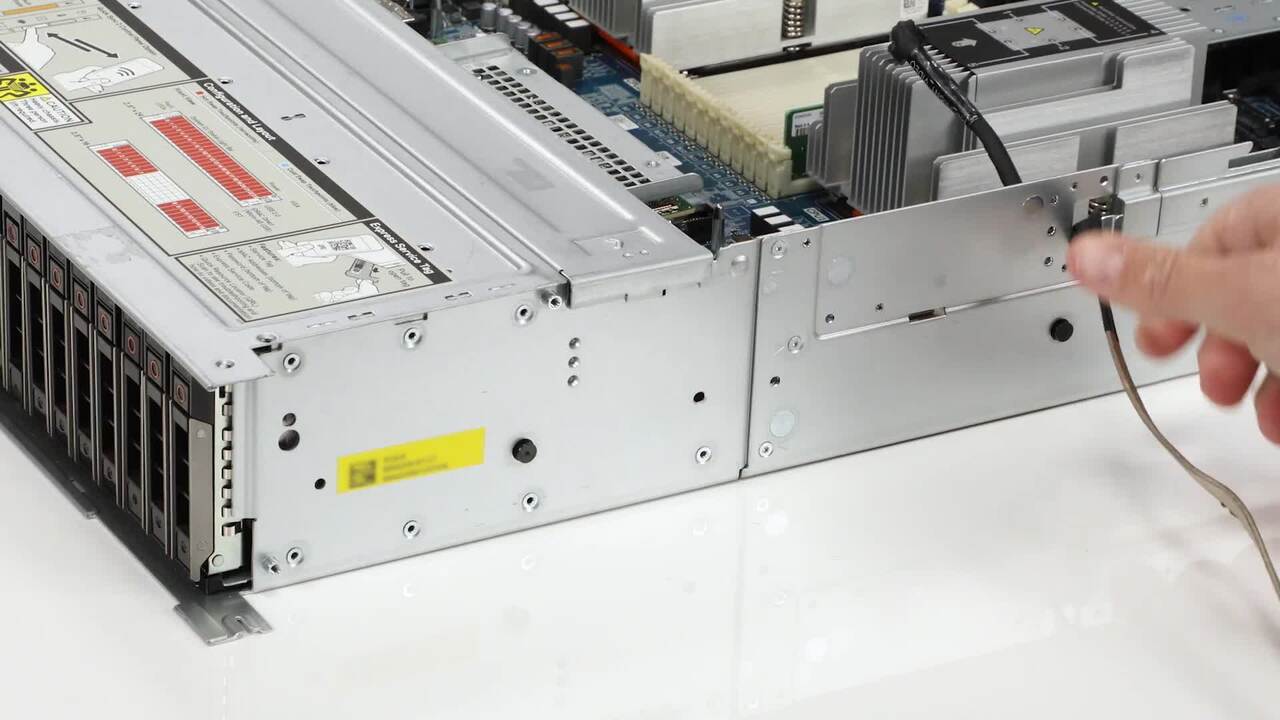
Remove the five screws, securing the cable cover to the system, then remove the kale cover. Next, remove the three screws, securing the control panel to the chassis, then remove it carefully pulling the cables through the slot on the chassis to install the right control panel.
Insert and route the cables through the slot on the chassis. Align the control panel with the chassis and tighten the three screws securing it into place. Next, align the cables and insert the cable cover into the slot on the chassis, then tighten the five screws, securing it into place.
Connect the VG A cable and control panel cable to the system board to install the side wall bracket, align it with the tabs on the chassis and then press firmly to click it into place to install the fan cage assembly align the guide rails with the standoffs on the system. Press release levers to lock the assembly into the system to install the air shroud align the slot on the air shroud with the standoff on the system.
Then lower into the system until it is firmly seated to install the cover, align the system cover with the guide slots on the system and place it onto the system. Next close the system cover, release latch finally rotate the lock clockwise to the lock position.
For more information or support visit dell.com/support.