Hello again Support community!!
You may be just getting started with an Isilon cluster and need a little help on how to setup a network share to begin some testing. This share setup process does not require the cluster to be joined to a domain and will work with a cluster just installed and connected to the (LAN or VM) network. No Smartconnect or DNS is required as the IP address of node 1 is used to connect to the WEBUI and share. It is a basic setup giving access for a share to one local user from a windows client. The items in [] can be changed to personalize for your use – or you can use my examples. Use the user root and the root password (set during cluster installation) to login to the Web Administration interface on IE, Chrome, or FireFox to get started. Let’s begin.
Create a local user
In the OneFS web administration interface (https://<node1ipaddress>:8080) click:
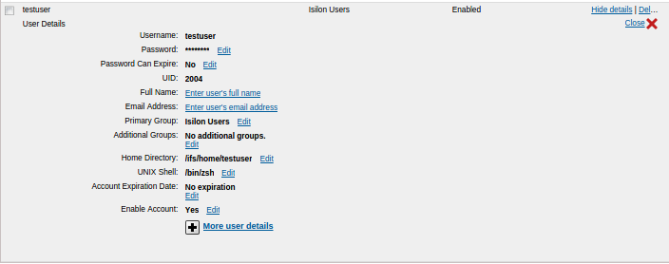
Access > Membership and Roles > Users > Local:System > Create a user > Username [testuser] > password [password] > check Enable Account > Create
You now have a local user created on the cluster named [testuser], this will look something like this:
Create a share
In the OneFS web administration interface, click:
Protocols > Windows Sharing (SMB)
On the SMB Shares tab, click:
Add a share
In the Share Name field, type the name for the share [testshare]
In the Directory to Be Shared field, type the full path of the folder the share will point to ifs/data/[syszone]/[testfolder] Note: The cluster will create the folders in [] for you.
Select: Apply Windows default ACLs
Click: ADD a User or Group. Add in the [testuser] that was created earlier.
Permissions: Full Control
Here is a screen shot while creating this share:

click: Save
click: Create, next click to create the directory
You now have your first share created!
Connect to your network share from Windows
Right click on the start button, and open File Explorer. Click on tools and select Map Network Drive. I like to select I: (for Isilon) as a drive letter.
Type this in the Folder: \[node1ipaddress][testshare]
Make sure to check the box to Connect using different credentials.
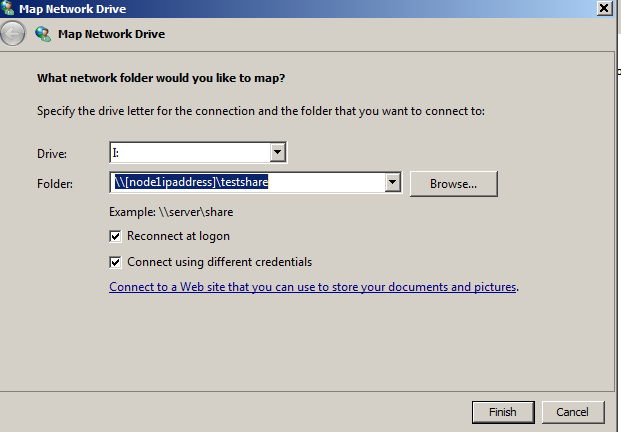
click: Finish.
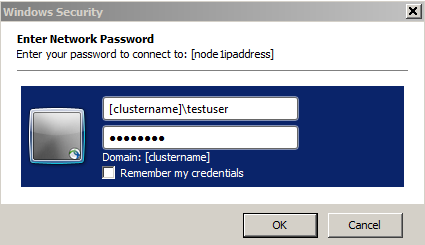
Now enter the [clustername][testuser] Note: [clustername] is the name you gave the cluster during the installation process. Below that, enter the [password] you assigned to the [testuser].
Congratulations on creating a local user, a network share, and making your first connect to the cluster. Enjoy testing and learning more as you go!
Thanks for the view! Let us know what else you’d like to see from the Isilon Social Support Team!!! Give us a shout at johnsonka and Shane Dekart, tweet us @EMCSupport, or leave your comments here. We look forward to hearing from you!

Katie Johnson
Technical Support Engineer II/Administration Team Coach
Twitter: @EMCSupport

Shane Dekart
Technical Support Engineer II
Twitter: @EMCSupport
Share the knowledge with your followers!