Since we announced it, there’s been lots of interest in several of our XPS 13-related posts. Like Sam Burd mentioned in his recent post, we’re commited to making the experience on the XPS 13 second to none. If you didn’t read his post, we recently released updated trackpad drivers based on customers feedback. While that has gone well, I thought some customers may appreciate more details regarding the XPS 13 trackpad, and how multi-finger gestures work on it. Even if you’re not an XPS 13 customer, it’s worth noting that certain Dell notebooks in the future will offer multi-finger gestures.
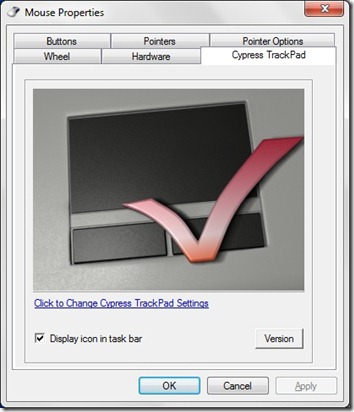
I think it makes sense to start with the trackpad settings. There you can control things like overall sensitivity, Palm Rejection settings and you can also enable/ disable 2-finger or multi-finger gestures. The trackpad settings are part of the Mouse functionality in the Windows 7 Control Panel (look for the Cypress TrackPad tab in the first picture below). The quickest way to access the trackpad controls are via the trackpad icon in the taskbar on the lower right side of your desktop.
I’d recommend spending some time tweaking the sensitivity settings in the Trackpad or the Palm Rejection tabs (or both) if you have issues with the sensitivity level. I welcome comments or questions that you have after doing so.
Main view of the XPS 13 Ultrabook Trackpad Controls
XPS 13 Ultrabook Trackpad settings
Here’s how it works:
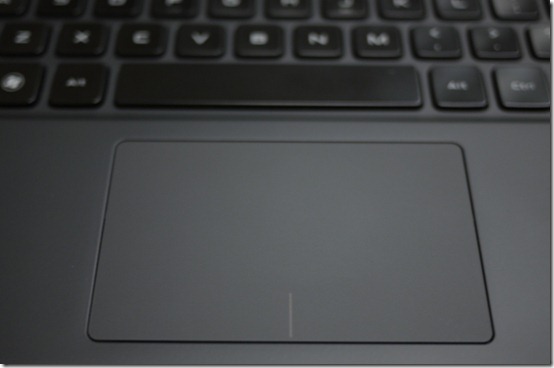
The trackpad is divided into two sections by a small notch in the center of the trackpad. See my close-up picture of it below. The trackpad is hinged so that if you click on the right side of the notch, you will do a right-click. Clicking on the left side of the notch will do a left-click (you can also click on most of the area of the trackpad overall for a left-click).
Two-finger gestures:
- Scrolling: place both fingers on the trackpad, scroll up or down on web pages or documents
- Pinch and zoom: to zoom in, start with two fingers close together, and move them apart. To zoom out, start with two fingers far apart and move them closer together.
Speaking of two-finger gestures, kudos to NotebookReview member alphadogg00 (you need to register on the site to see that previous link) for creating this video:
Three-finger gestures:
- Flick: you can use a left or right three-finger gesture to easily flip through pictures in a slideshow.
- Page Up and Page Down: you can also use the the three-finger flick motion up or down (or left and right) to flip through a document one page at a time.
- Switching browser tabs: when in a web browser, you can use the three-finger flick motion up or down to move between tabs in a browser.
Four-finger gestures:
- Minimize all windows: place all four fingers on the trackpad and move them down to minimize all windows, similar to the Windows+D keyboard command in Windows 7.
- Alt-tab Windows Switcher: place four fingers on the trackpad and moving up will pull up the Alt-tab Windows switcher. From there, you can easily use one finger to choose an application to access.


